Chuck Box Prototype
For car camping I’ve had several variations on how to organize and store the camp kitchen. For the past several years I’ve been using a not so well constructed version of the REI Camp Kitchen Chuck Box.
My primary complaint was that it was far too heavy. The 1/2 in plywood give it considerable weight empty, and when fully loaded with all the gear is was unwieldy to the point where moving it more than 10 or 20 feet from the car was arduous. Additionally I hadn’t taken the time to define an organization system so in the end it was a glorified box that I could open from the side on a table.
For my next chuck box I wanted to try and improve on the design in several ways.
- Lighter weight
- Improved storage systems
- Simplified design
- Enjoyable to look at and use
I’ve recently acquired a high quality table saw, which would make ripping down sheet goods into nice square sections easy. My last chuck box was constructed using a circular saw, and it shows.
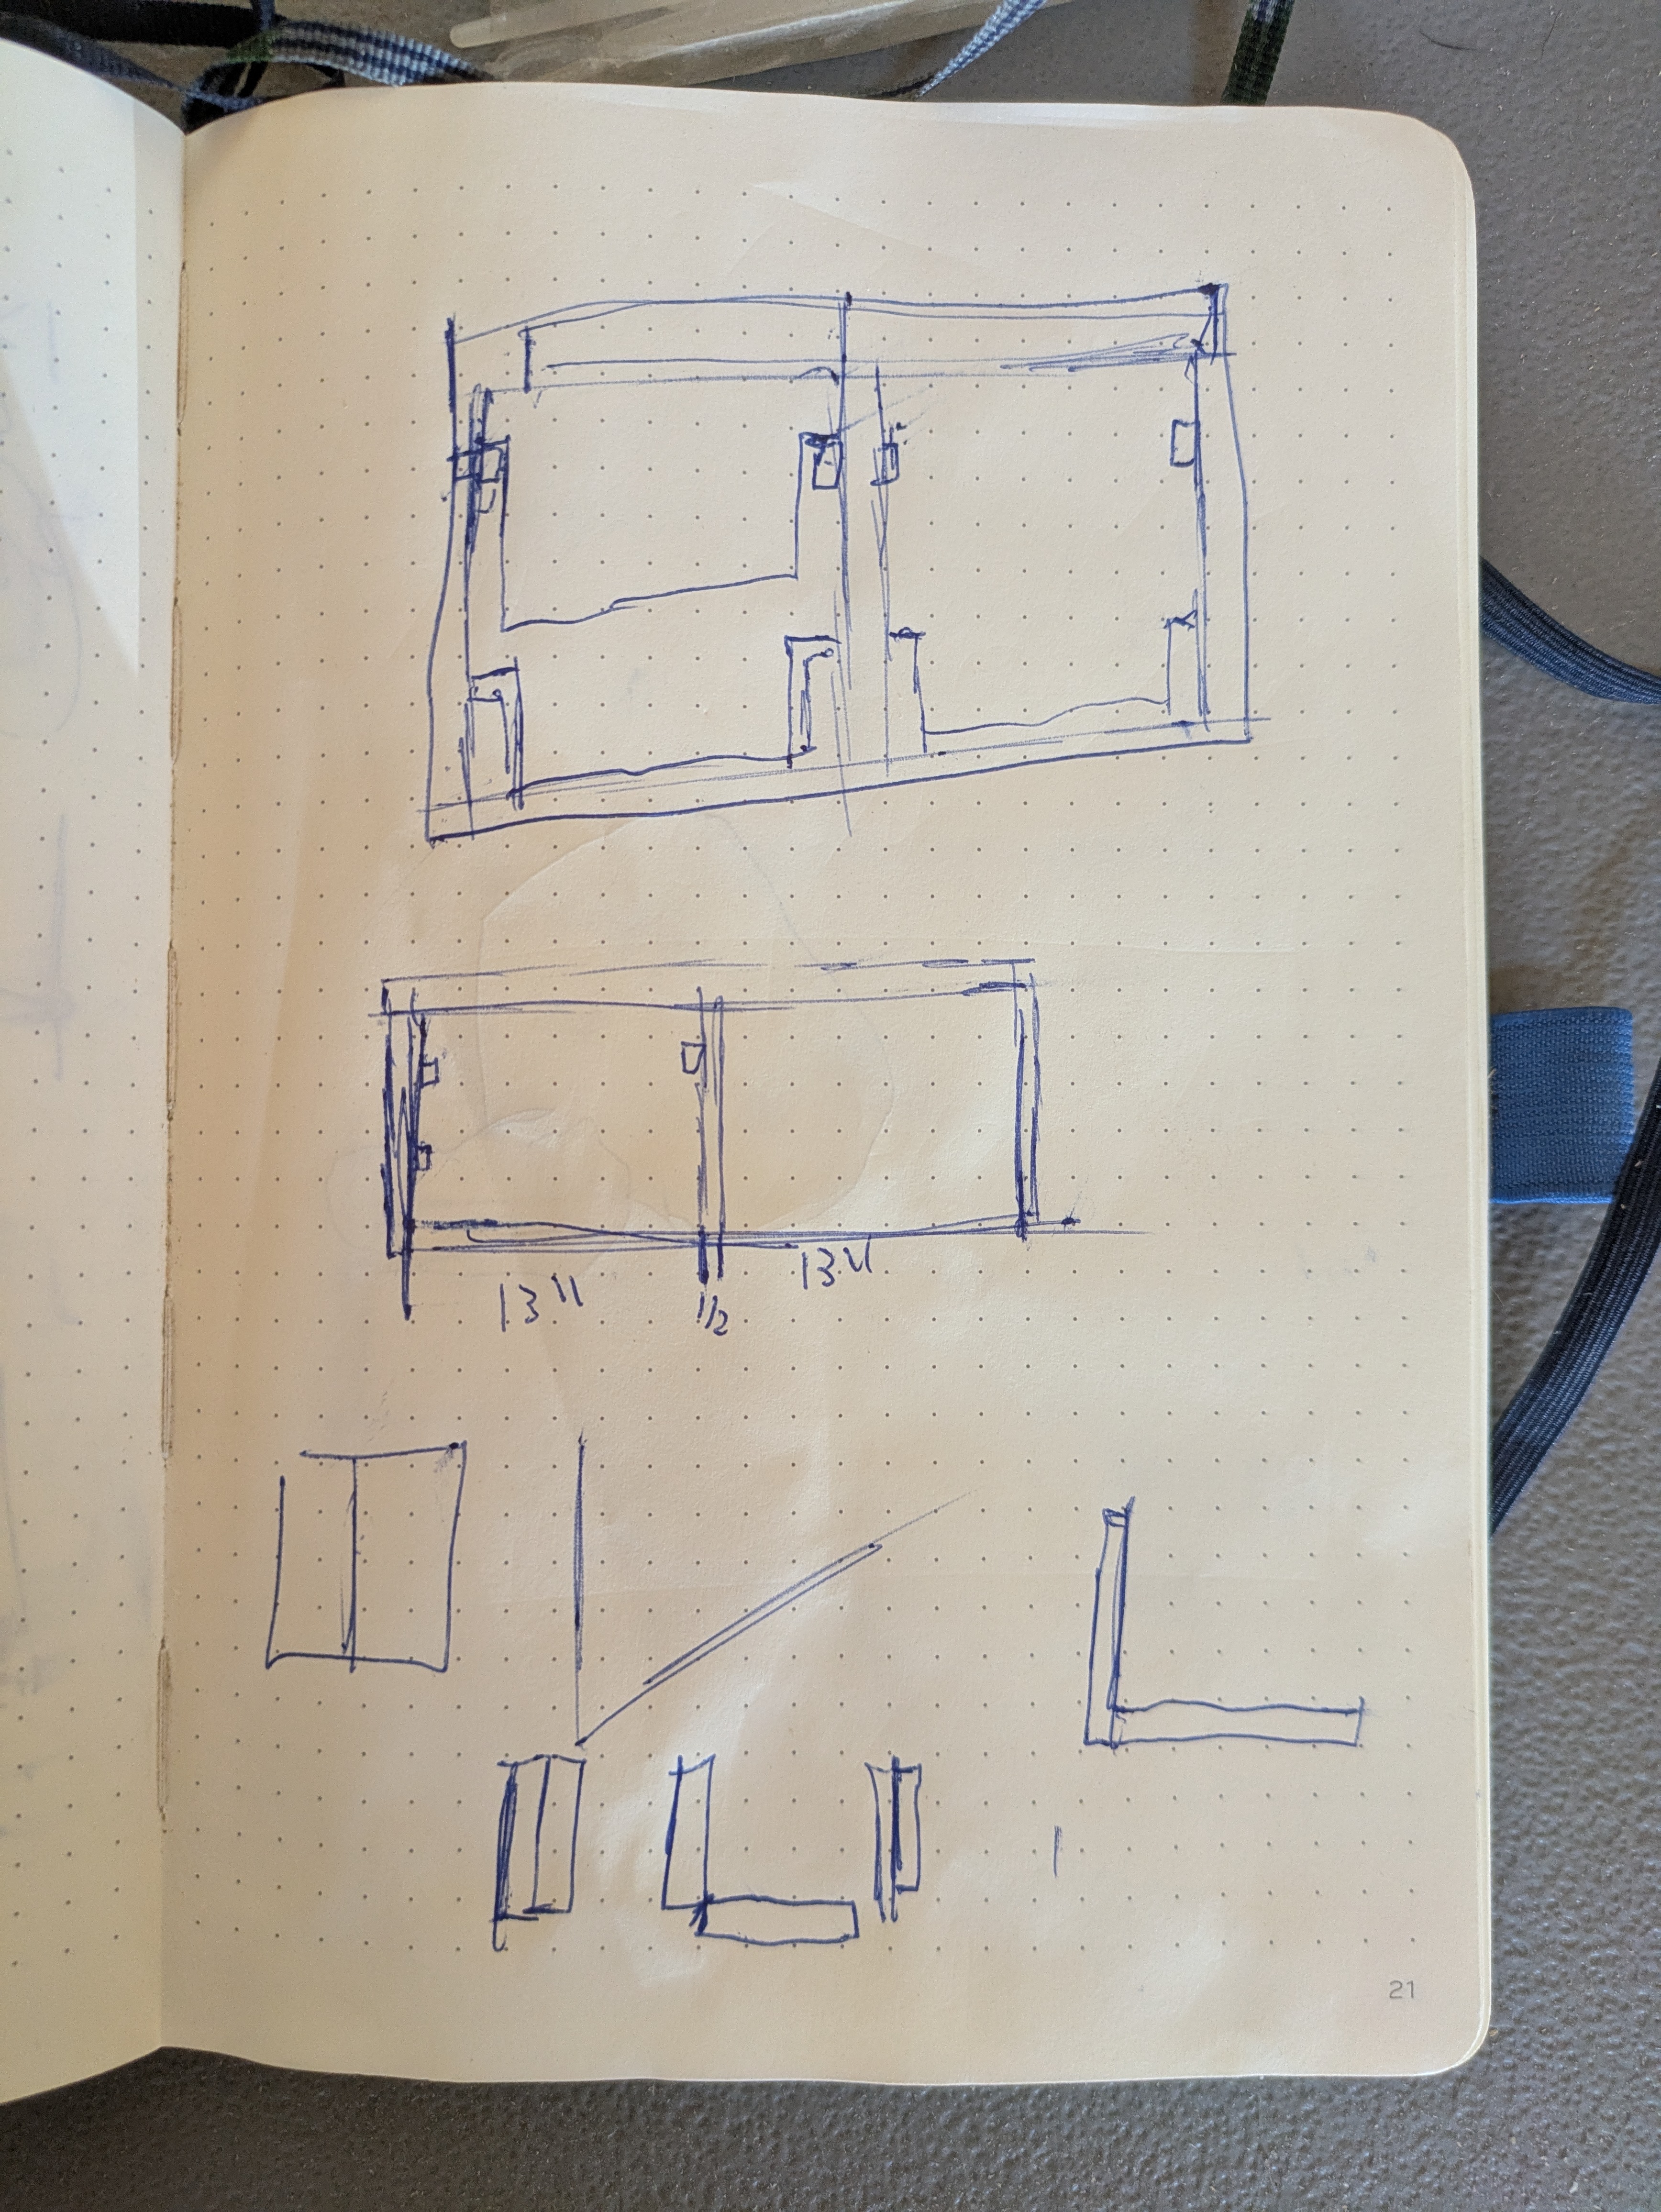
Initial designs
I started with a very rough idea of what I wanted to accomplish here, with the intention of iterating on the design as I started building it. The extent of my planning is these two sketches below.
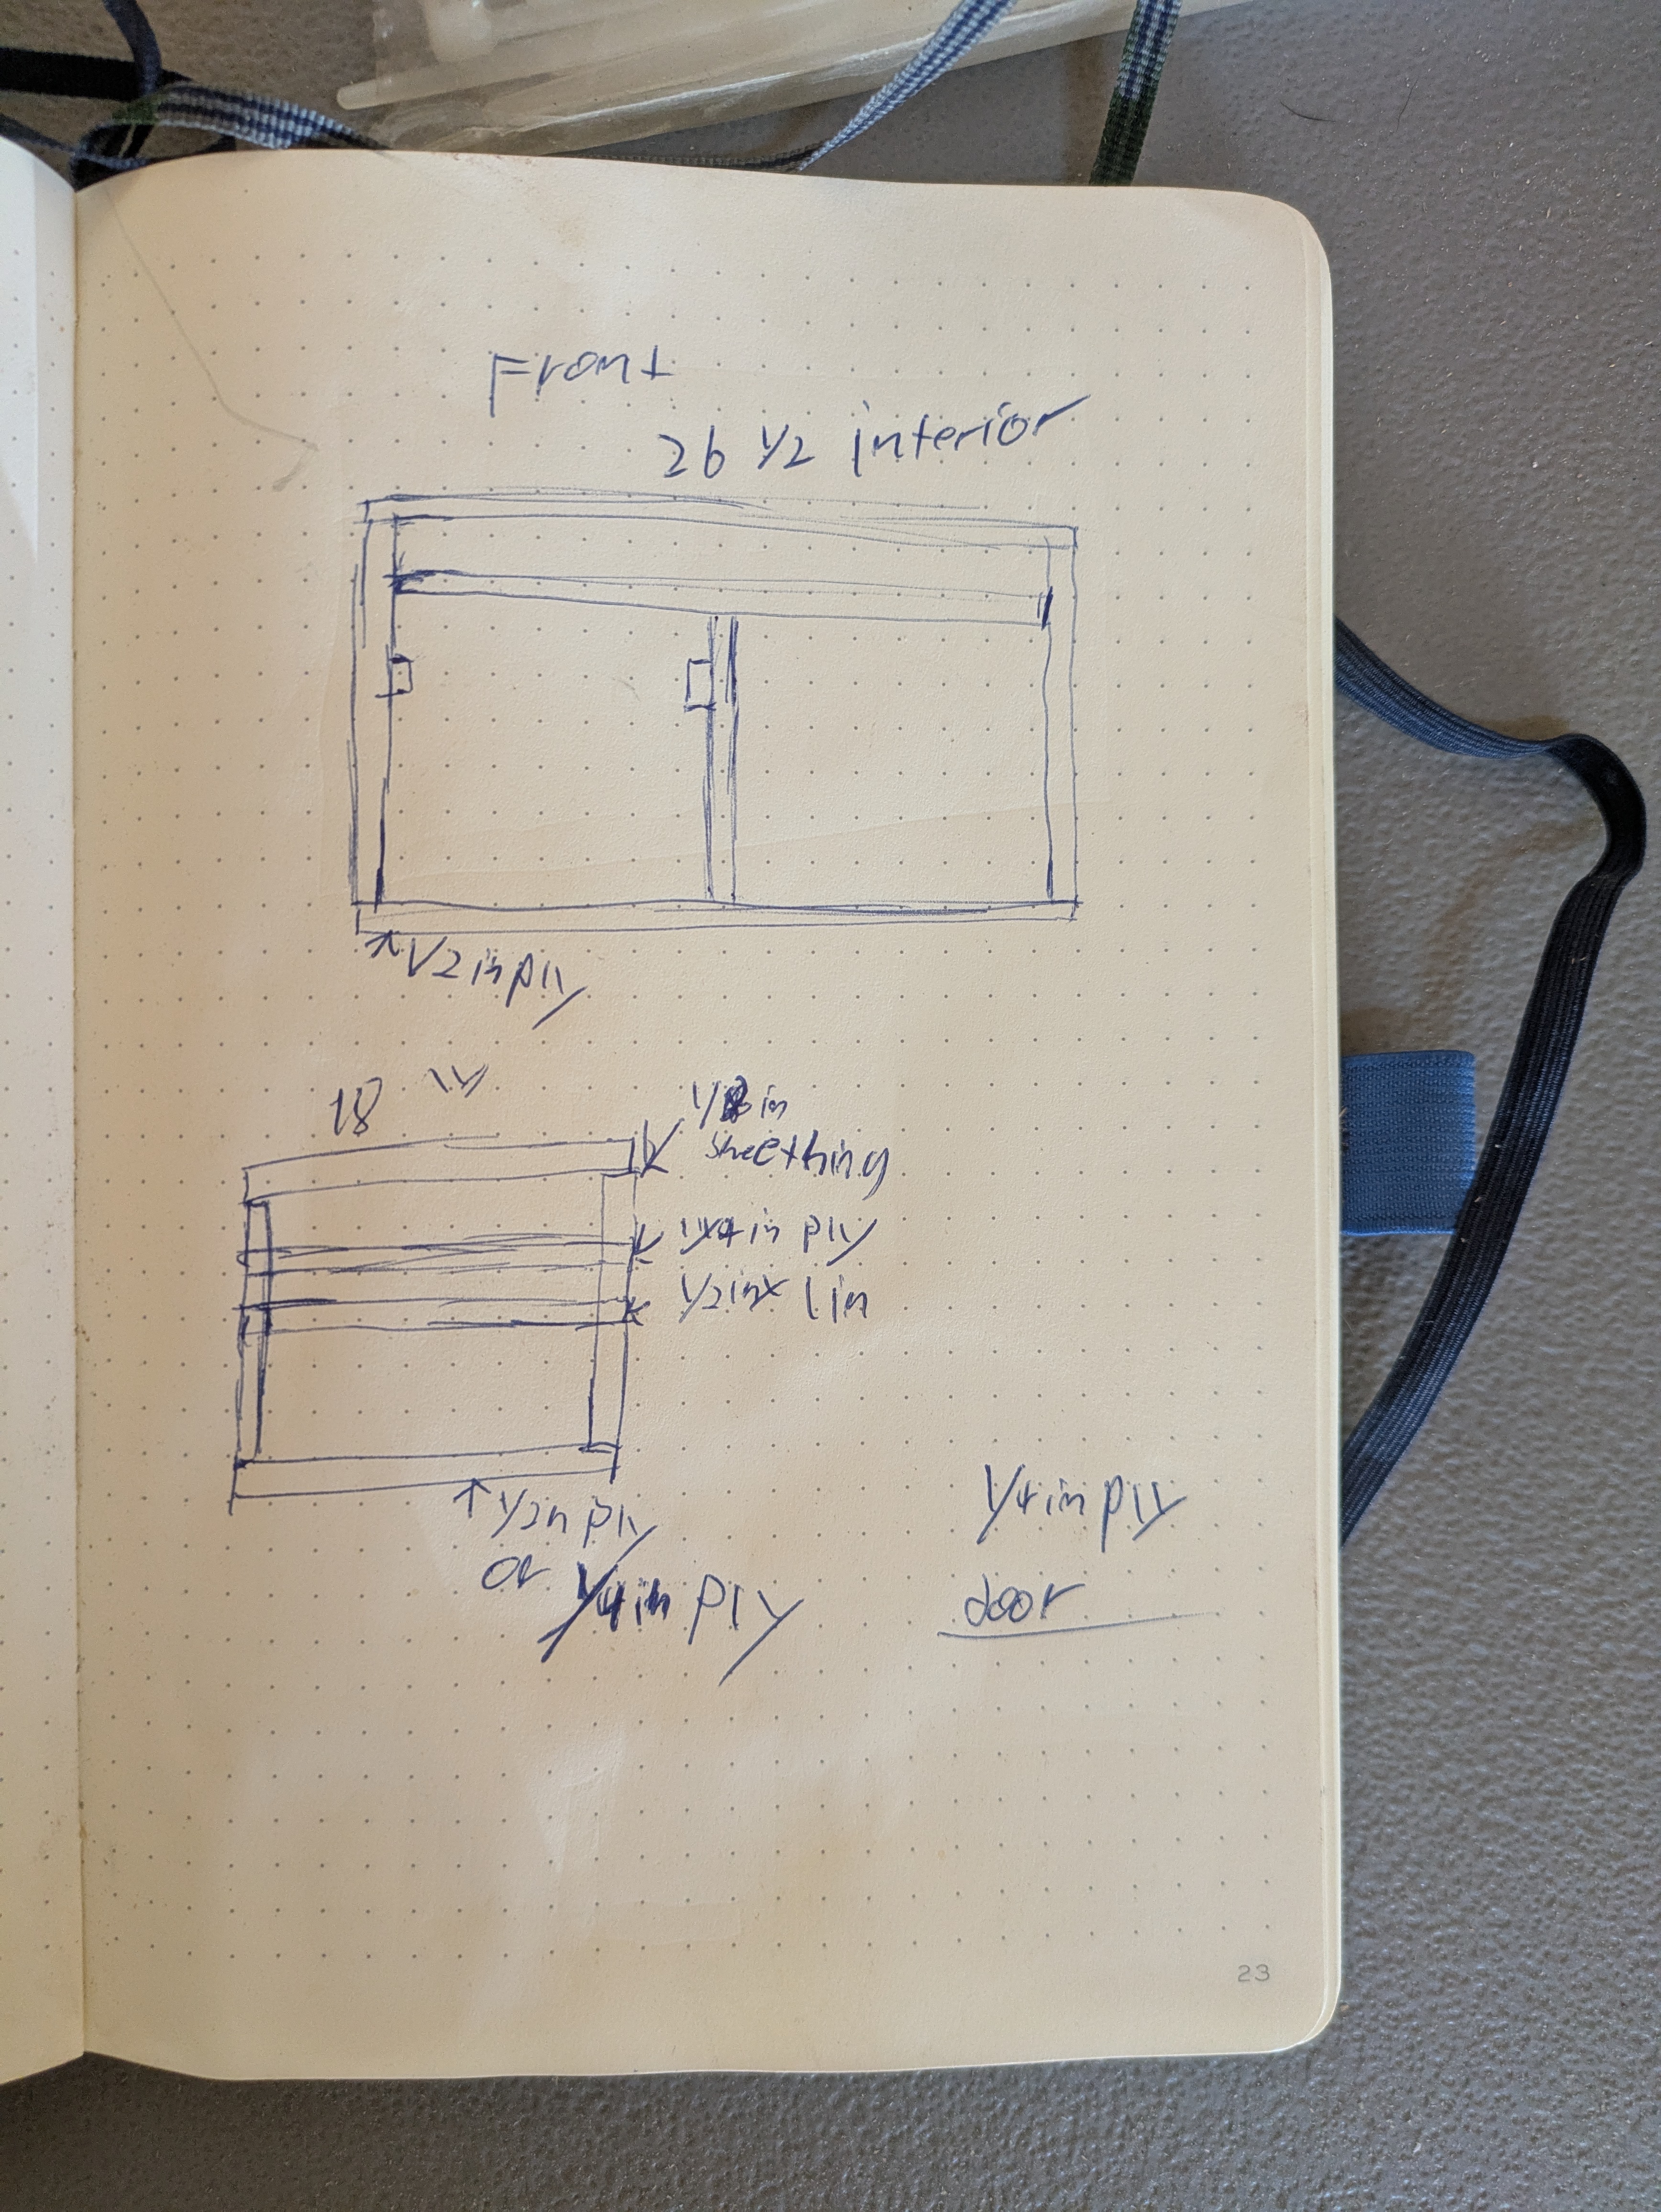
Organization
The size and shape of the design was primarily driven by the size and shape of these plastic bus bins that would be the backbone of the organization system.
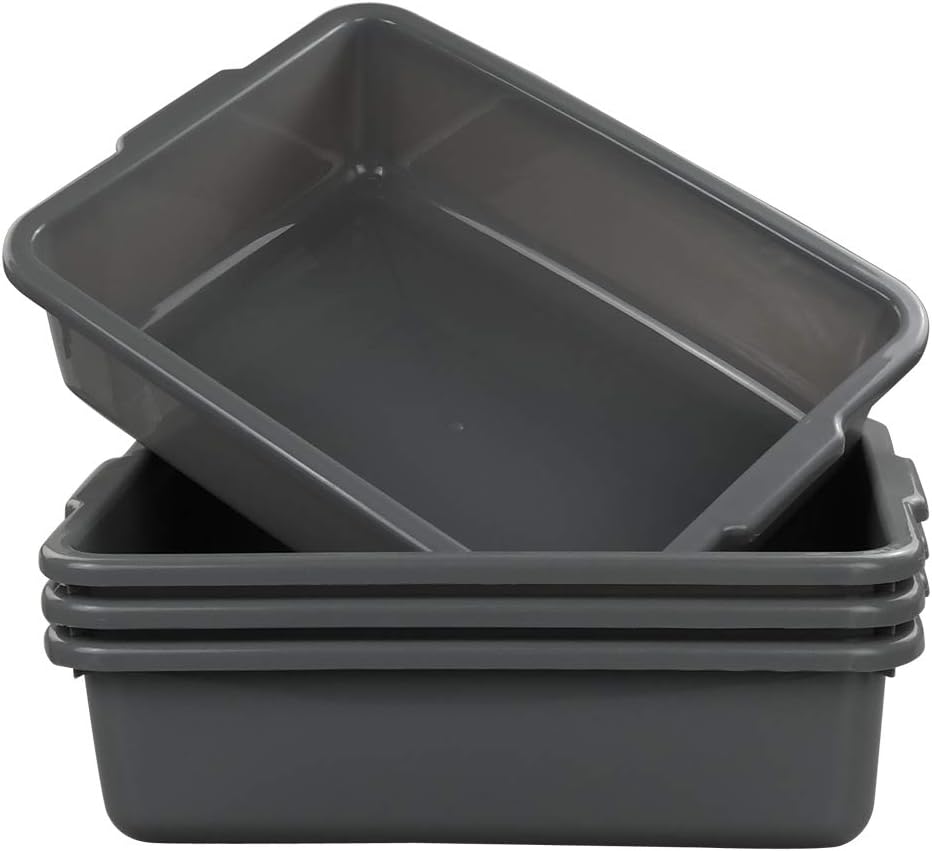
The plan was to have two on the left side to act as drawers of sorts and one on the right side to contain all of the taller items.
In addition to being the organization system the bus bins act as sink basins when doing dishes. With all three employed I could have soap, rinse, and dry zones.
The only other planned organization would be the short top shelf to store the camp stove. While the flip up design of the REI Camp Kitchen was novel, it ended up generally being more trouble than it was worth. It added complexity to the build and using the stove on top of the chuck box really only worked for me at 6’4”. More averaged height individuals struggled to use it effectively. Finally if I find myself wanting to use the stove in that fashion due to limited space, I can still just set the stove on top of the chuck box.
Weight reduction
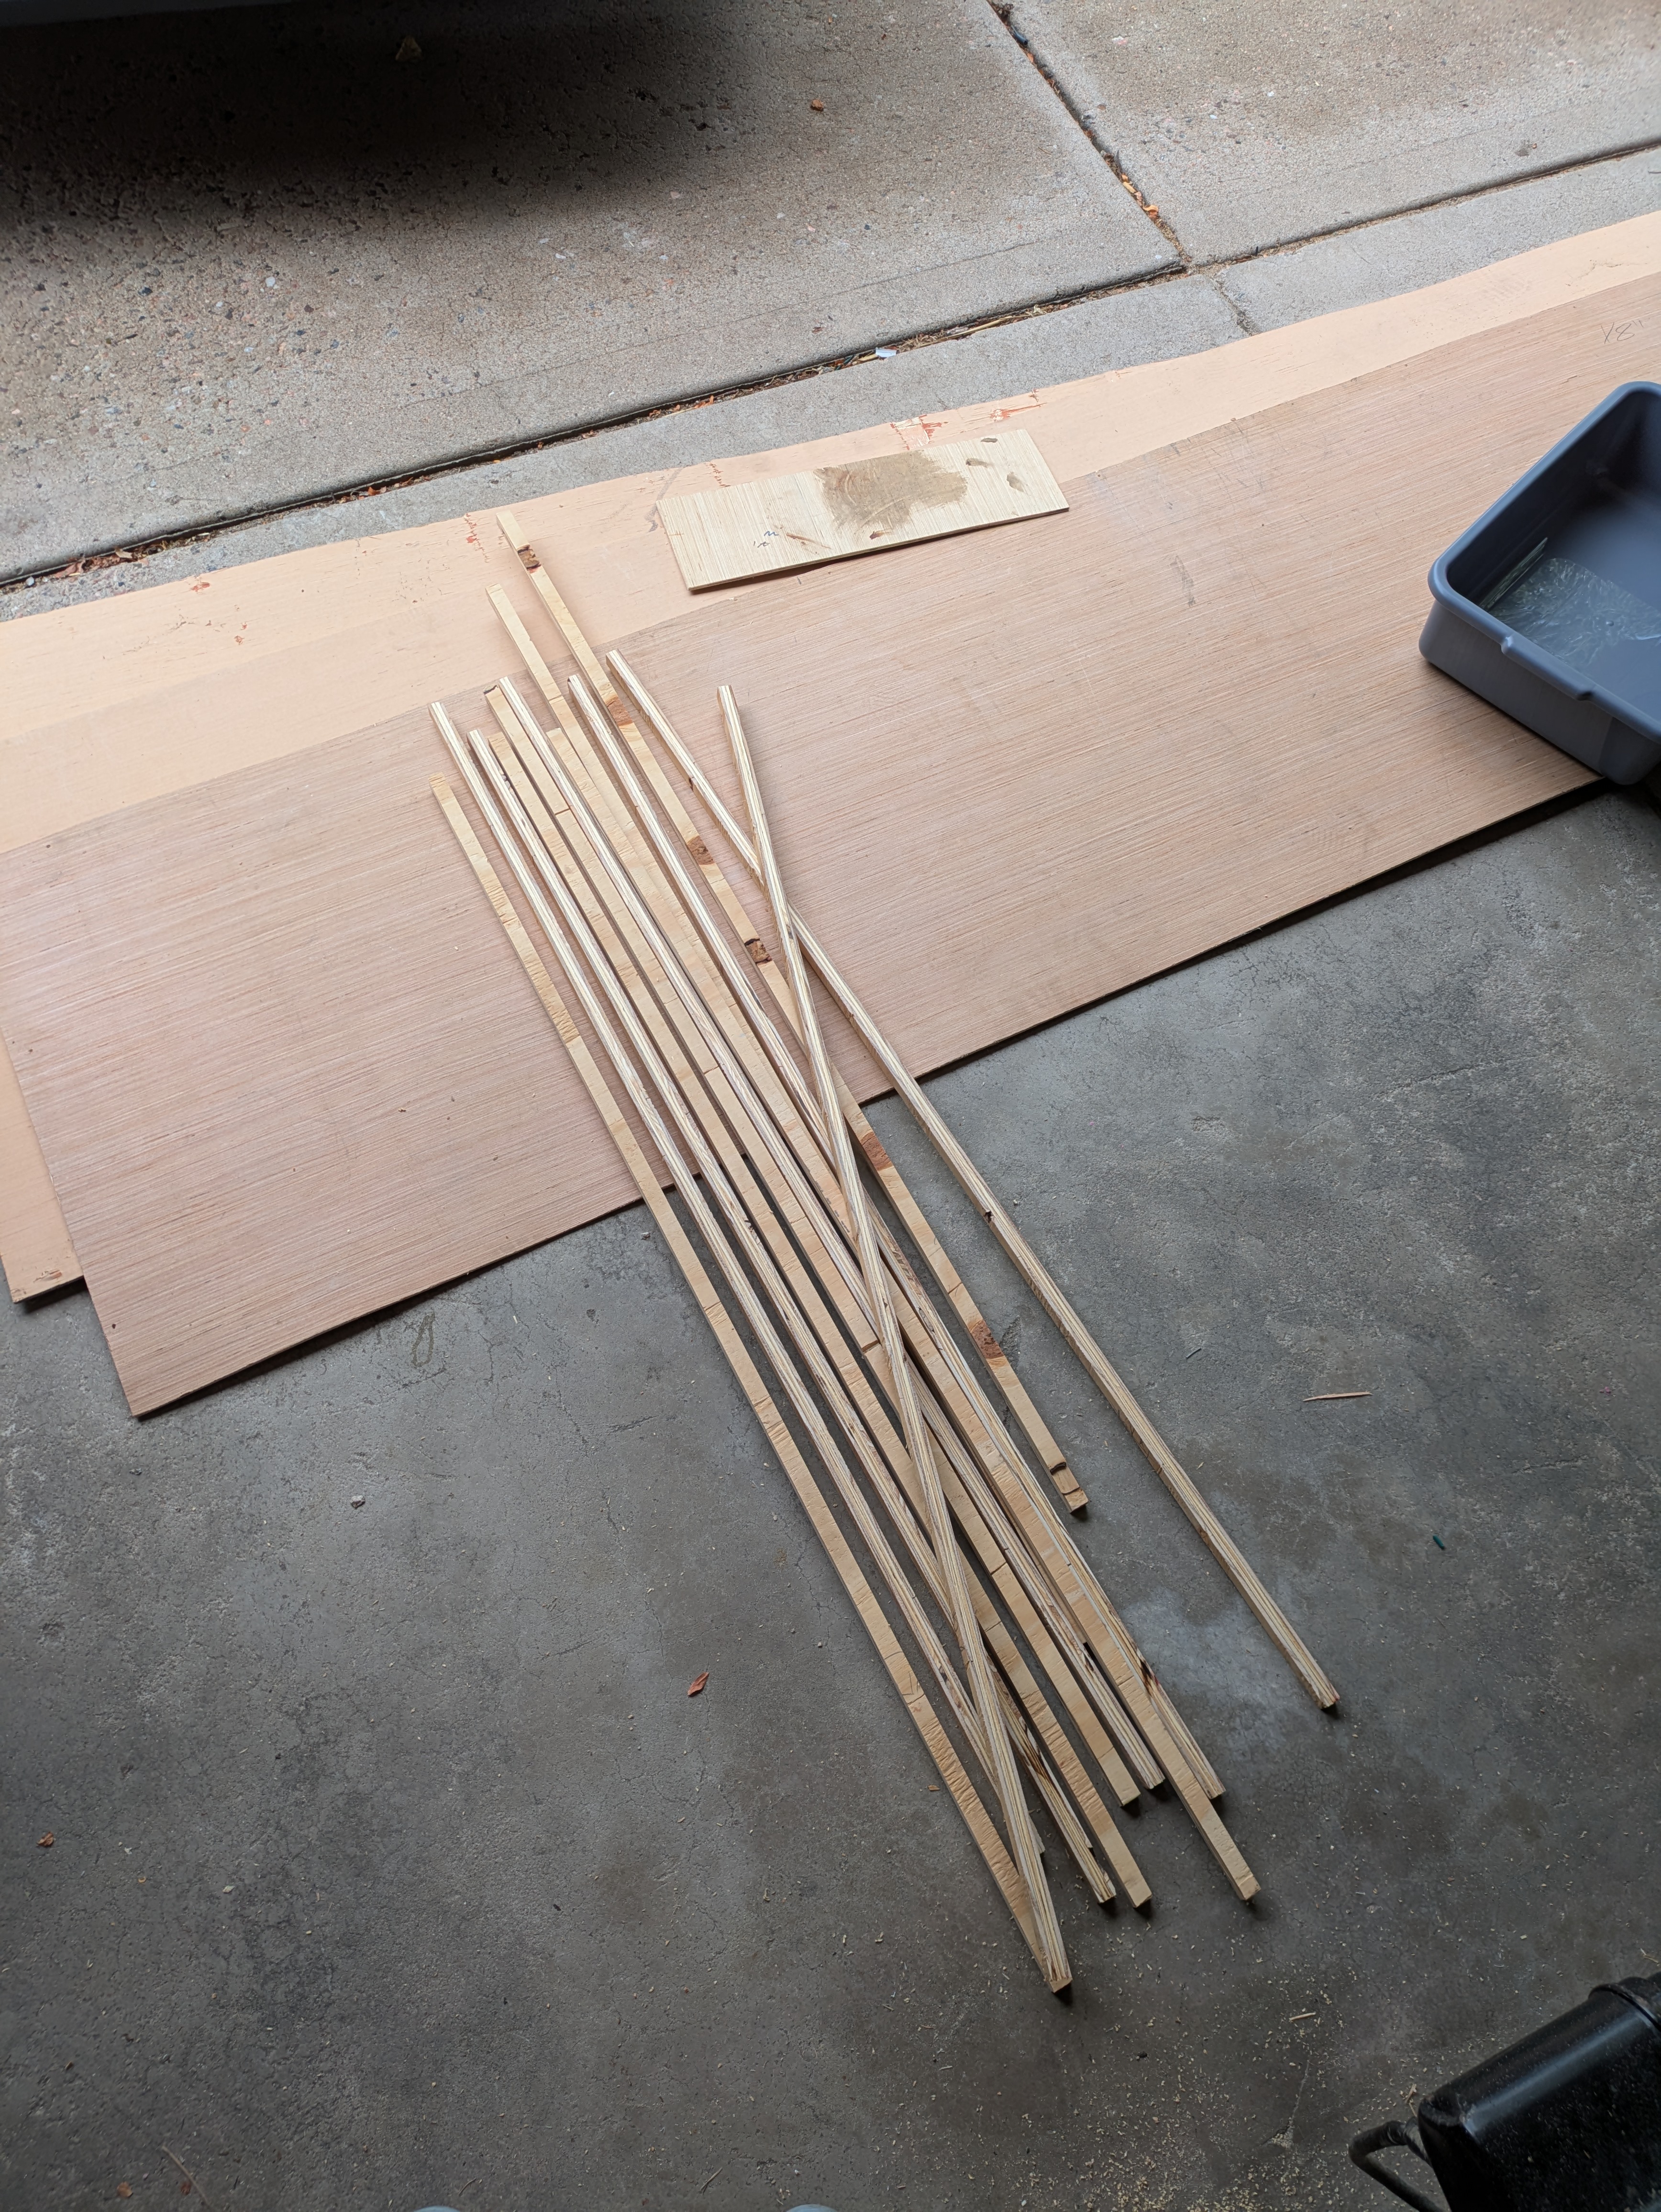
The next issue to tackle was weight reduction. I didn’t have a target weight but anything lighter was going to be better. Looking in my garage I realized I had plenty of scrap 1/8” sheets of plywood to try to design a prototype using what I’ve been calling a “skin on bones” construction.
The general idea would be that I would frame out a lightweight box with thin strips of wood (the bones) and then cover the bones with the 1/8” sheets of plywood (the skin).
- Rigidity would be accomplished with the bones.
- Racking of the box would be prevented with the thin plywood, acting like the sheathing on a 2x4 framed structure.
- Weight reduction would be accomplished with not using an entire sheet of 1/2” plywood to build a box.
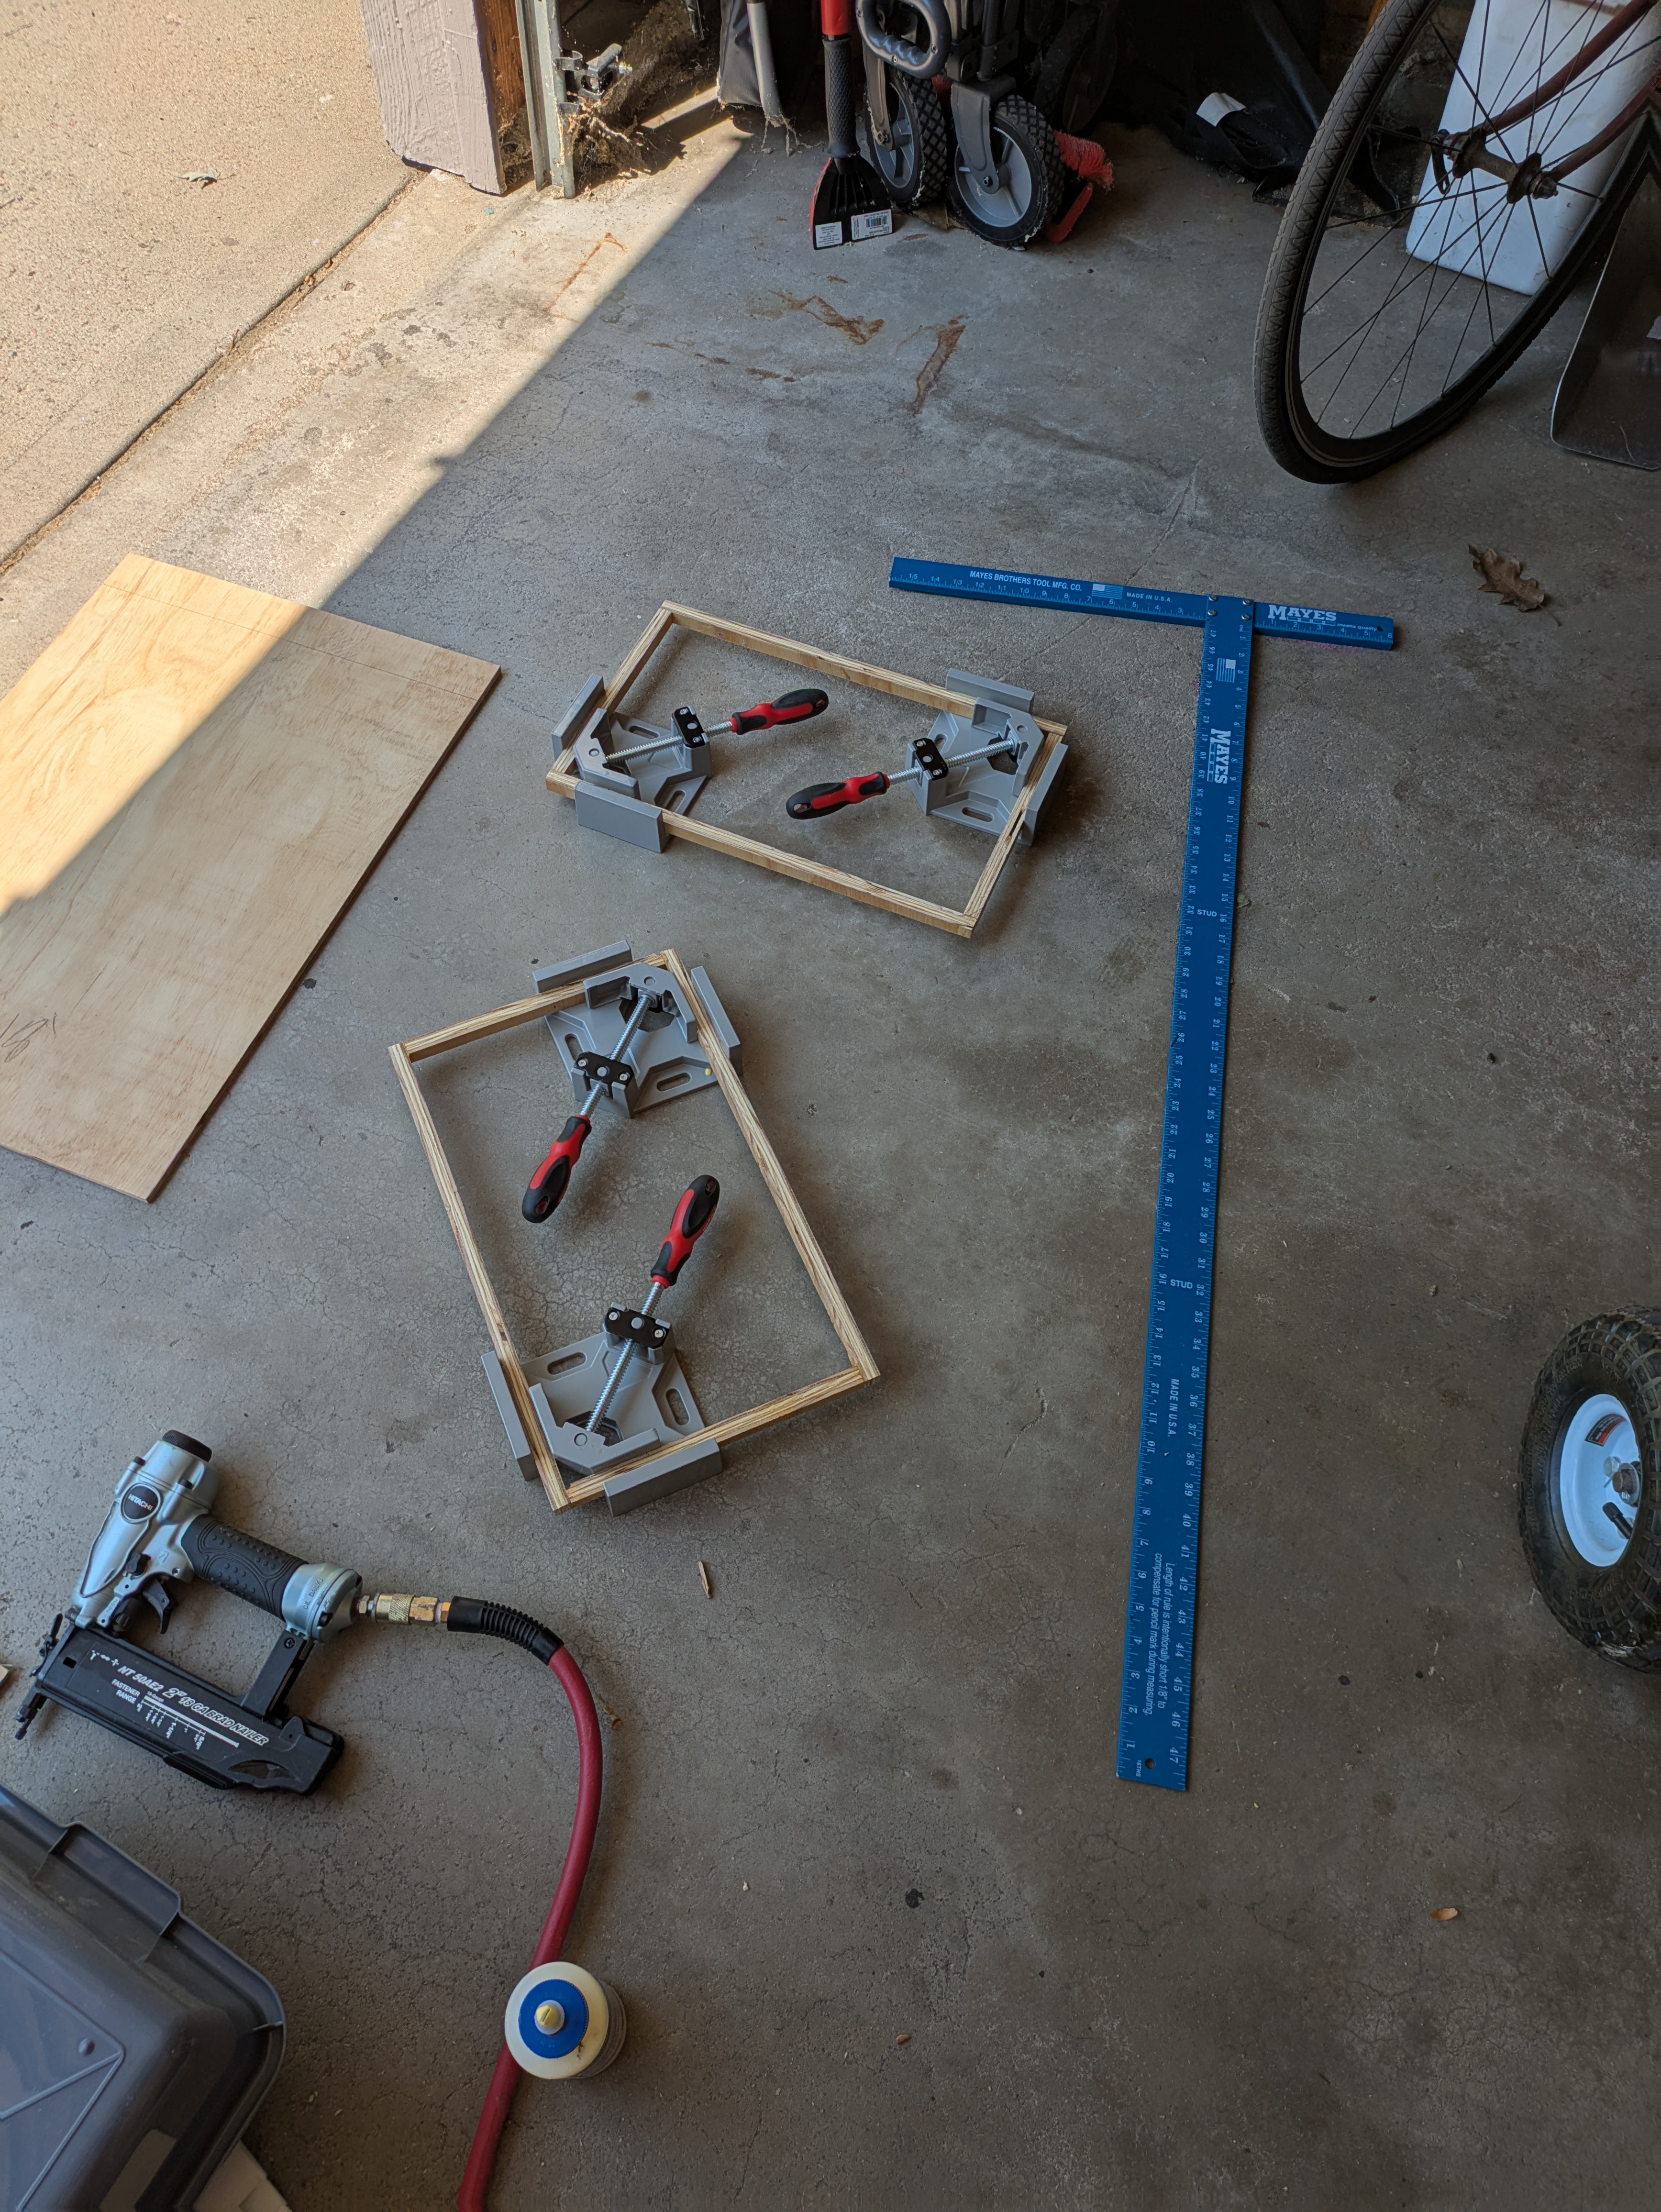
Construction
Unfortunately I didn’t have nice strips of 1/2”x1/2” which would have been my preferred material for the bones, but what I did have was a random piece of scrap 9/16” plywood and a table saw.
Ripping them down into strips yielded plenty of material to experiment with.
Next I constructed two boxes that would make up the right and left sides of the box.
This is where I made my first mistake that will be resolved in v2 of this chuck box. The boxes I framed out here are the area below the shelf that will hold the stove. This would require me to make a small extension to this framing to have the full height of the box. In an effort to cut as much weight as possible I only framed out 3/4 of the top box which made getting the top portion squared up extremely difficult.
Next the initial frame up could occur. I used a slightly thicker piece of plywood for the bottom to add strength, and 1/8” plywood for the top shelf. I was initially concerned about bowing in the middle of the shelf when the stove would be sitting on it but the center support pieces in the middle of the box added enough rigidity to make it work perfectly.
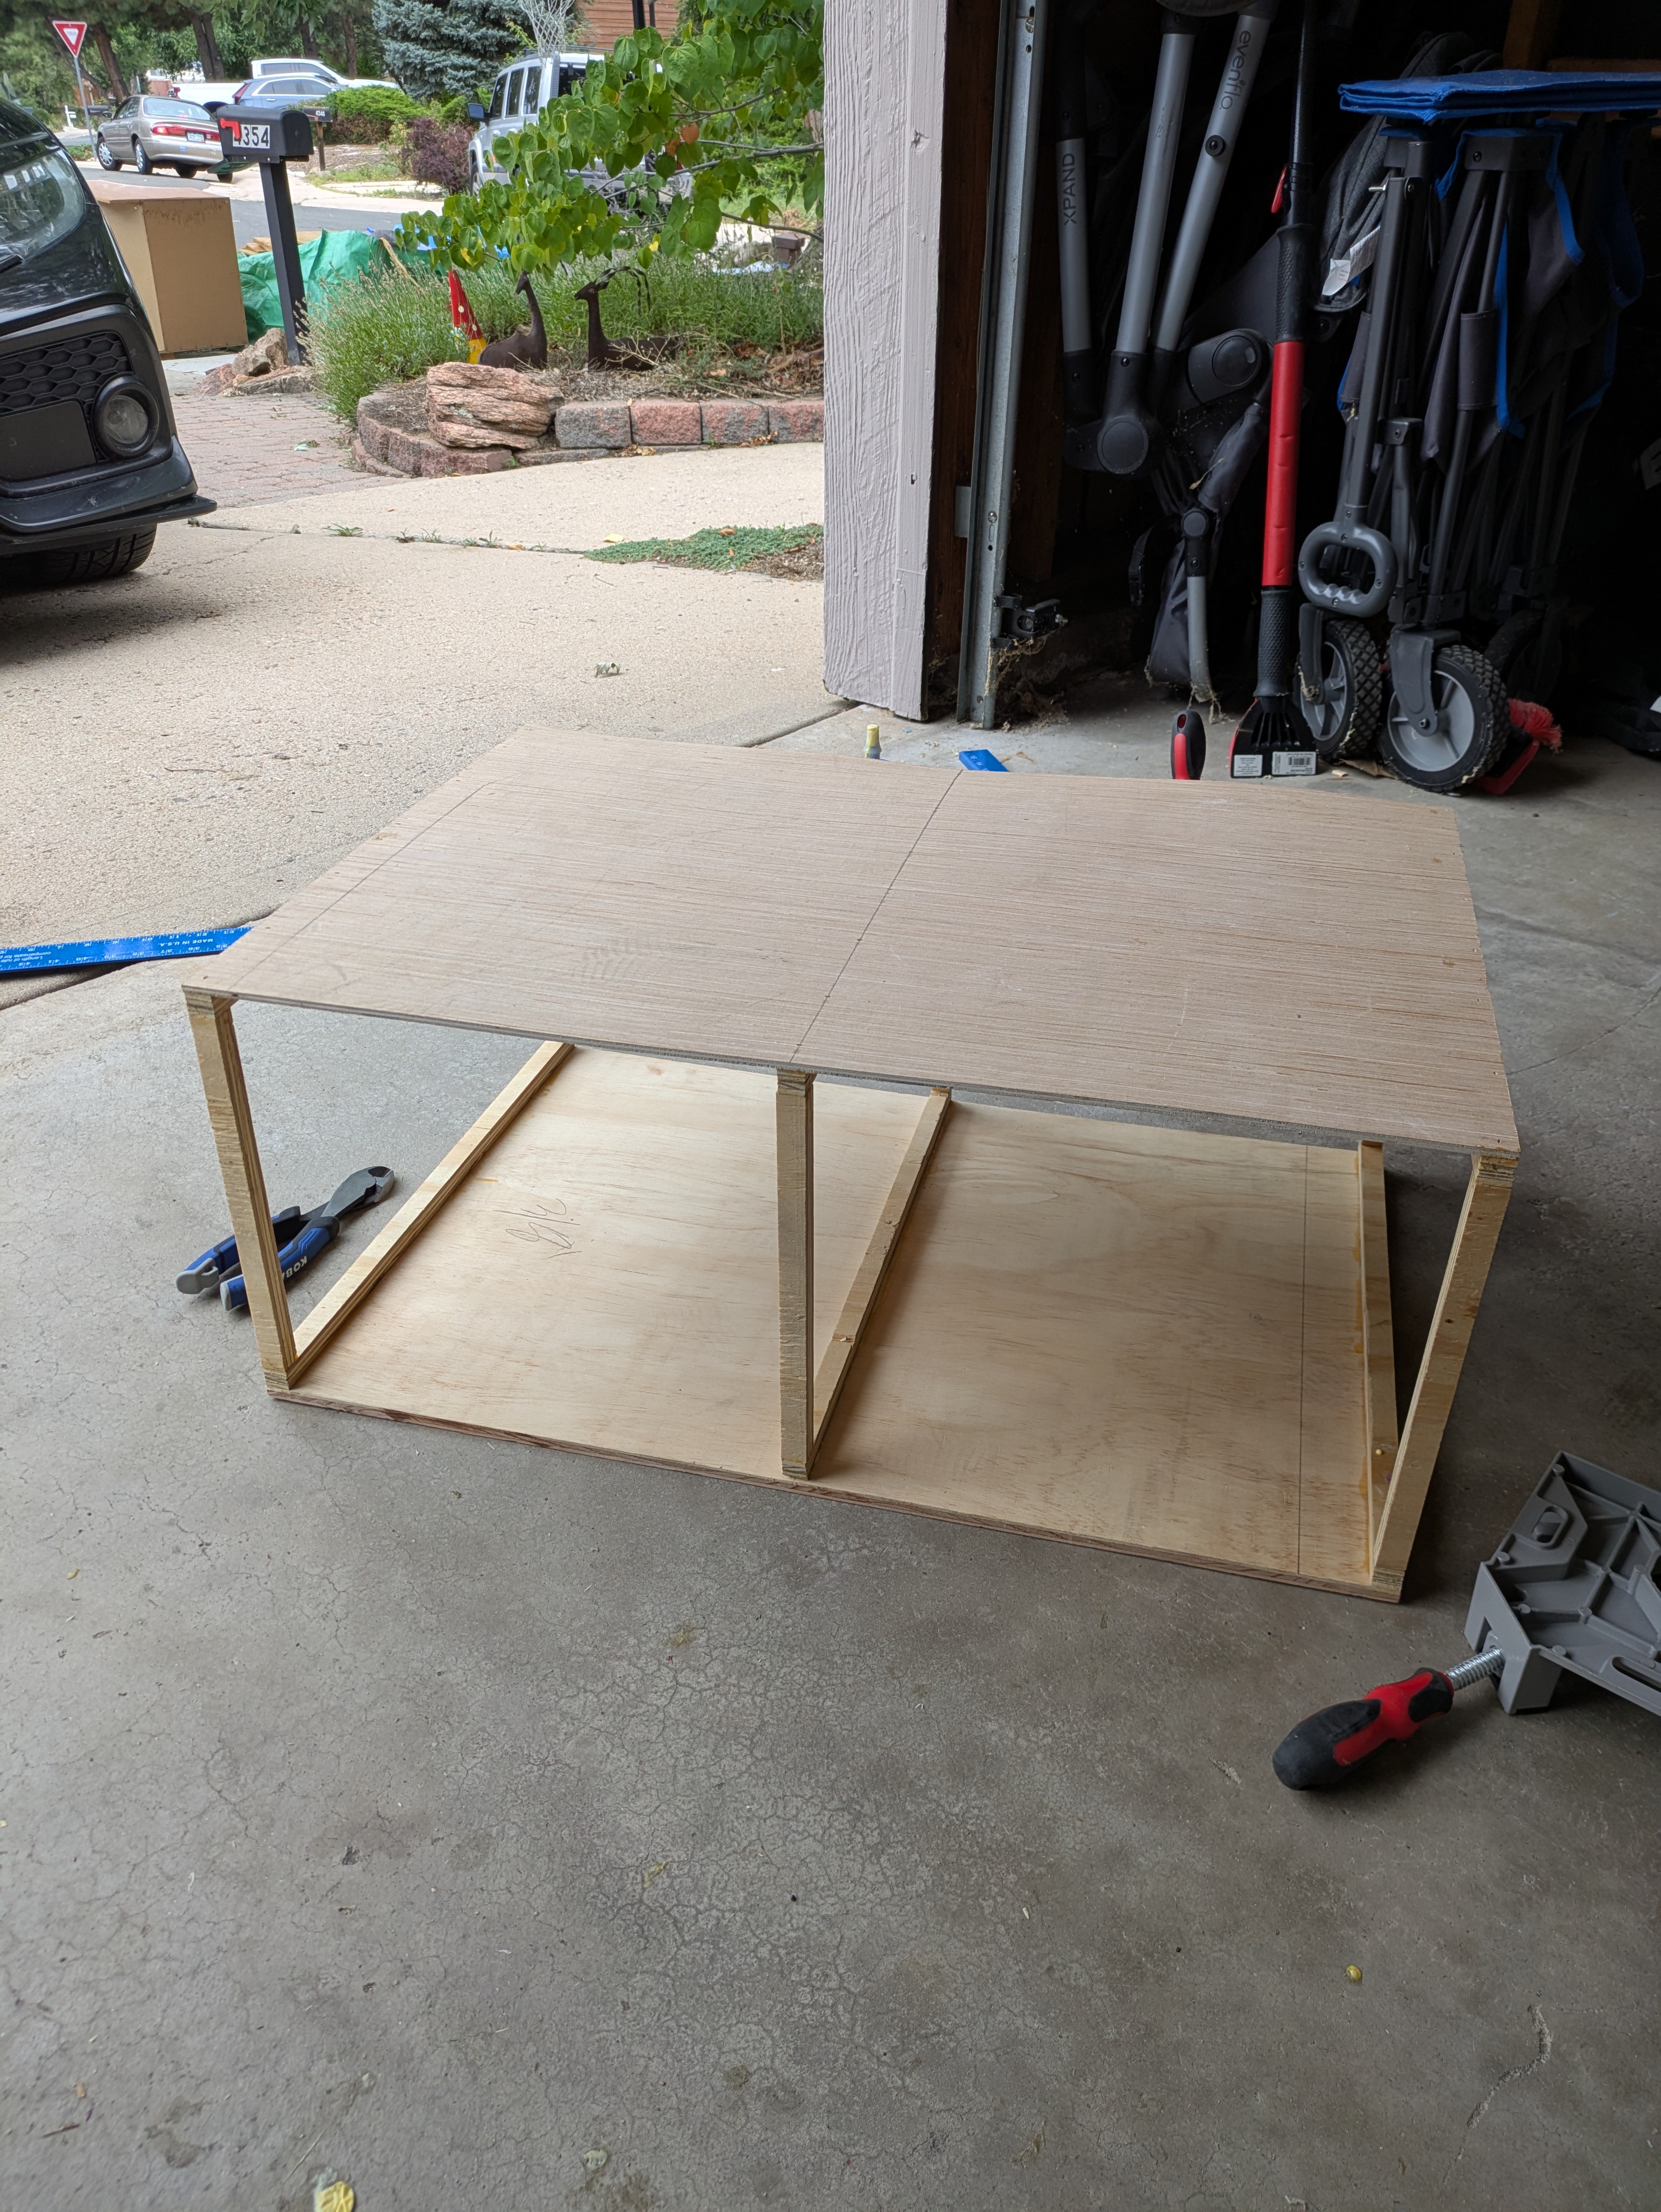
Several steps are missing here as I struggled to get the top of the box attached securely and squared up. Once that was attached I was able to cut panels to sheath the sides and top of the chuck box.
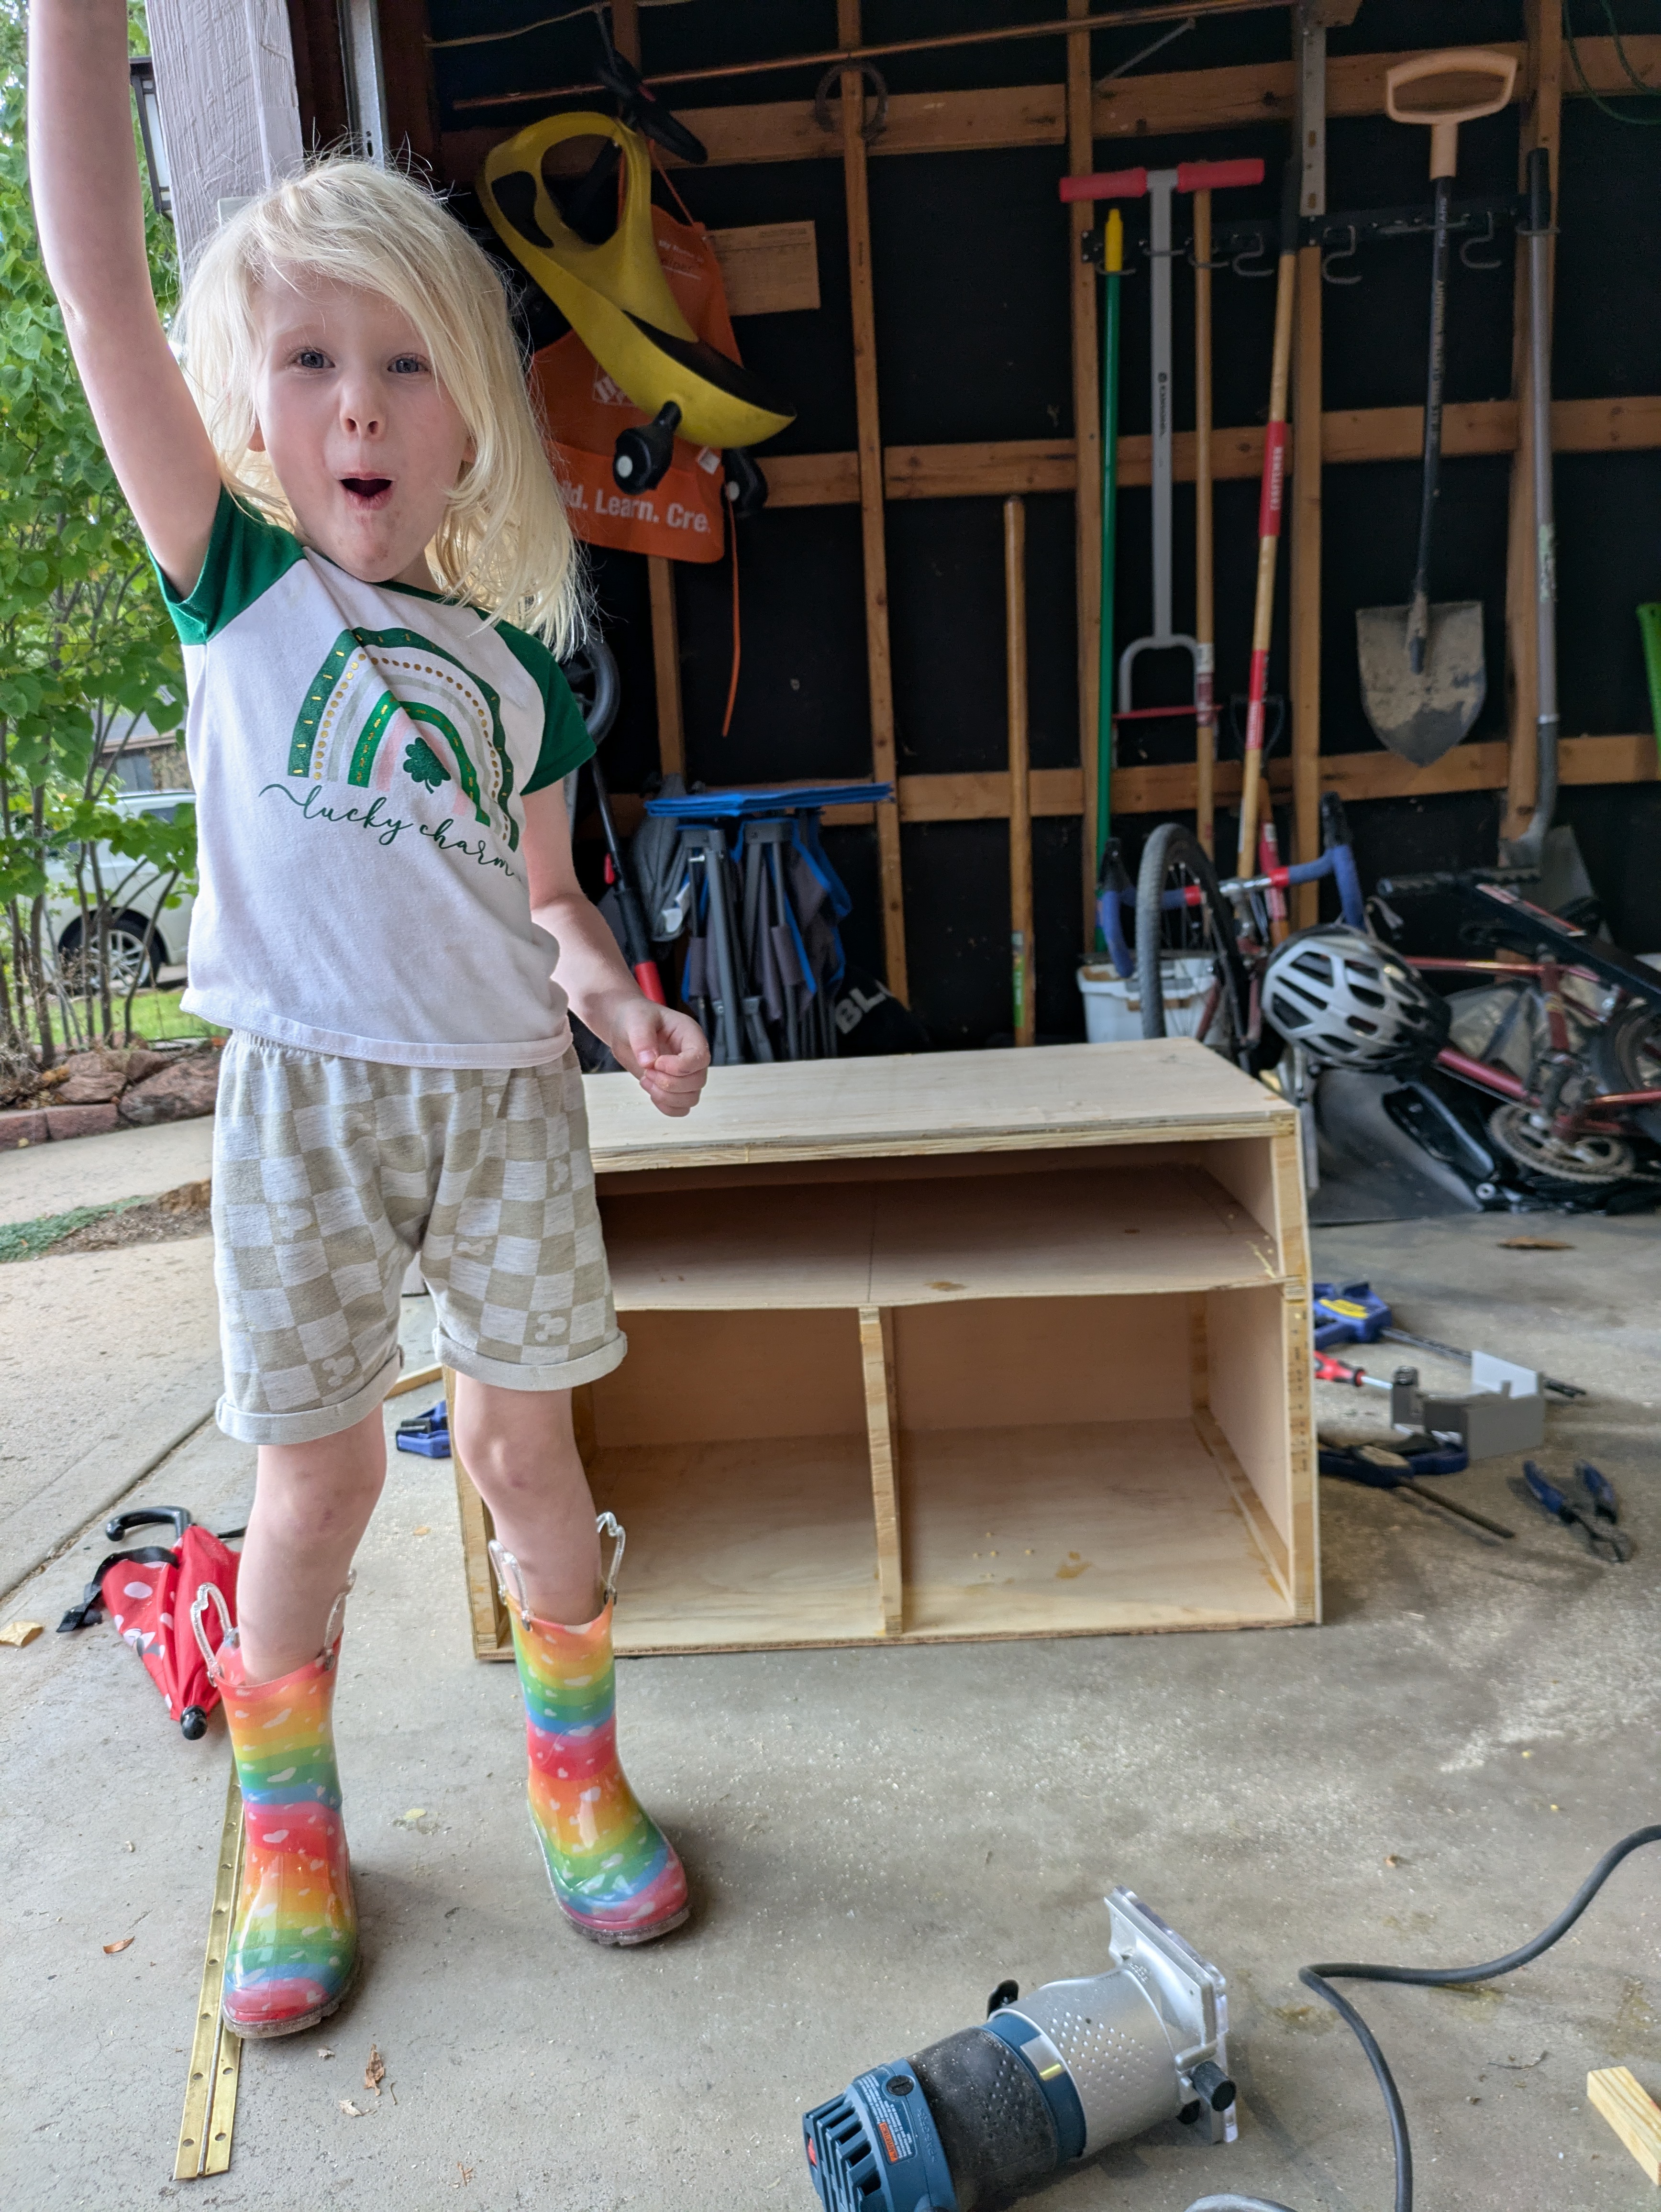
This may look like a big jump in steps but its really only painting, attaching the front door, and loading up the chuck box.
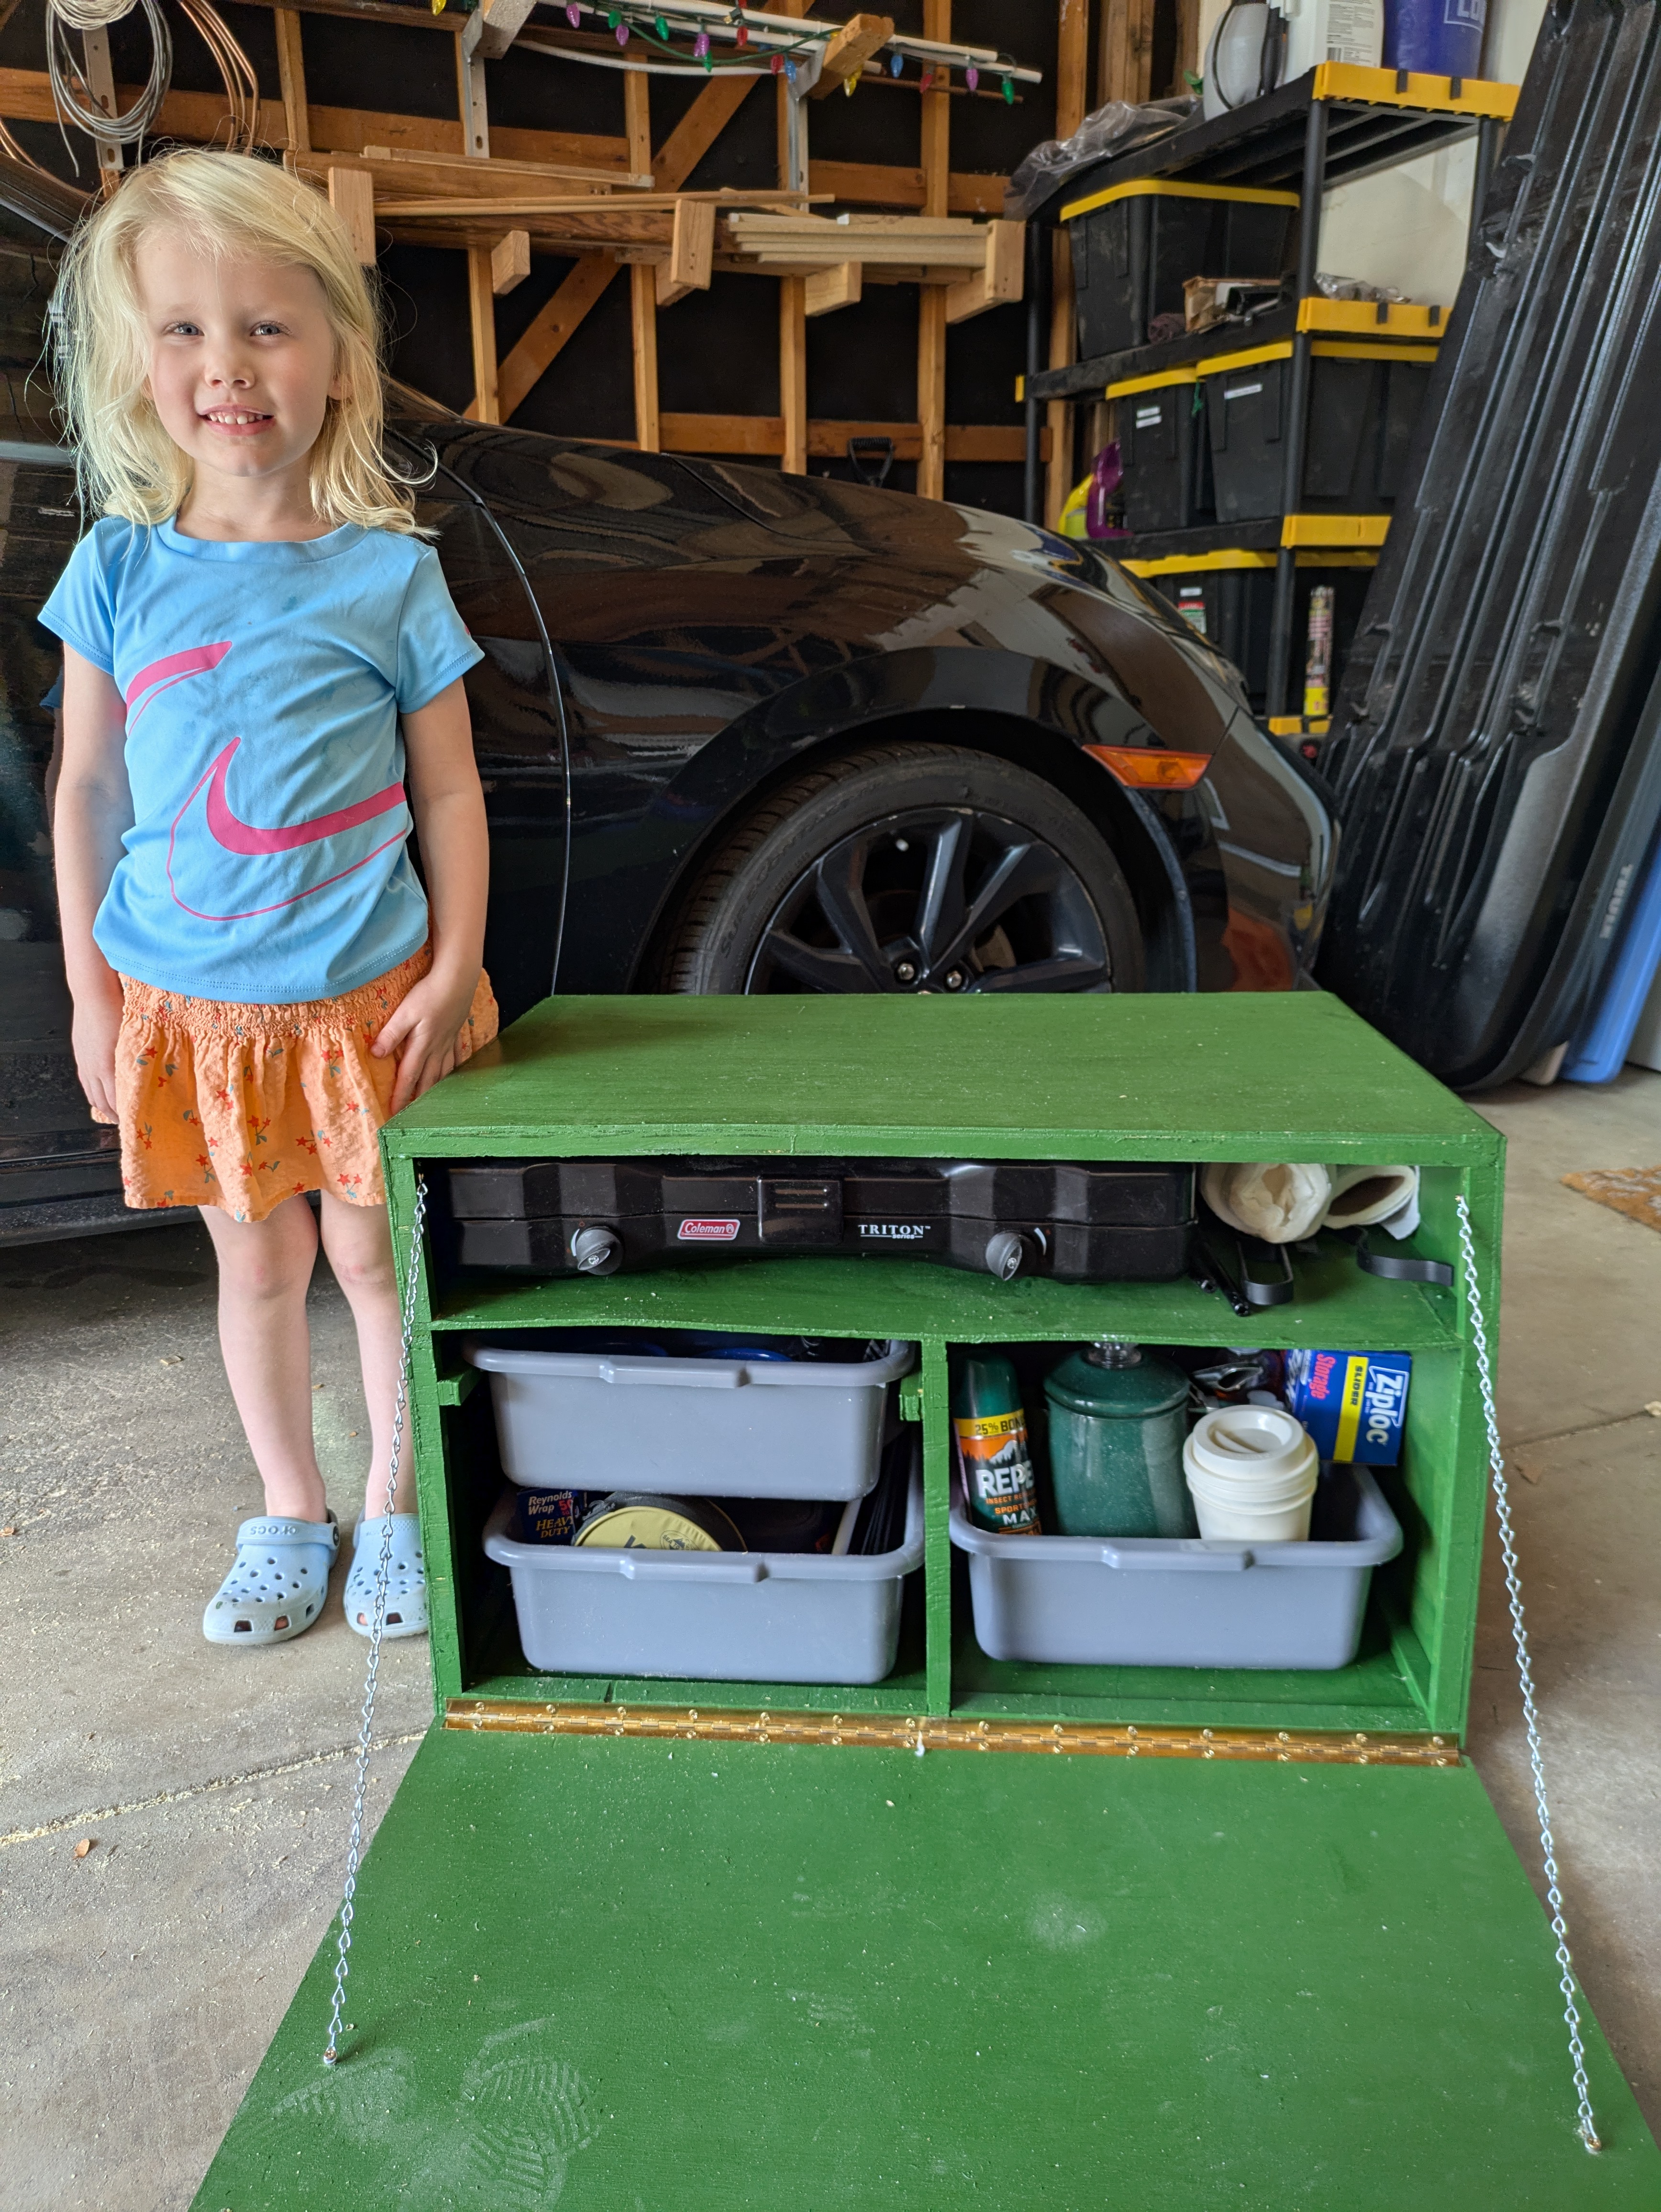
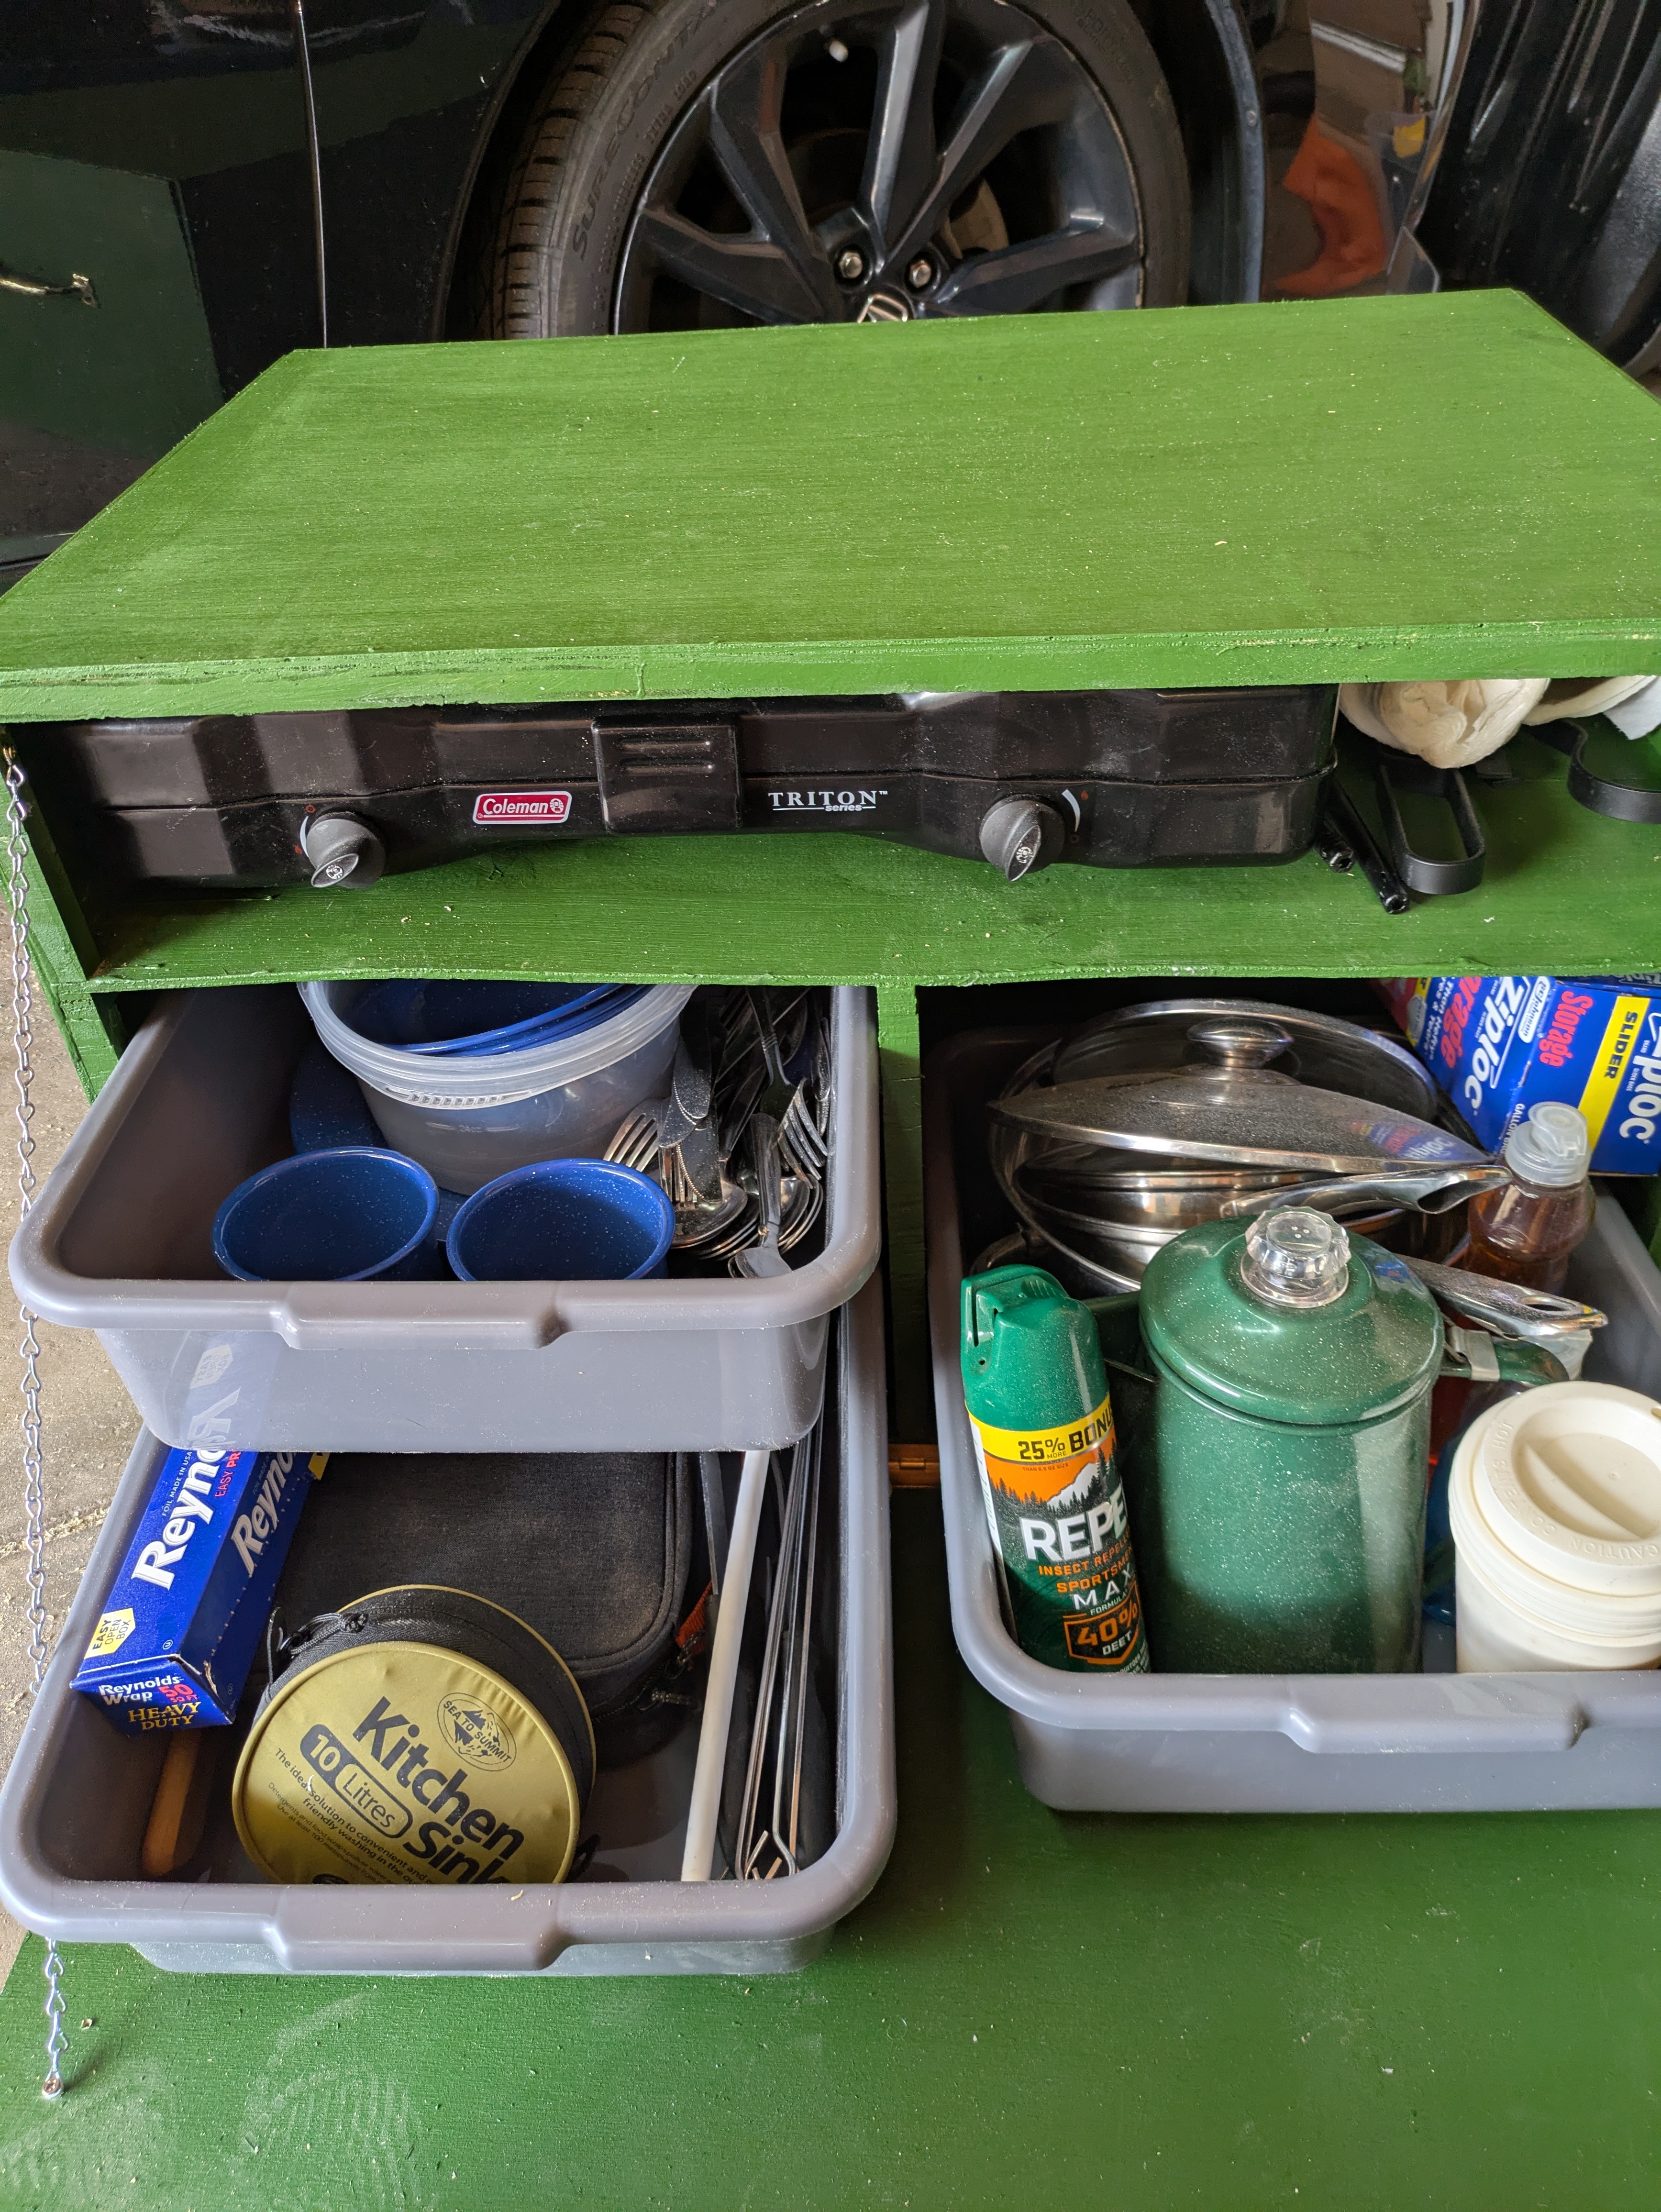
All in all very happy with how the storage ended up working out and the end weight of the empty chuck box (18lbs) is much more manageable. In addition to being lighter it is also smaller in every dimension than my previous build.
I’m also pretty happy with the general buckets of organization that came out of loading the chuck box back up. Behind and next to the stove are a few rolls of TP and paper towels. The bins are roughly divided into three categories.
- Dishes and silverware
- Cooking utensils
- Pots, pans, and tall things
All in all I’m very happy with the prototype and feel like I have lots of small improvements for the construction of v2.