Sauna Framing
Next on the Sauna Build series is framing! The plans for this build are based on these 8x12 Shed Plans I got from a seller on Etsy. I ended up making some minor modifications, like moving one window to another wall, and using a pre-hung exterior door, but all in all these plans got me 85% of the way to what I needed and were a great foundation to apply modifications to.
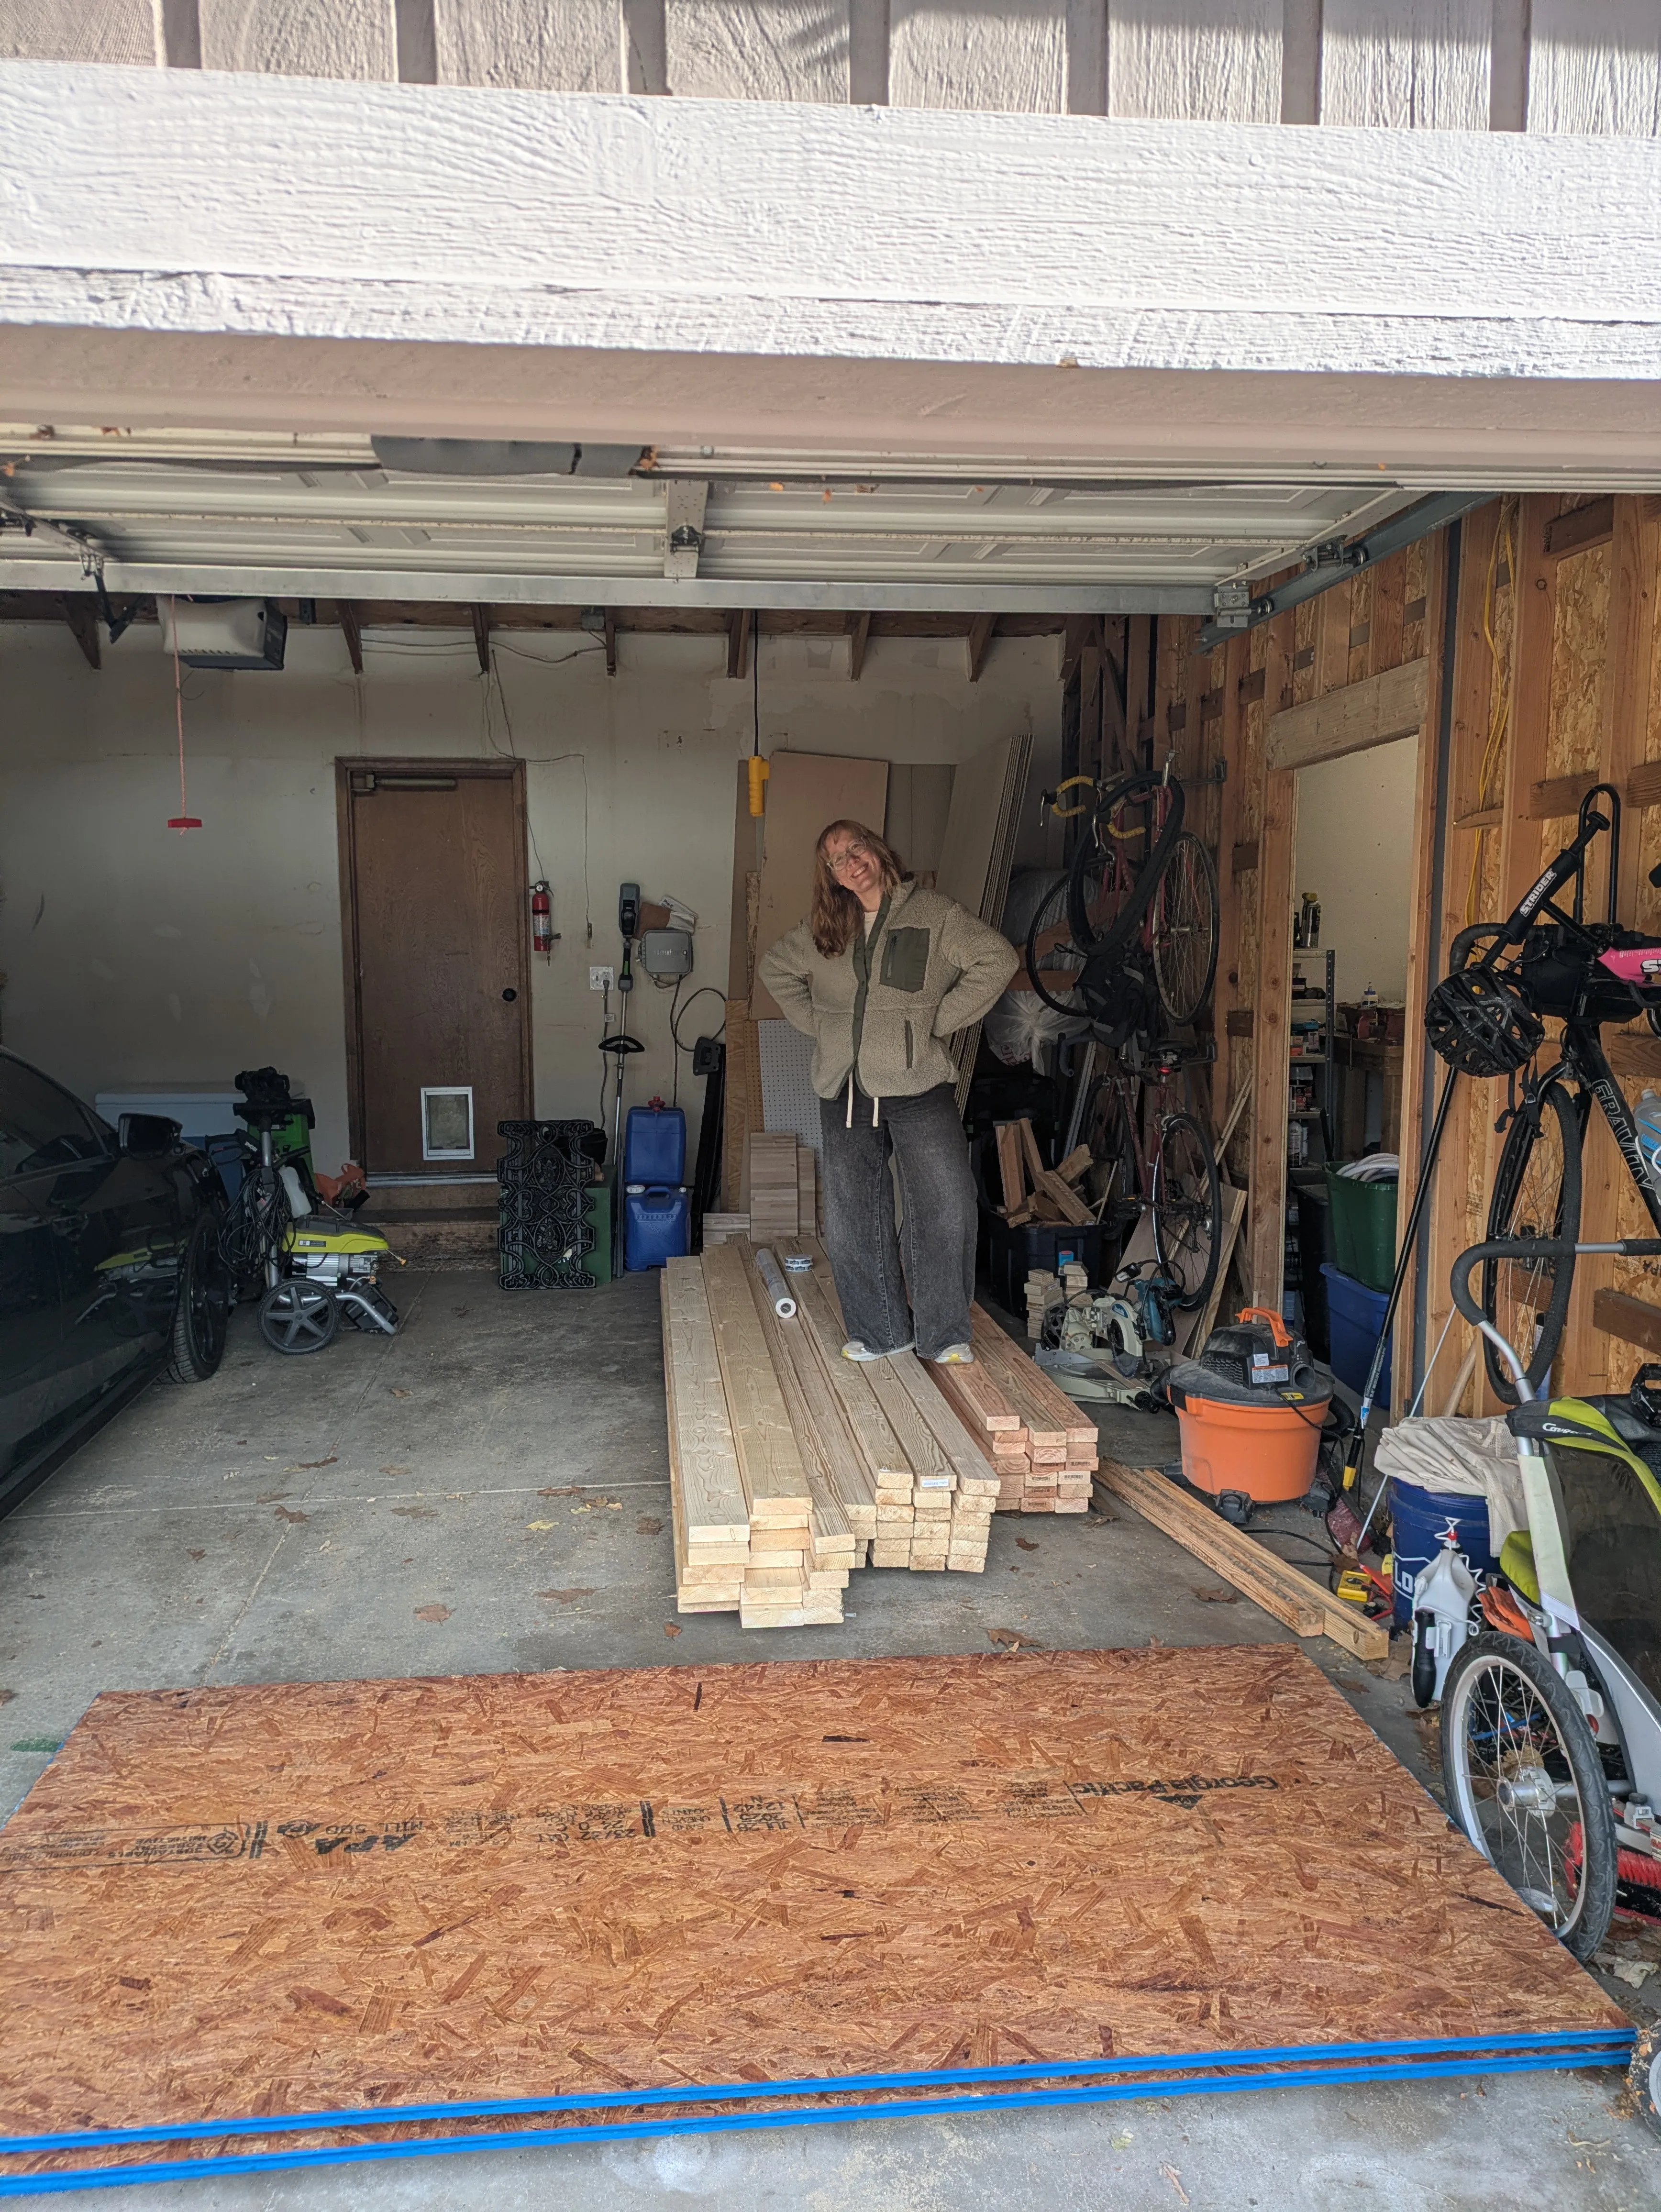
One big benefit is that it had a materials order list as part of the plans, which made getting this stack of lumber delivered from Lowe’s super easy.
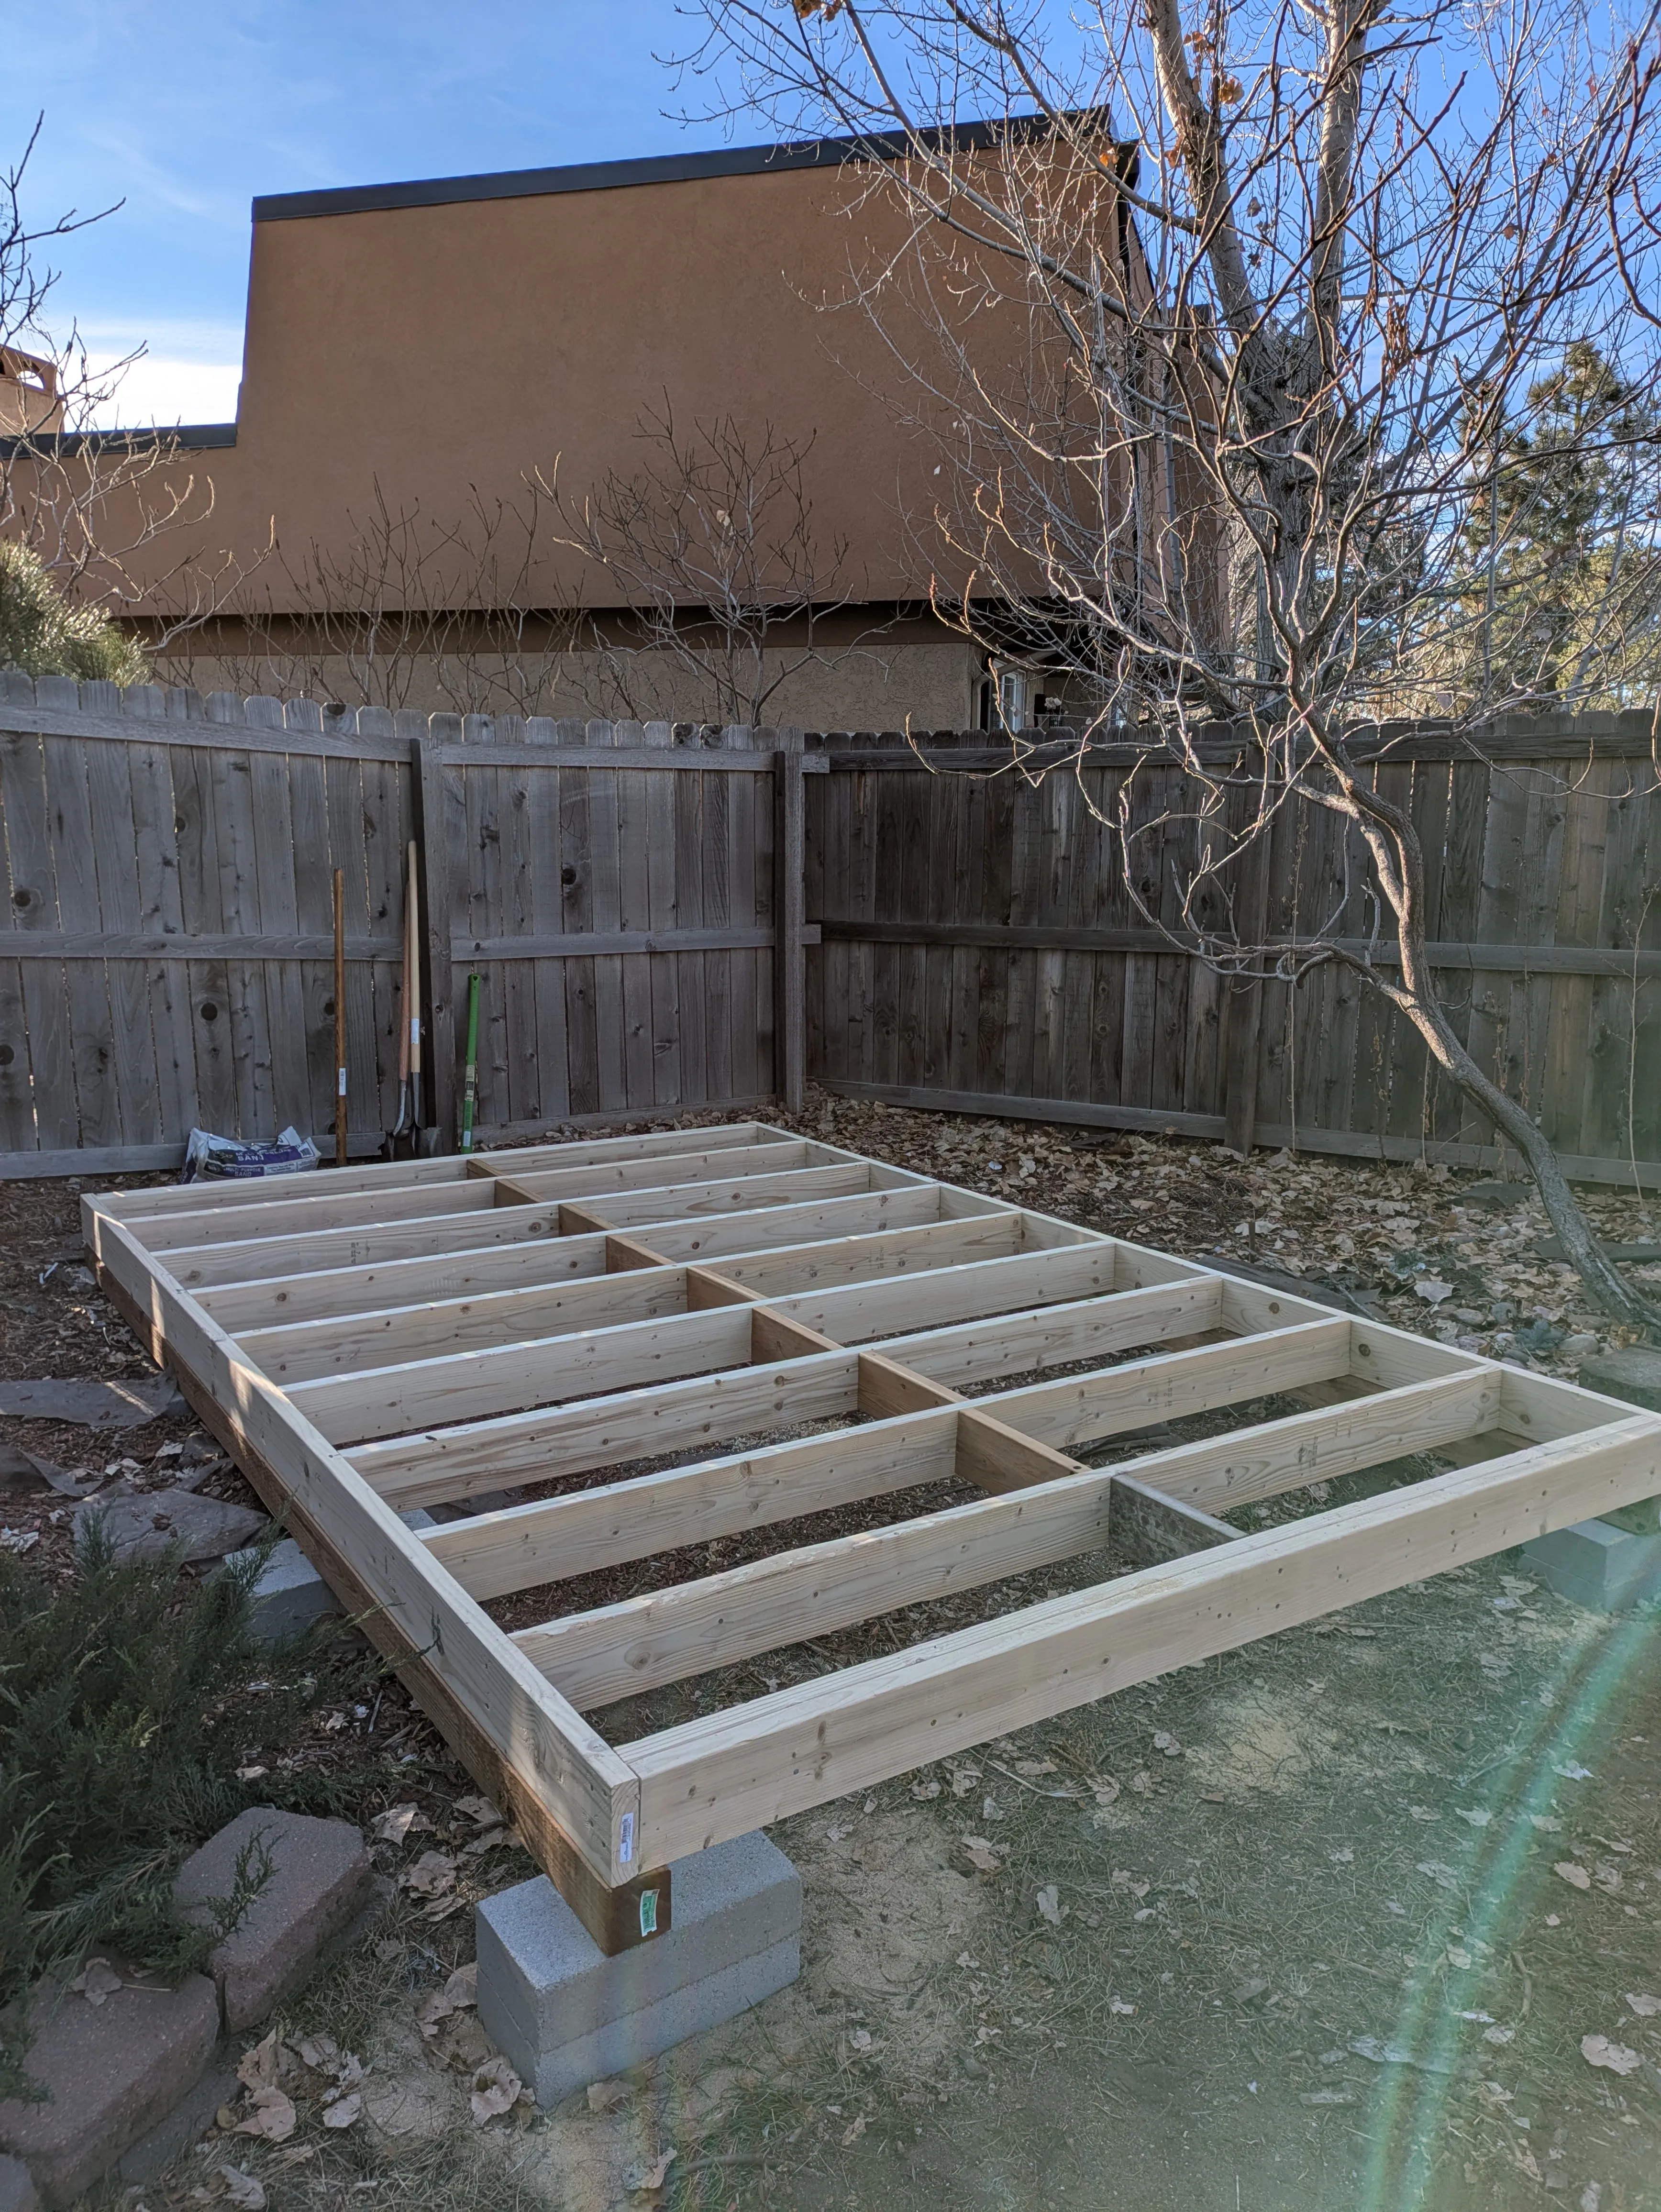
First was framing out the floor. The only modification I made to the plans here was adding blocking between the joists. Probably not strictly necessary, but I had some leftover 2”x6” from a previous project, so it was a good use for them.
The next deviation from the plans was that I wanted to add insulation to the floors. First, I added some furring strips in the joist bays for the insulation to sit on.
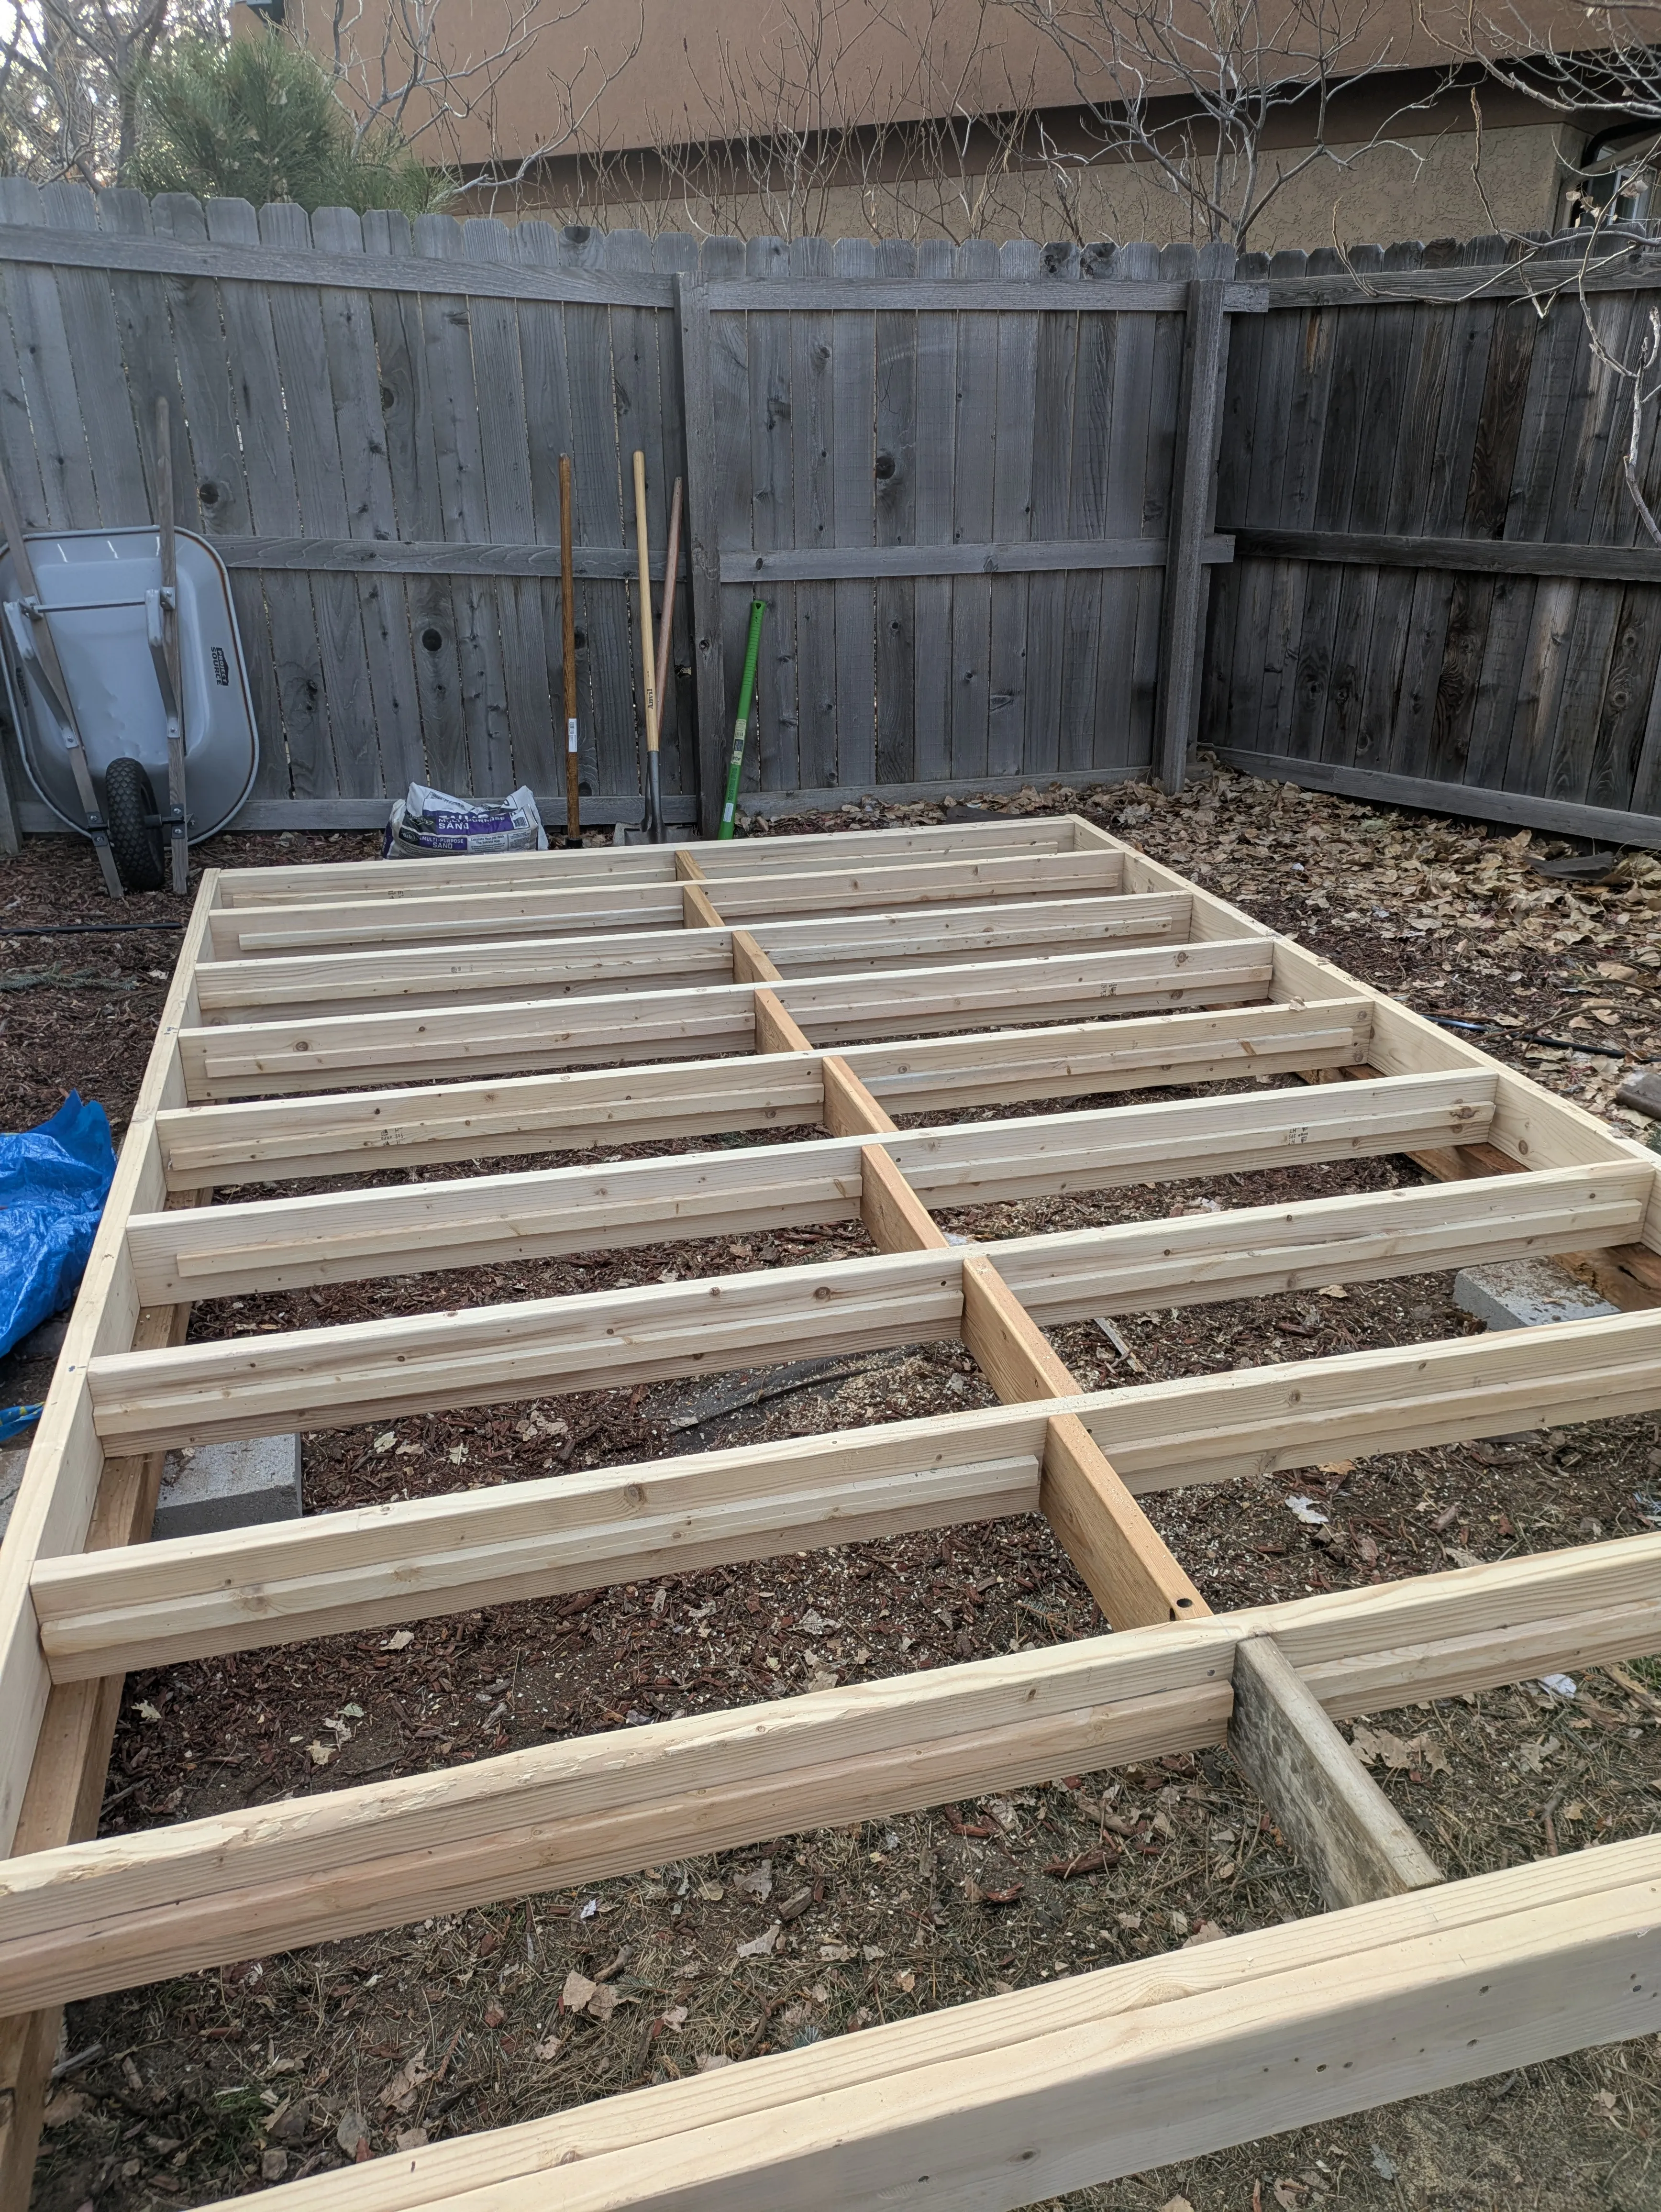
With the furring strips in place, rigid foam board was able to slide right in. Insulating the floors will have two benefits. In the hot room, it will help with heat retention, and in the changing room, it should hopefully keep the floors from getting too cold in the winter.
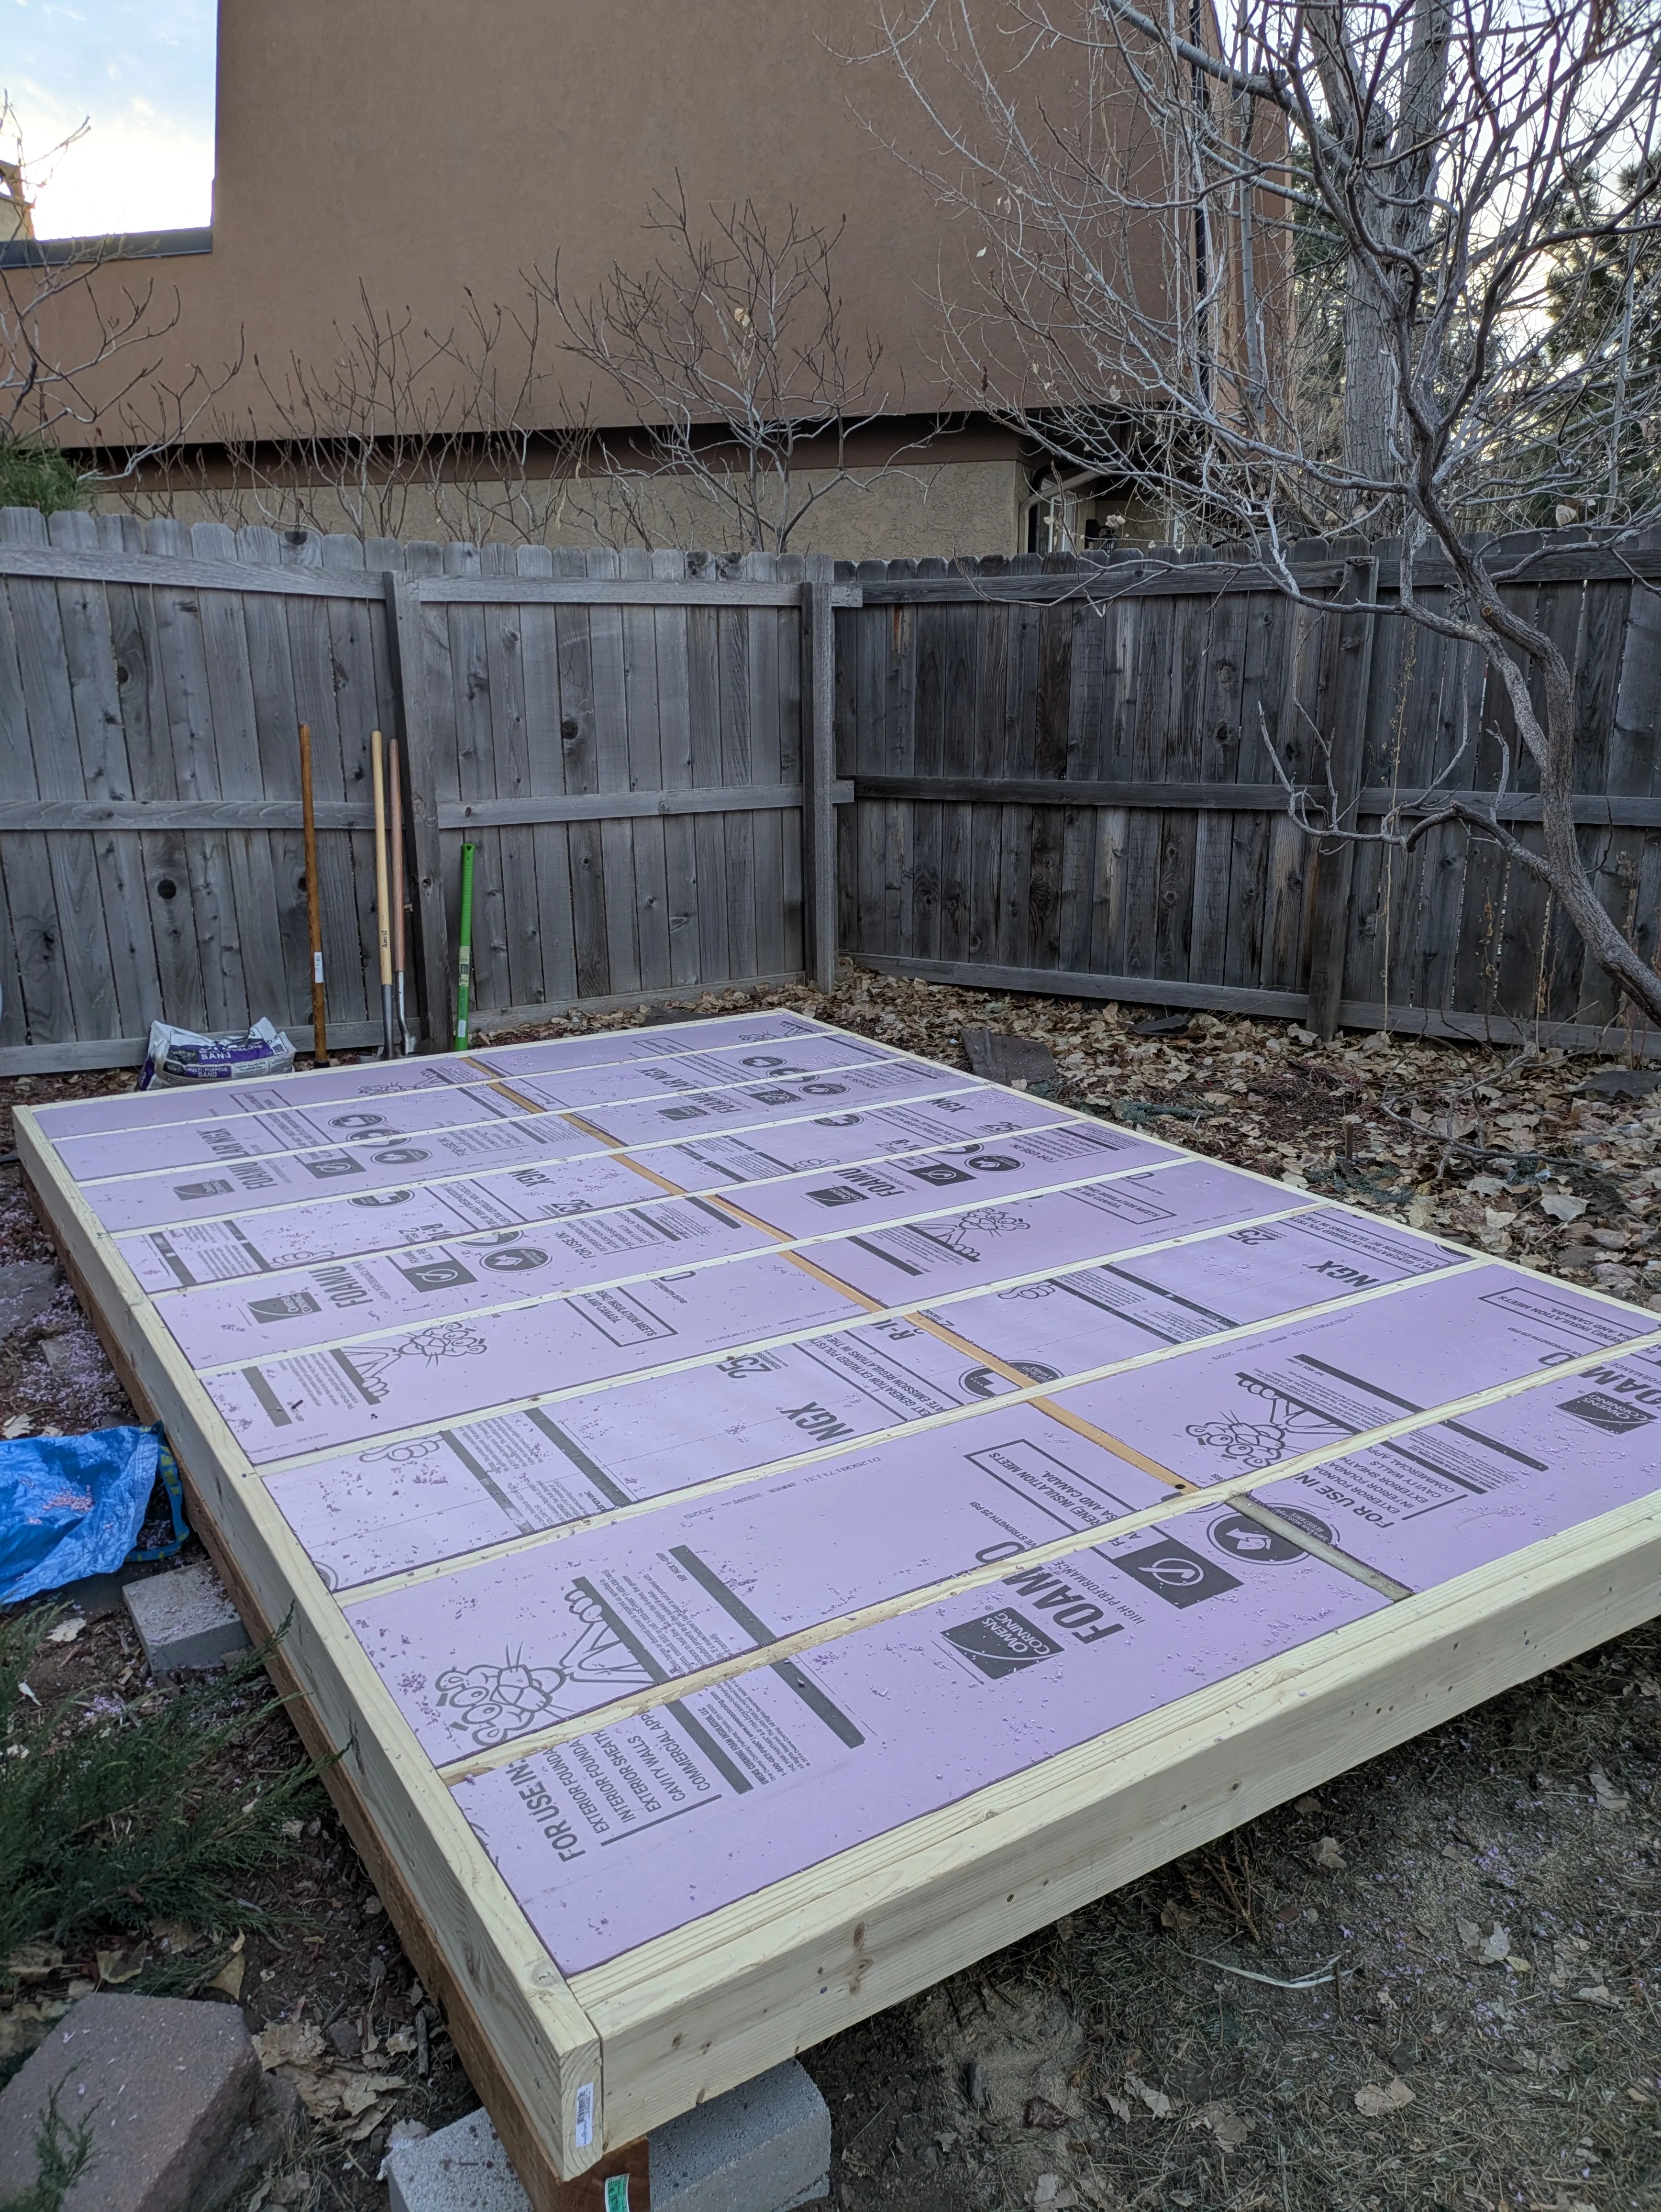
With the insulation in, it was time to add the subfloor. It was glued and screwed to ensure the floor won’t ever squeak.
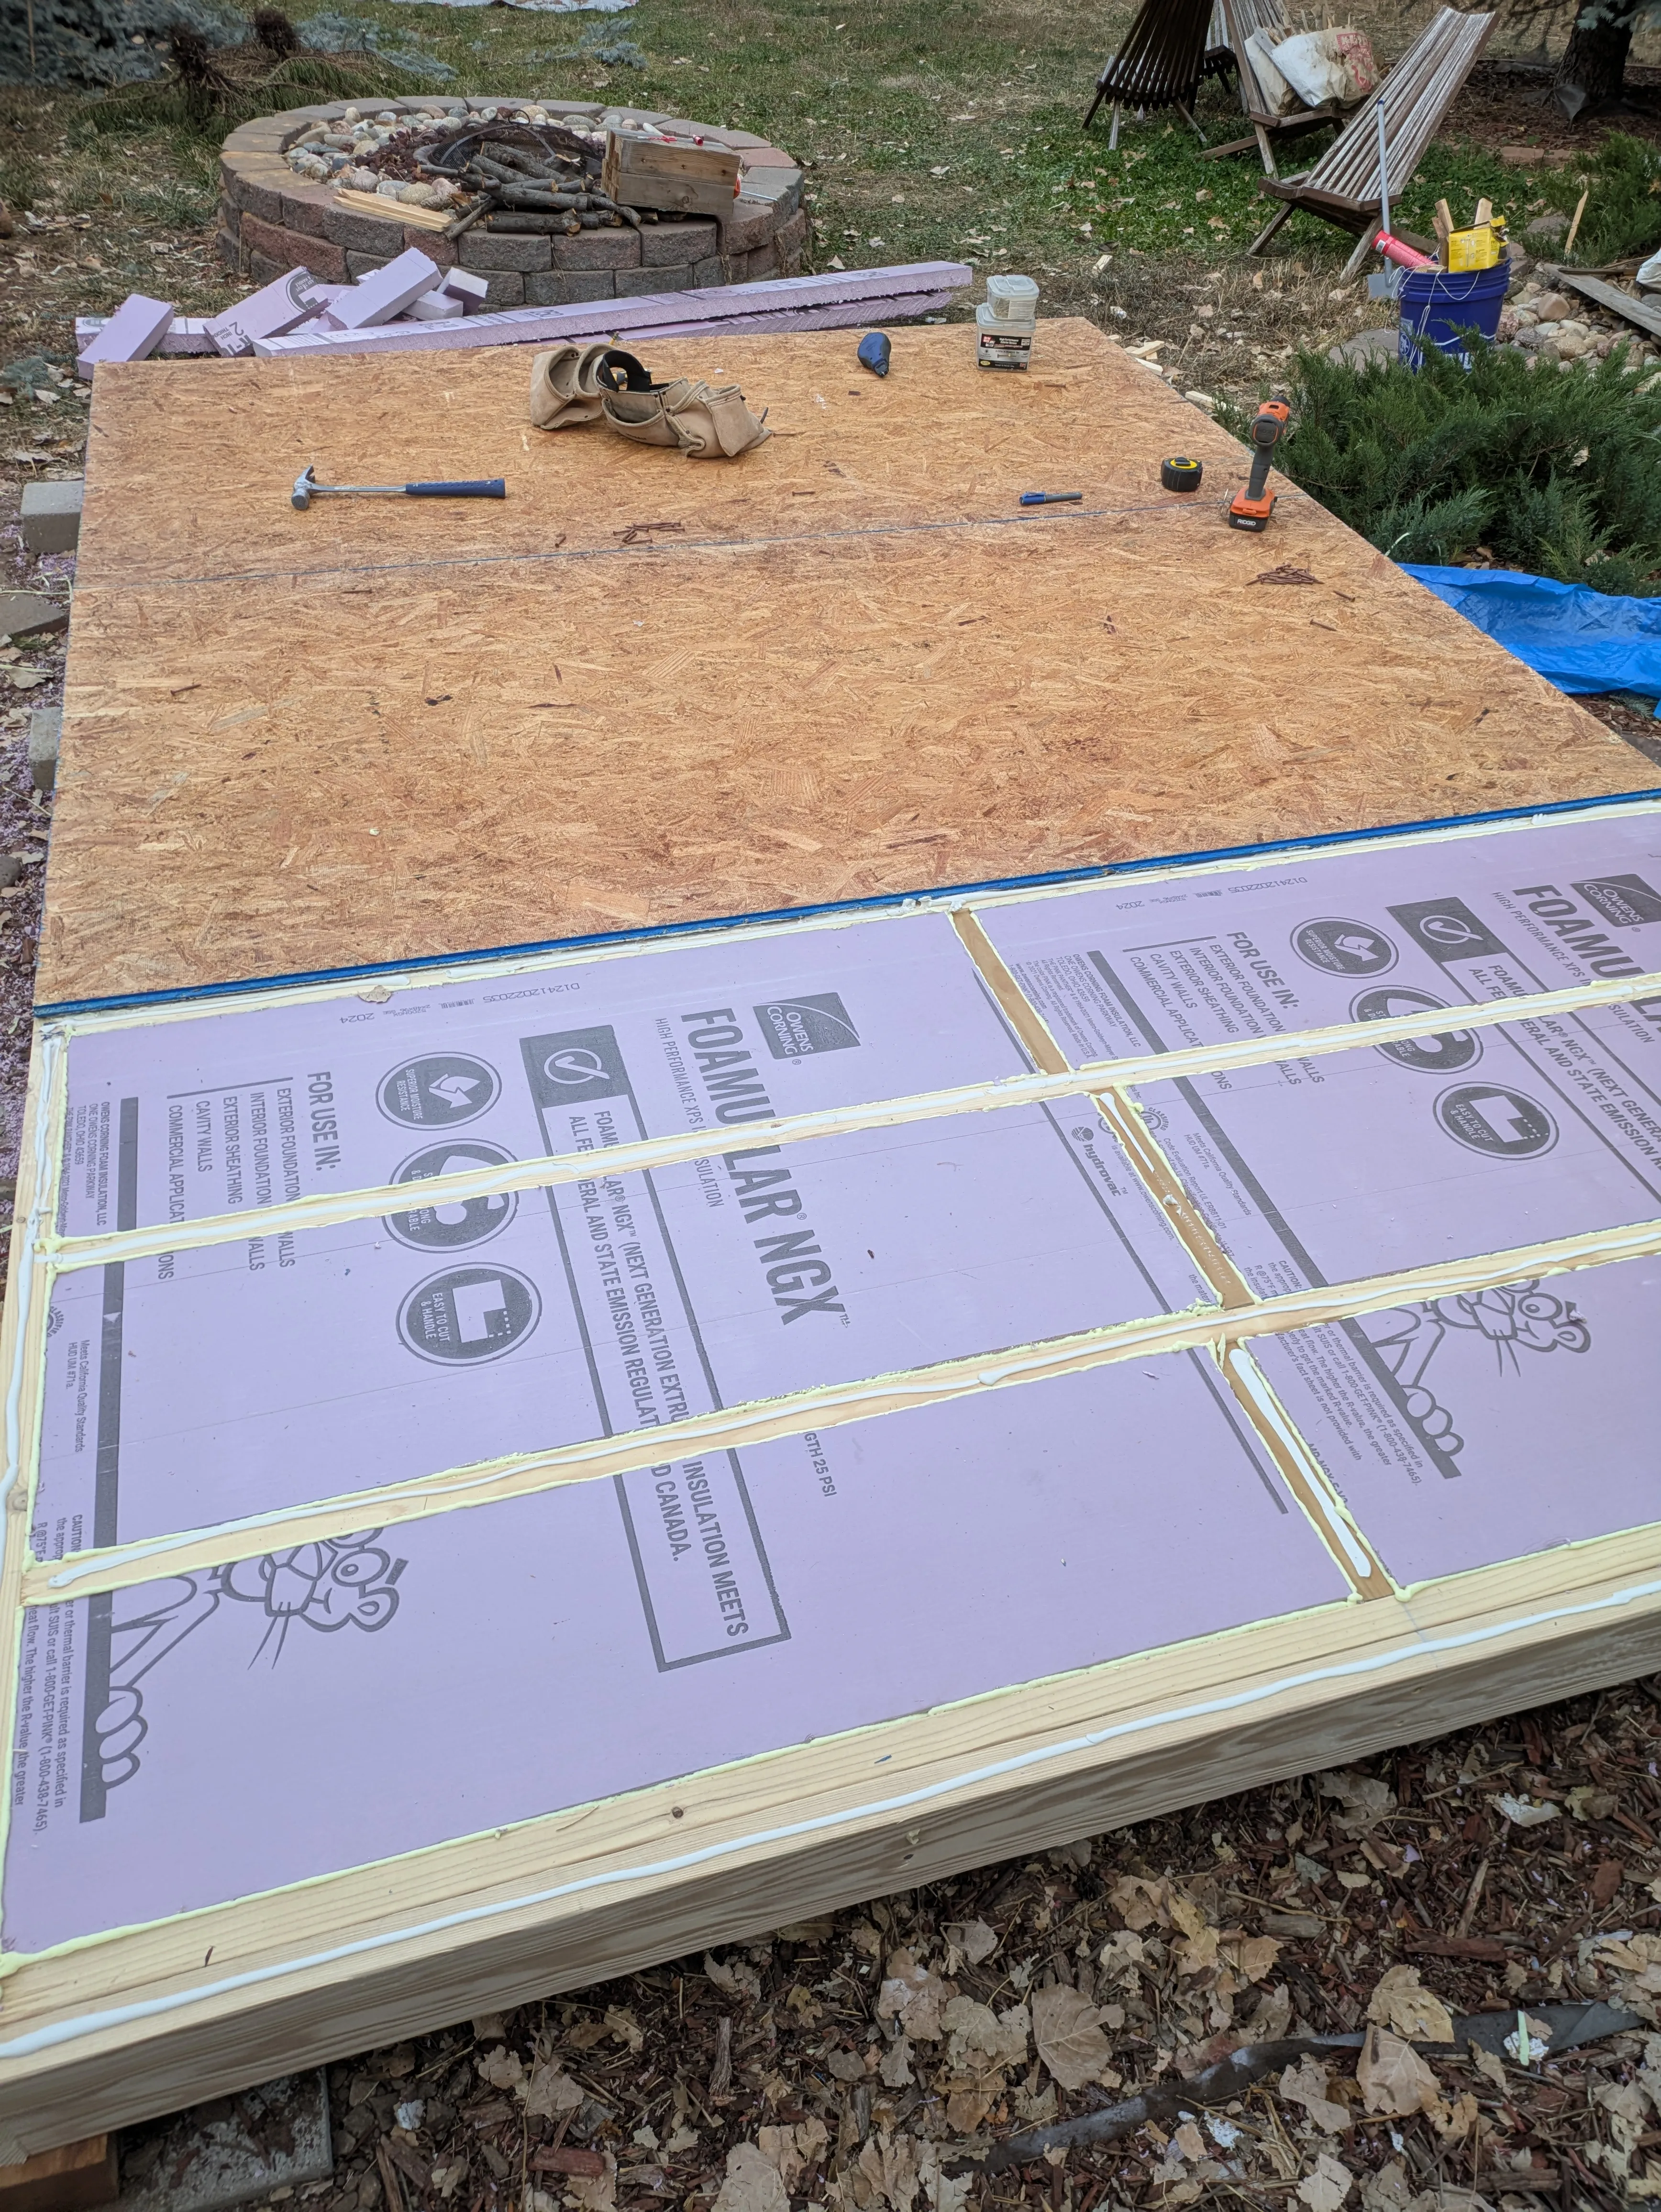
With the floors done, we could start throwing up walls. The first wall was relatively easy; all the cuts were spelled out in the shed plans.
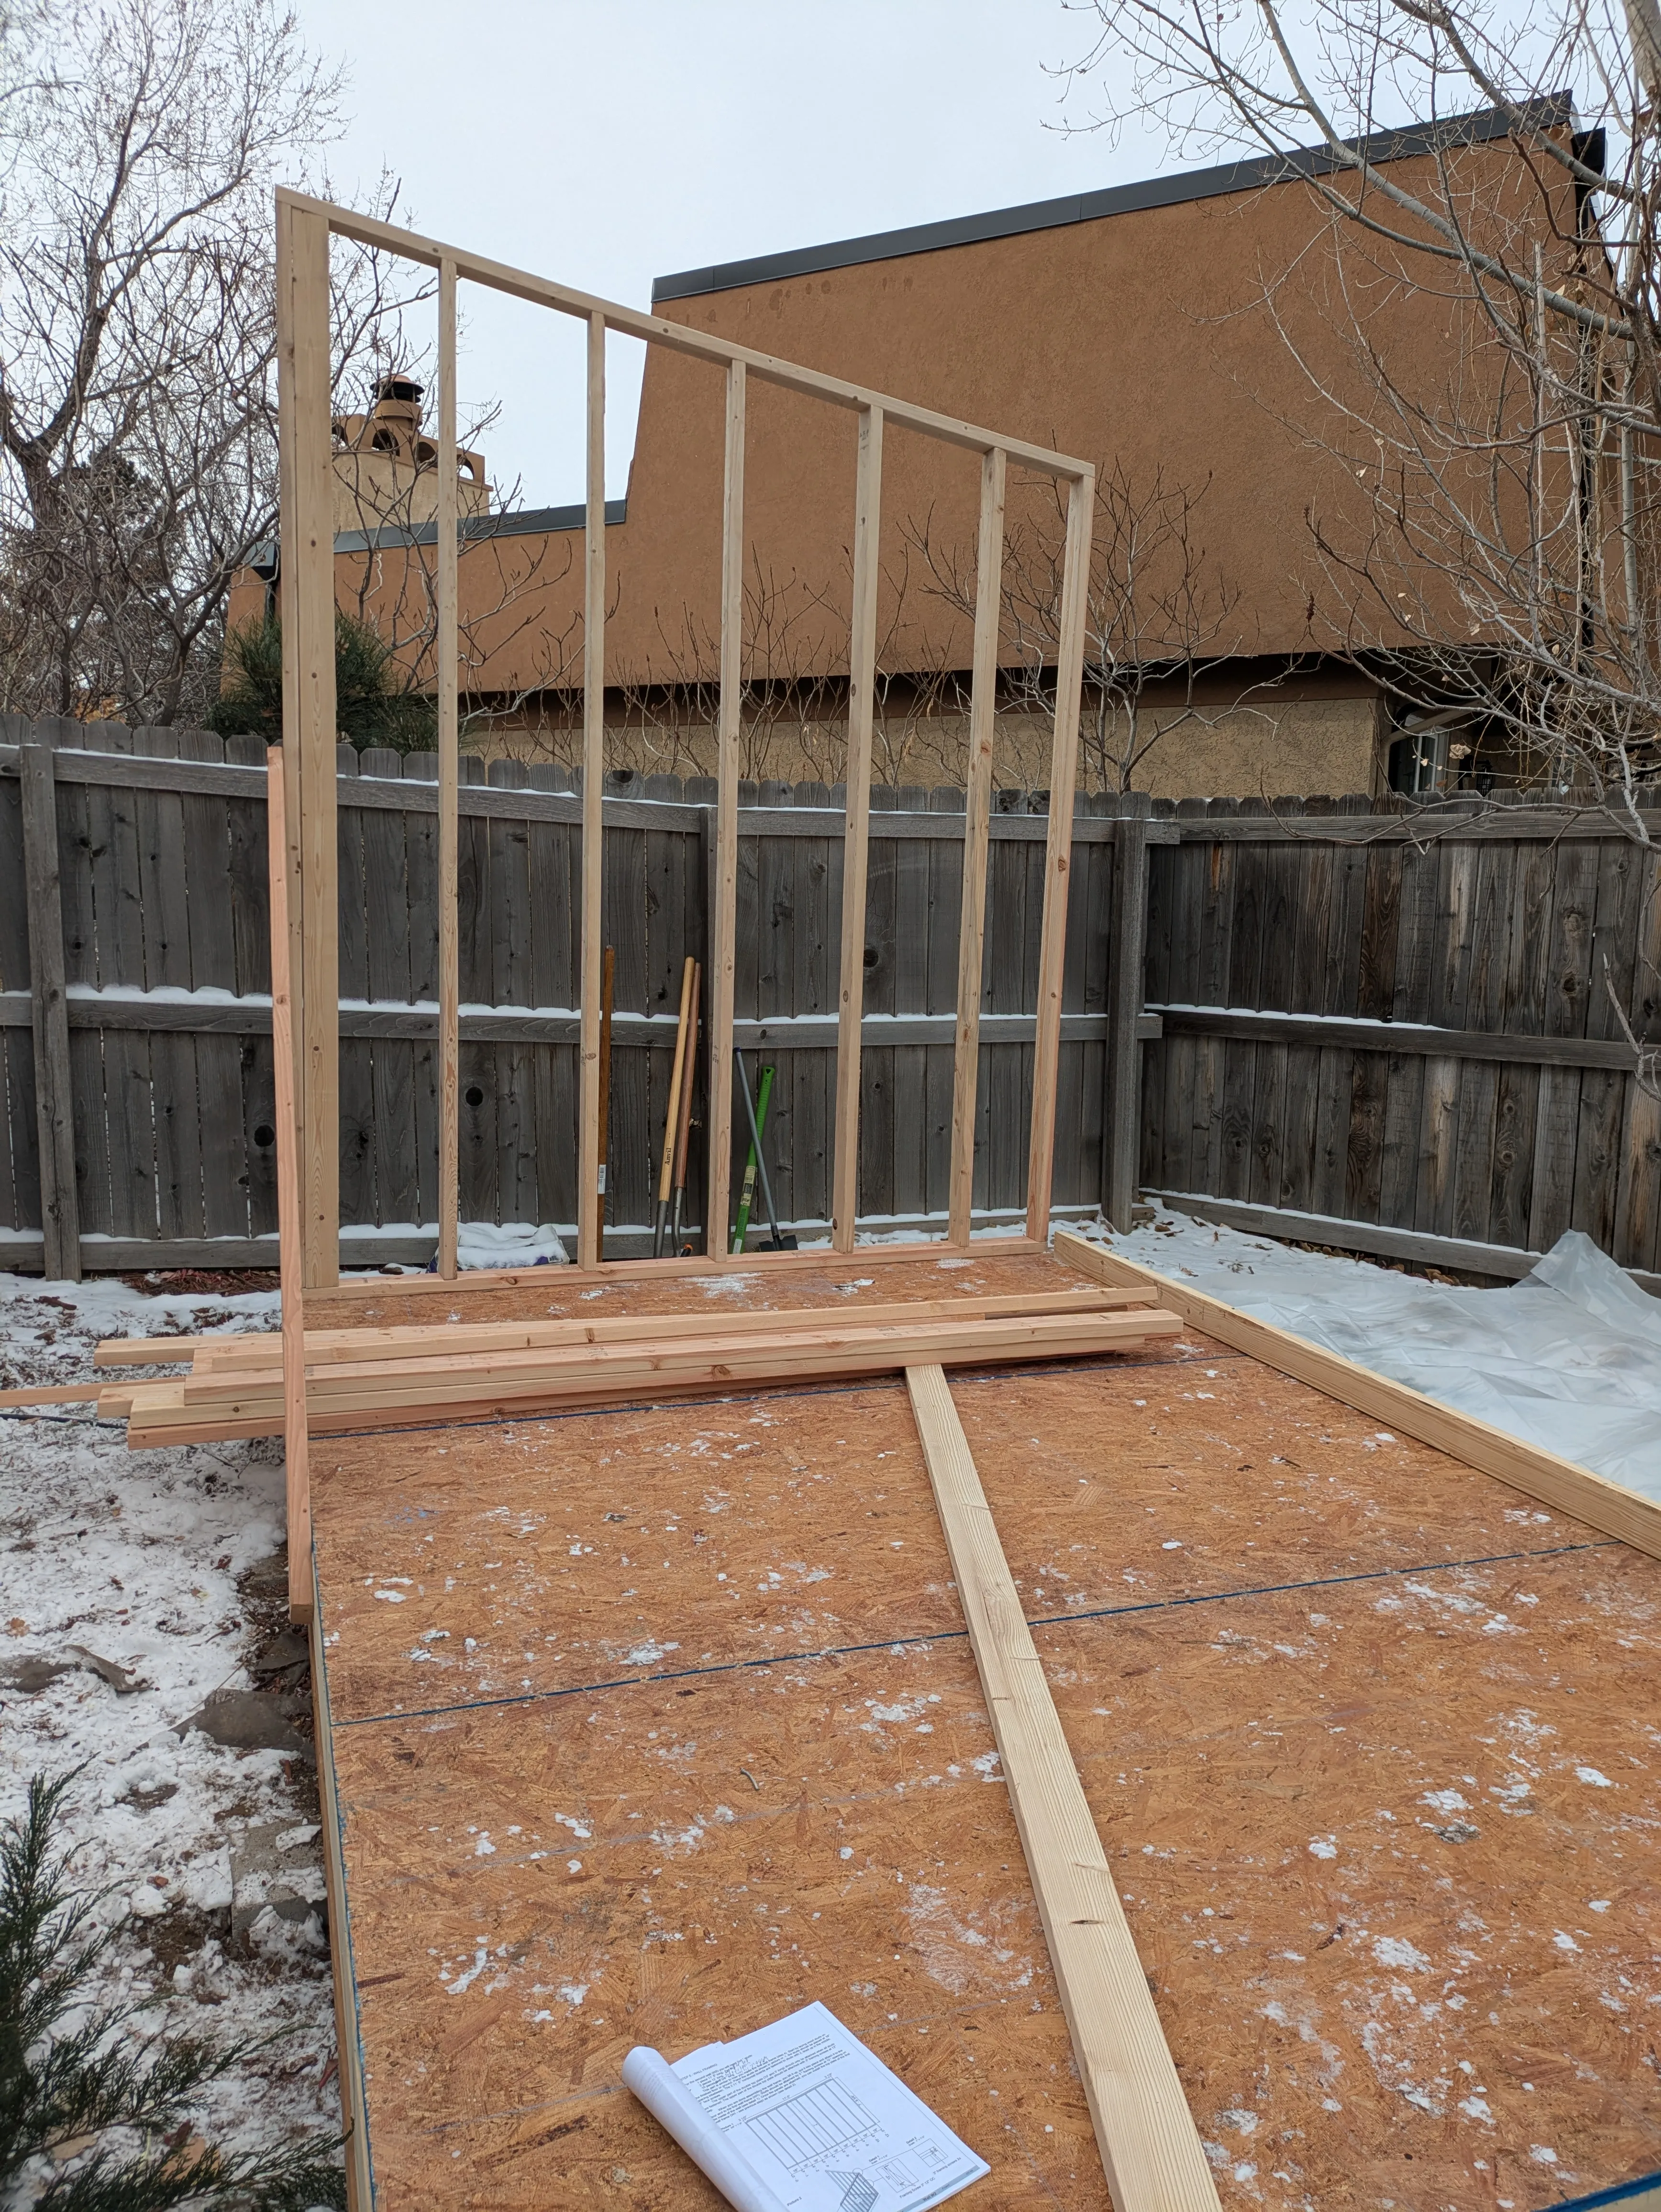
The long back wall was even easier because I didn’t have to worry about the slope of the roof.
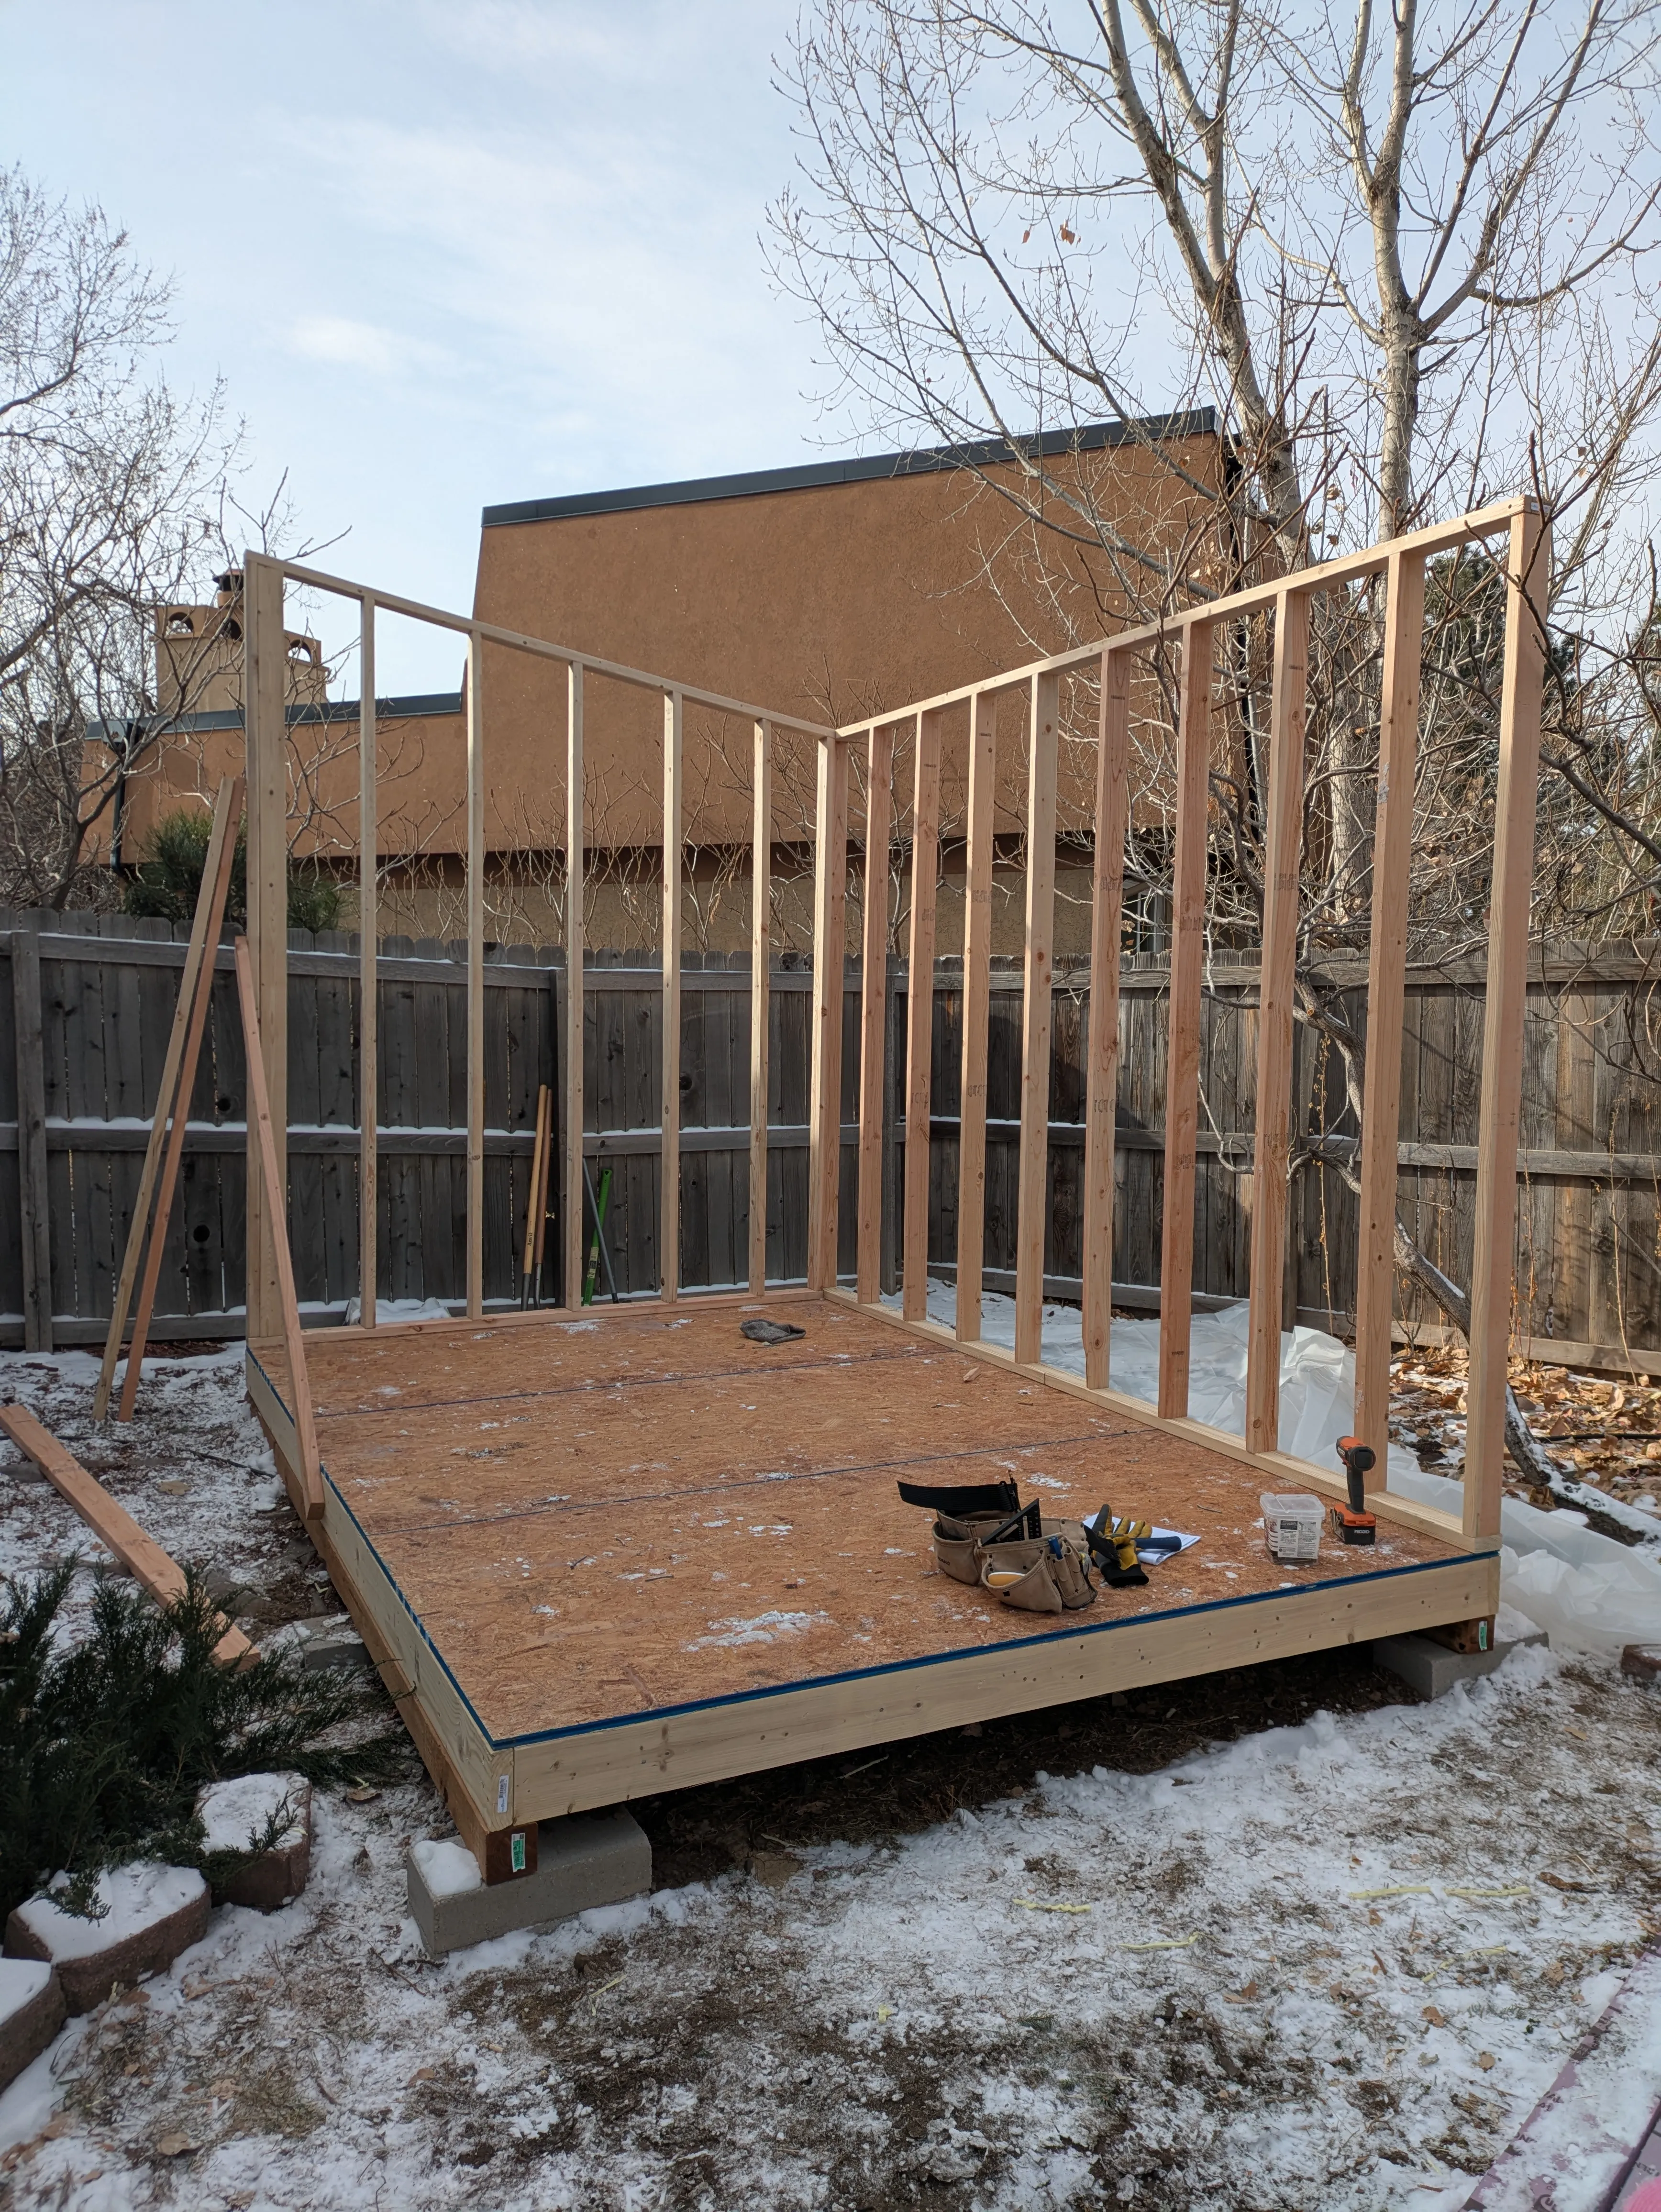
This wall was a little trickier. This is where I moved one of the windows, so I had to do a little math to figure out the length and angle for the cripple studs.
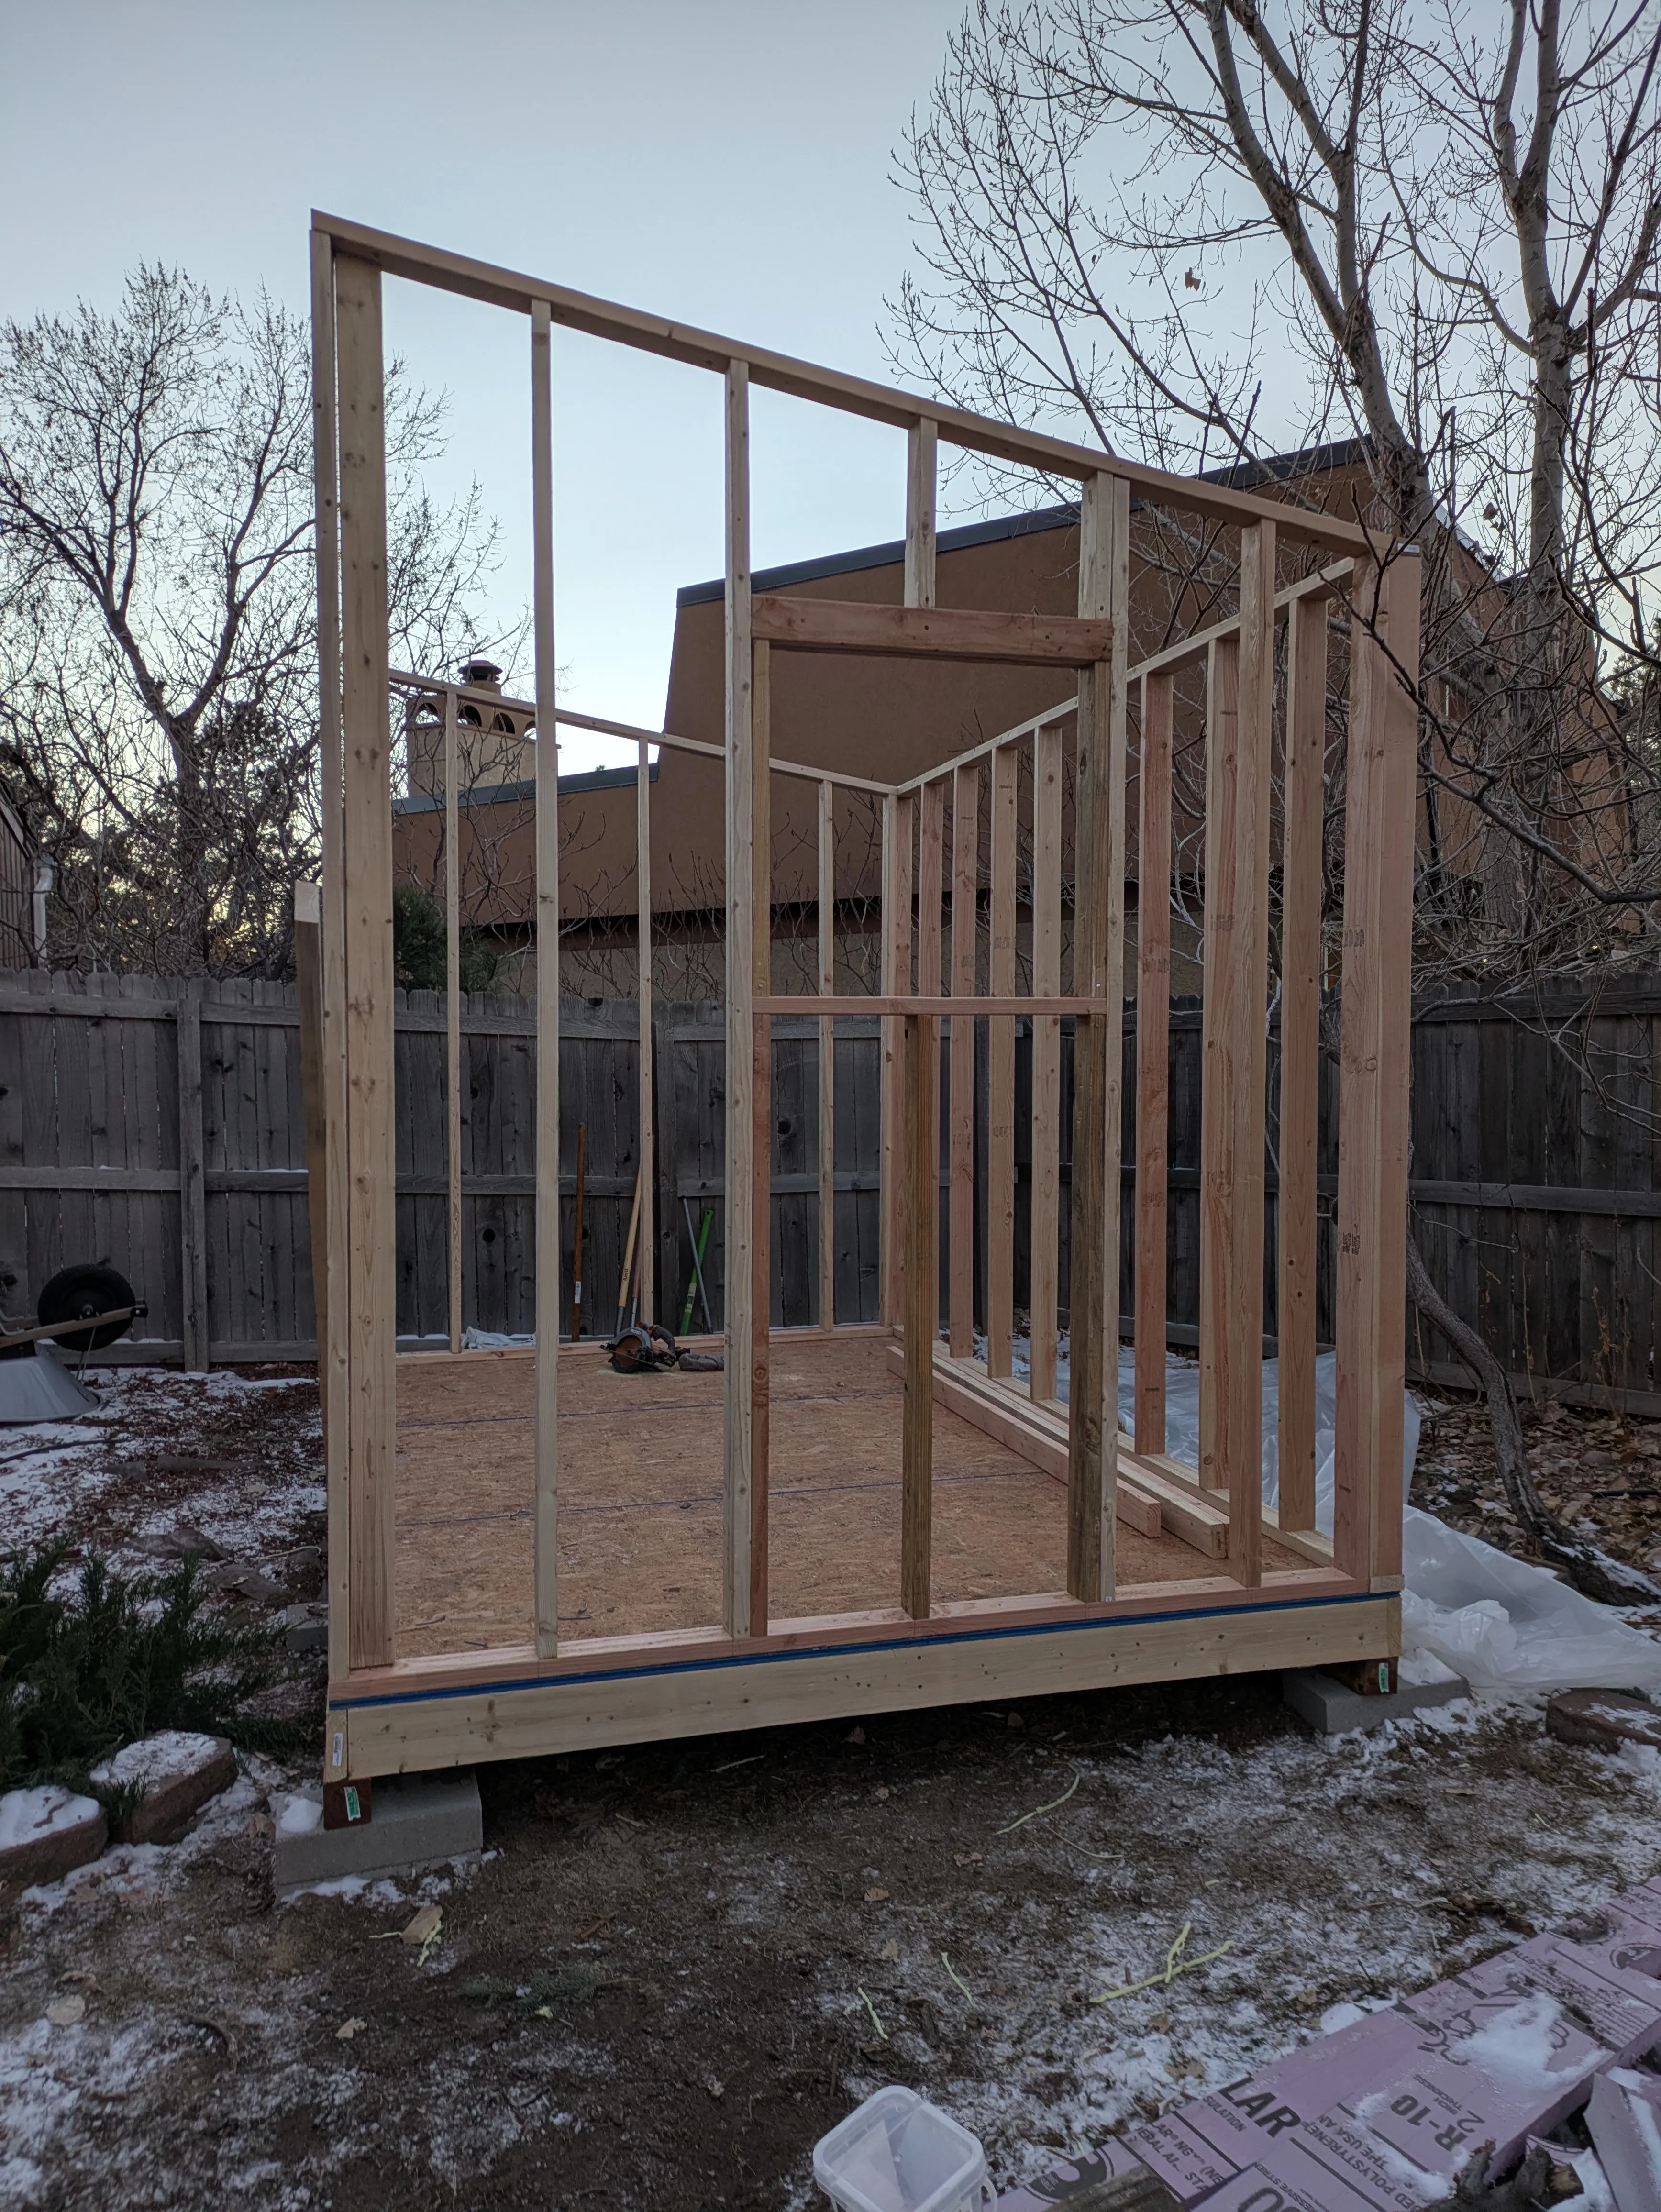
Apparently the last wall was tricky enough that I didn’t take any photos 😂. The next picture I have is with the wall framing done and the house wrap up. Because the exterior of the sauna was going to use LP SmartSide, I didn’t need to add sheathing before wrapping the structure. This did make the vapor barrier/flashing process slightly more complicated, so if I were going to do this again, I’d probably just add the sheathing under the house wrap.
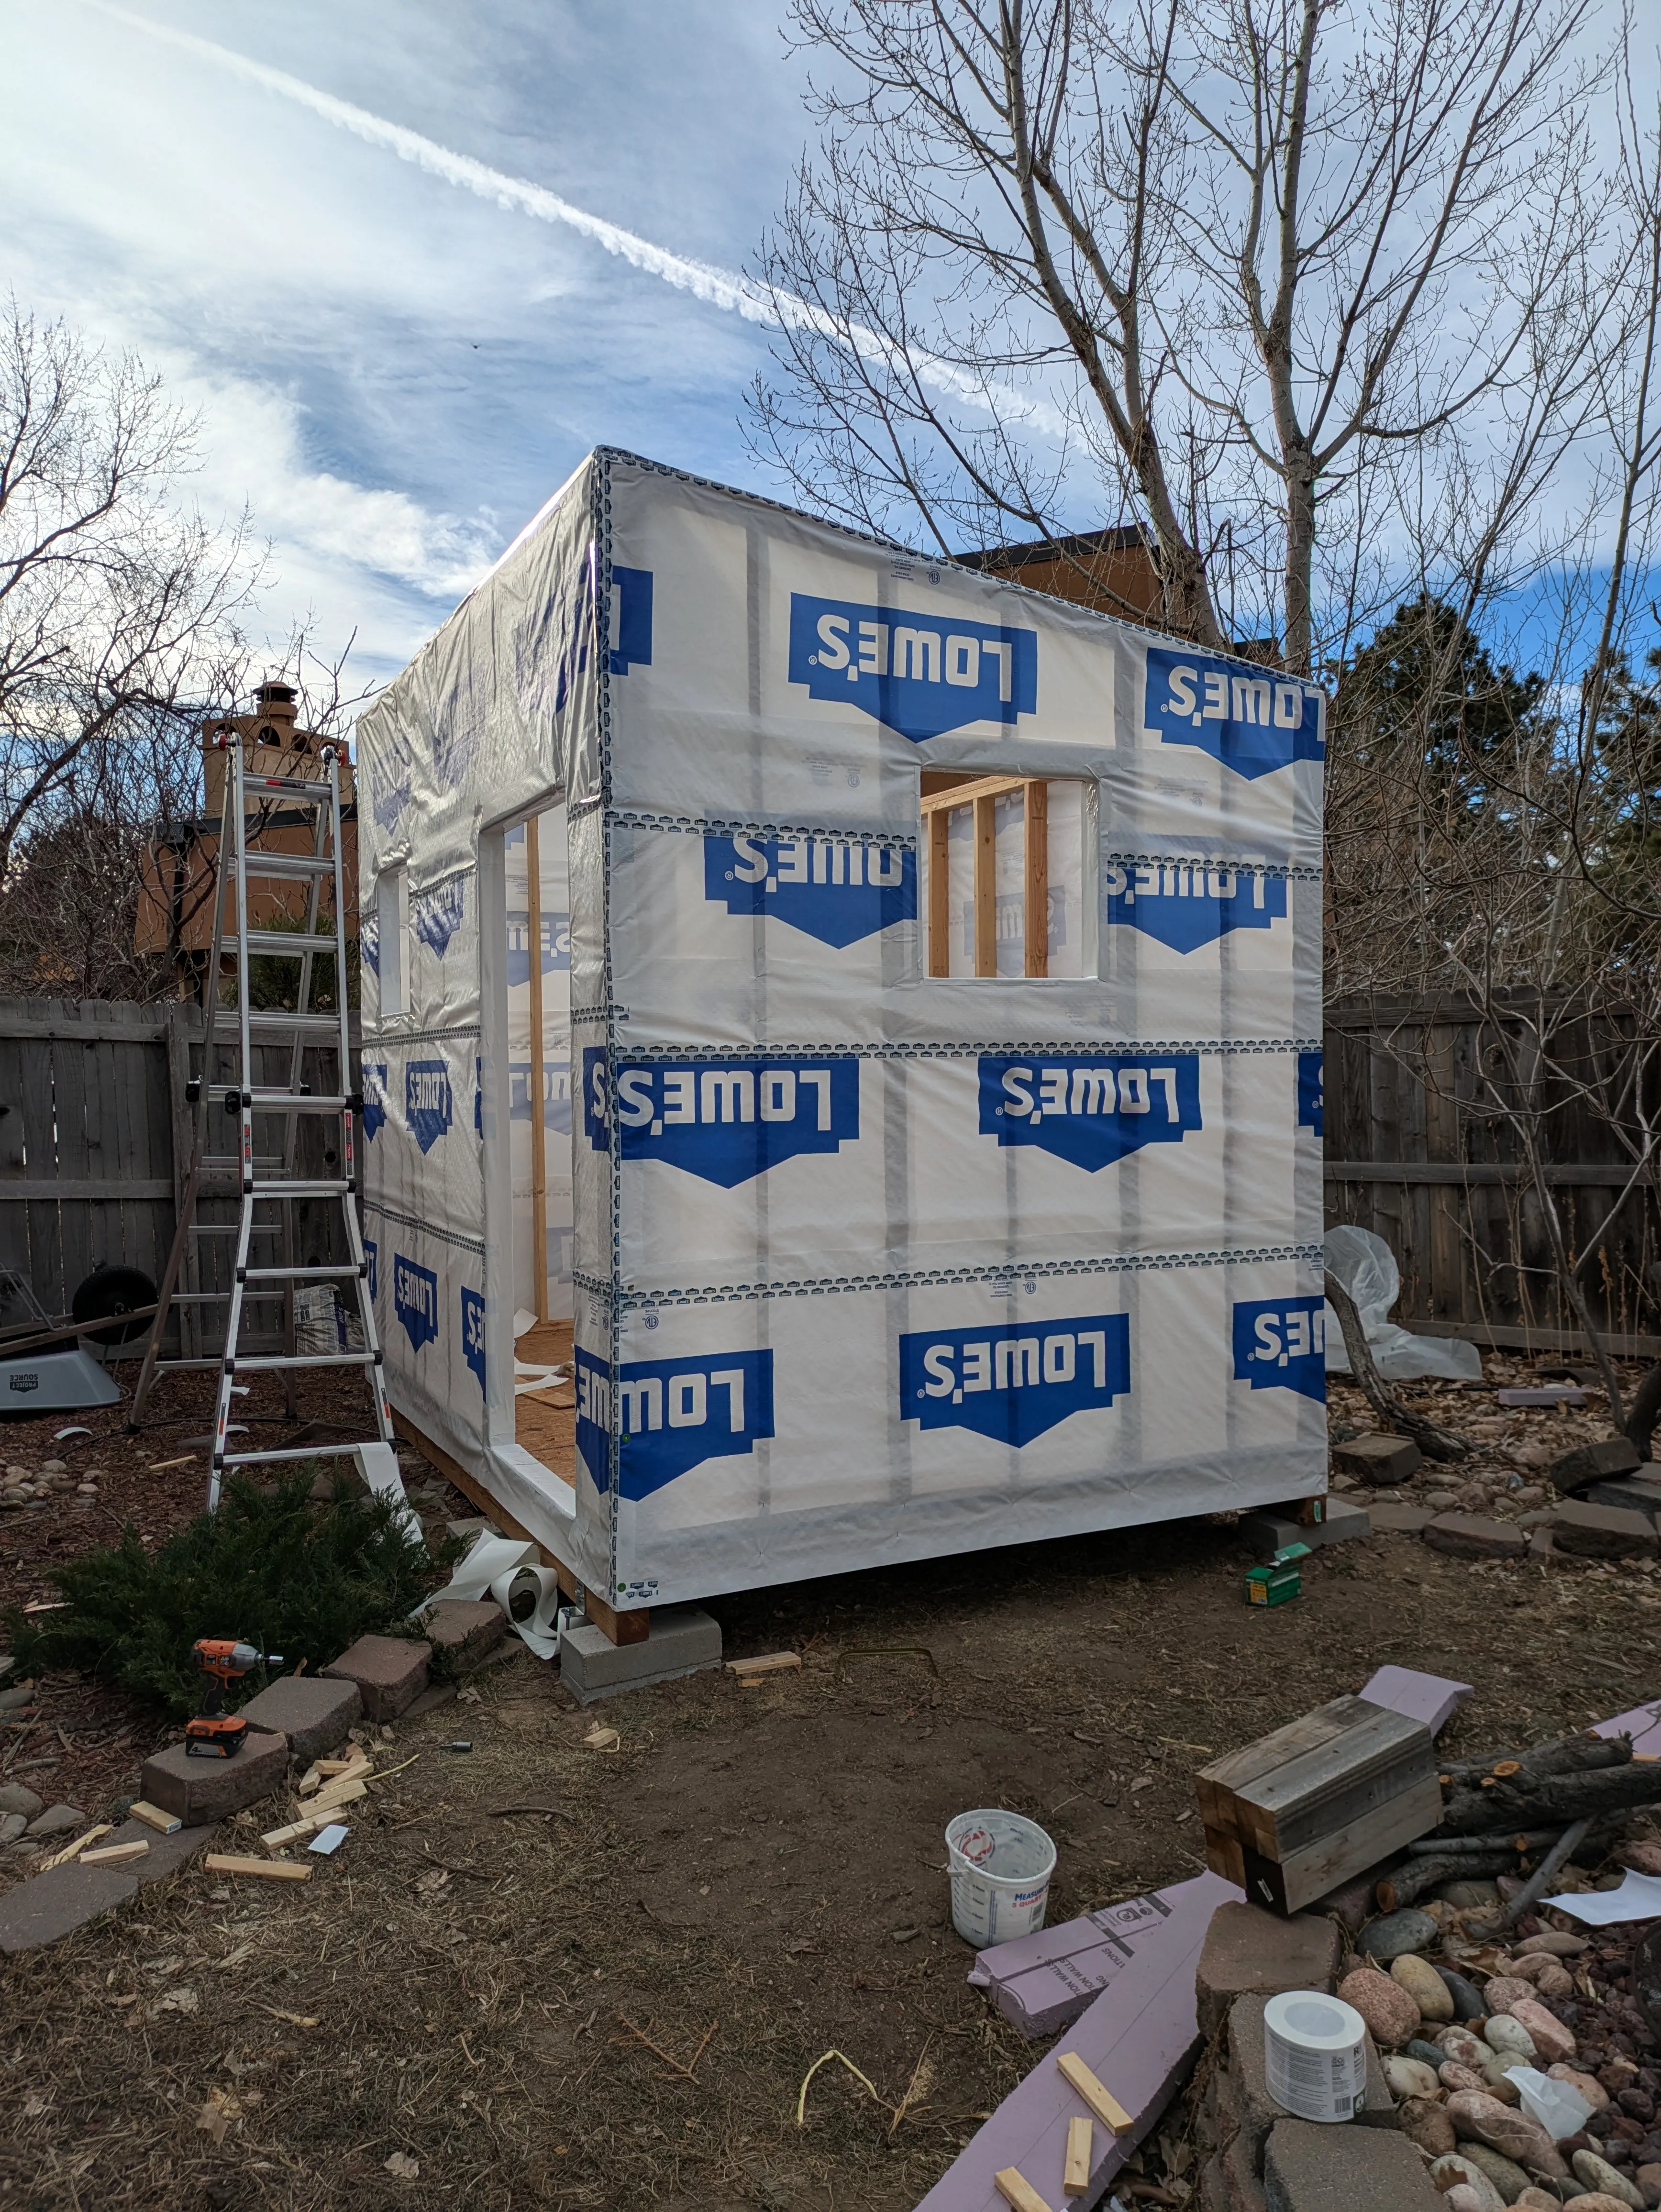
Lots of progress encapsulated in this photo.
- Siding complete. I used LP SmartSide. It was super easy to work with. The thin metal you see between the butt joints is Z-flashing to make sure that we don’t get any water intrusion.
- Around all the wall penetrations, you can see the flashing tape, completing the envelope of the structure.
- Finally, rafters going up. This was my first time cutting birdsmouths, so of course I messed up the first one and had to run to Lowe’s to grab an extra 2”x6”.
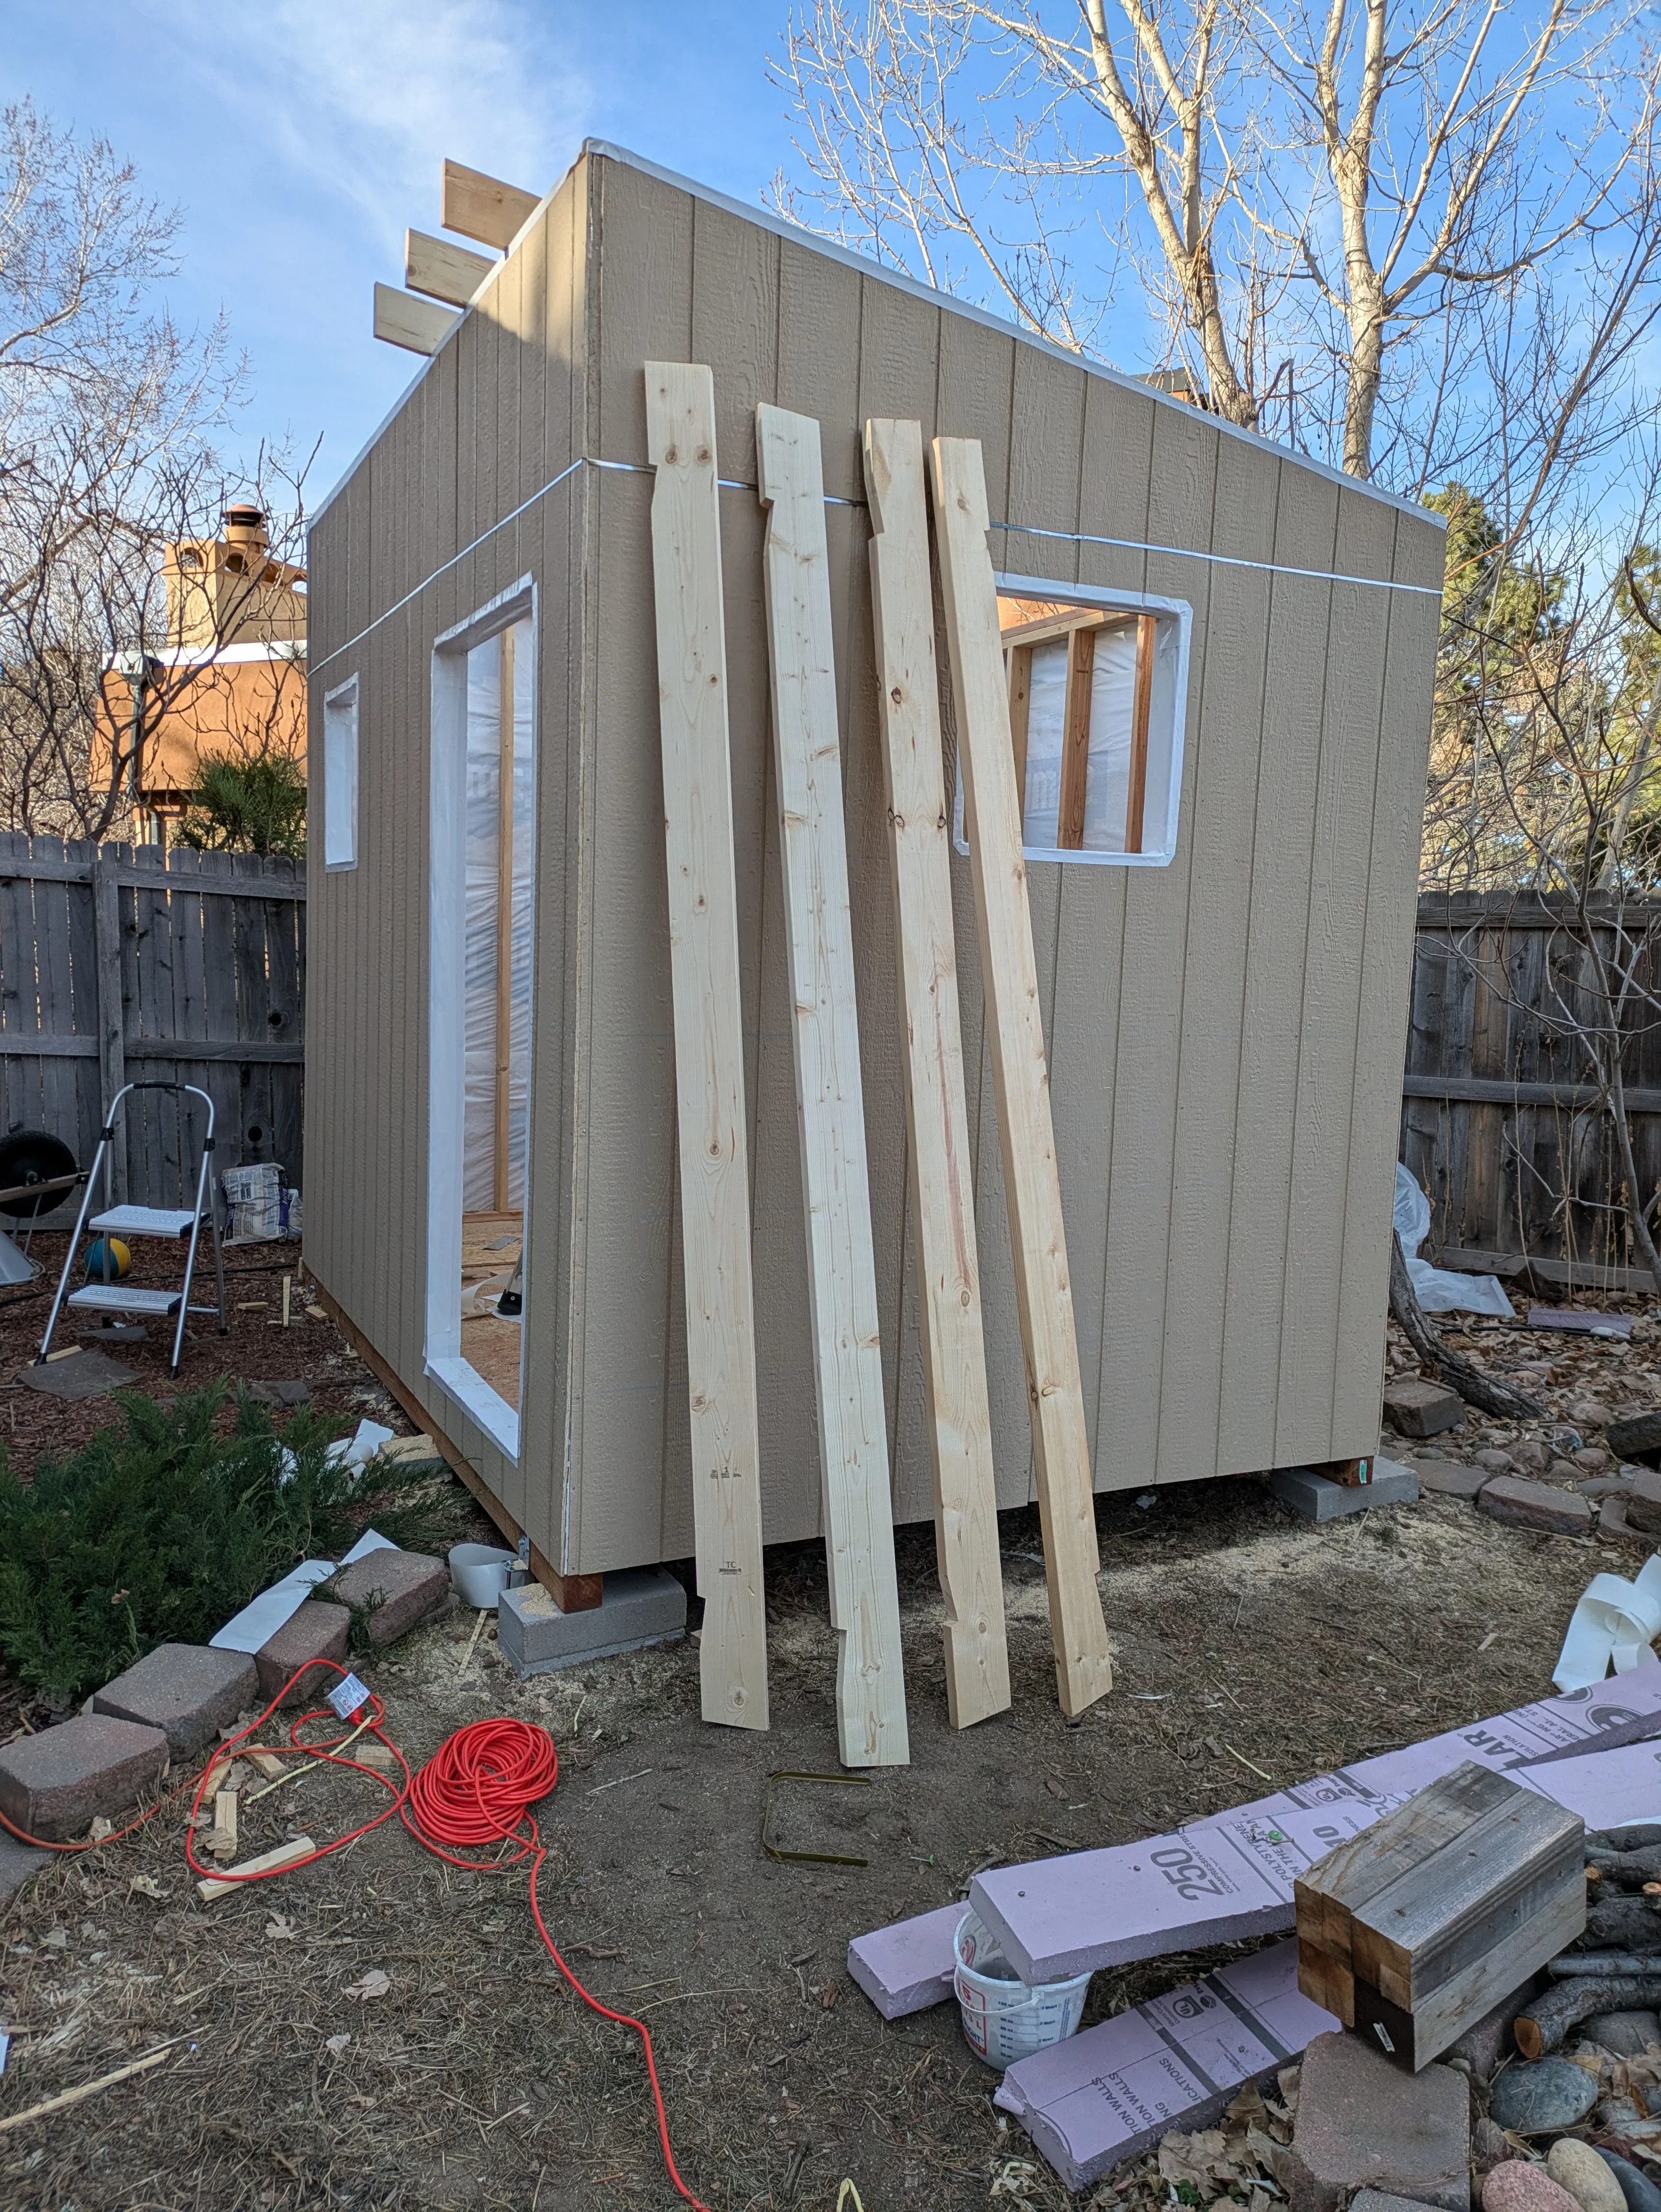
I think this was just a test fit of the windows. I’m pretty sure I waited until the roof was done before I added the windows and door.
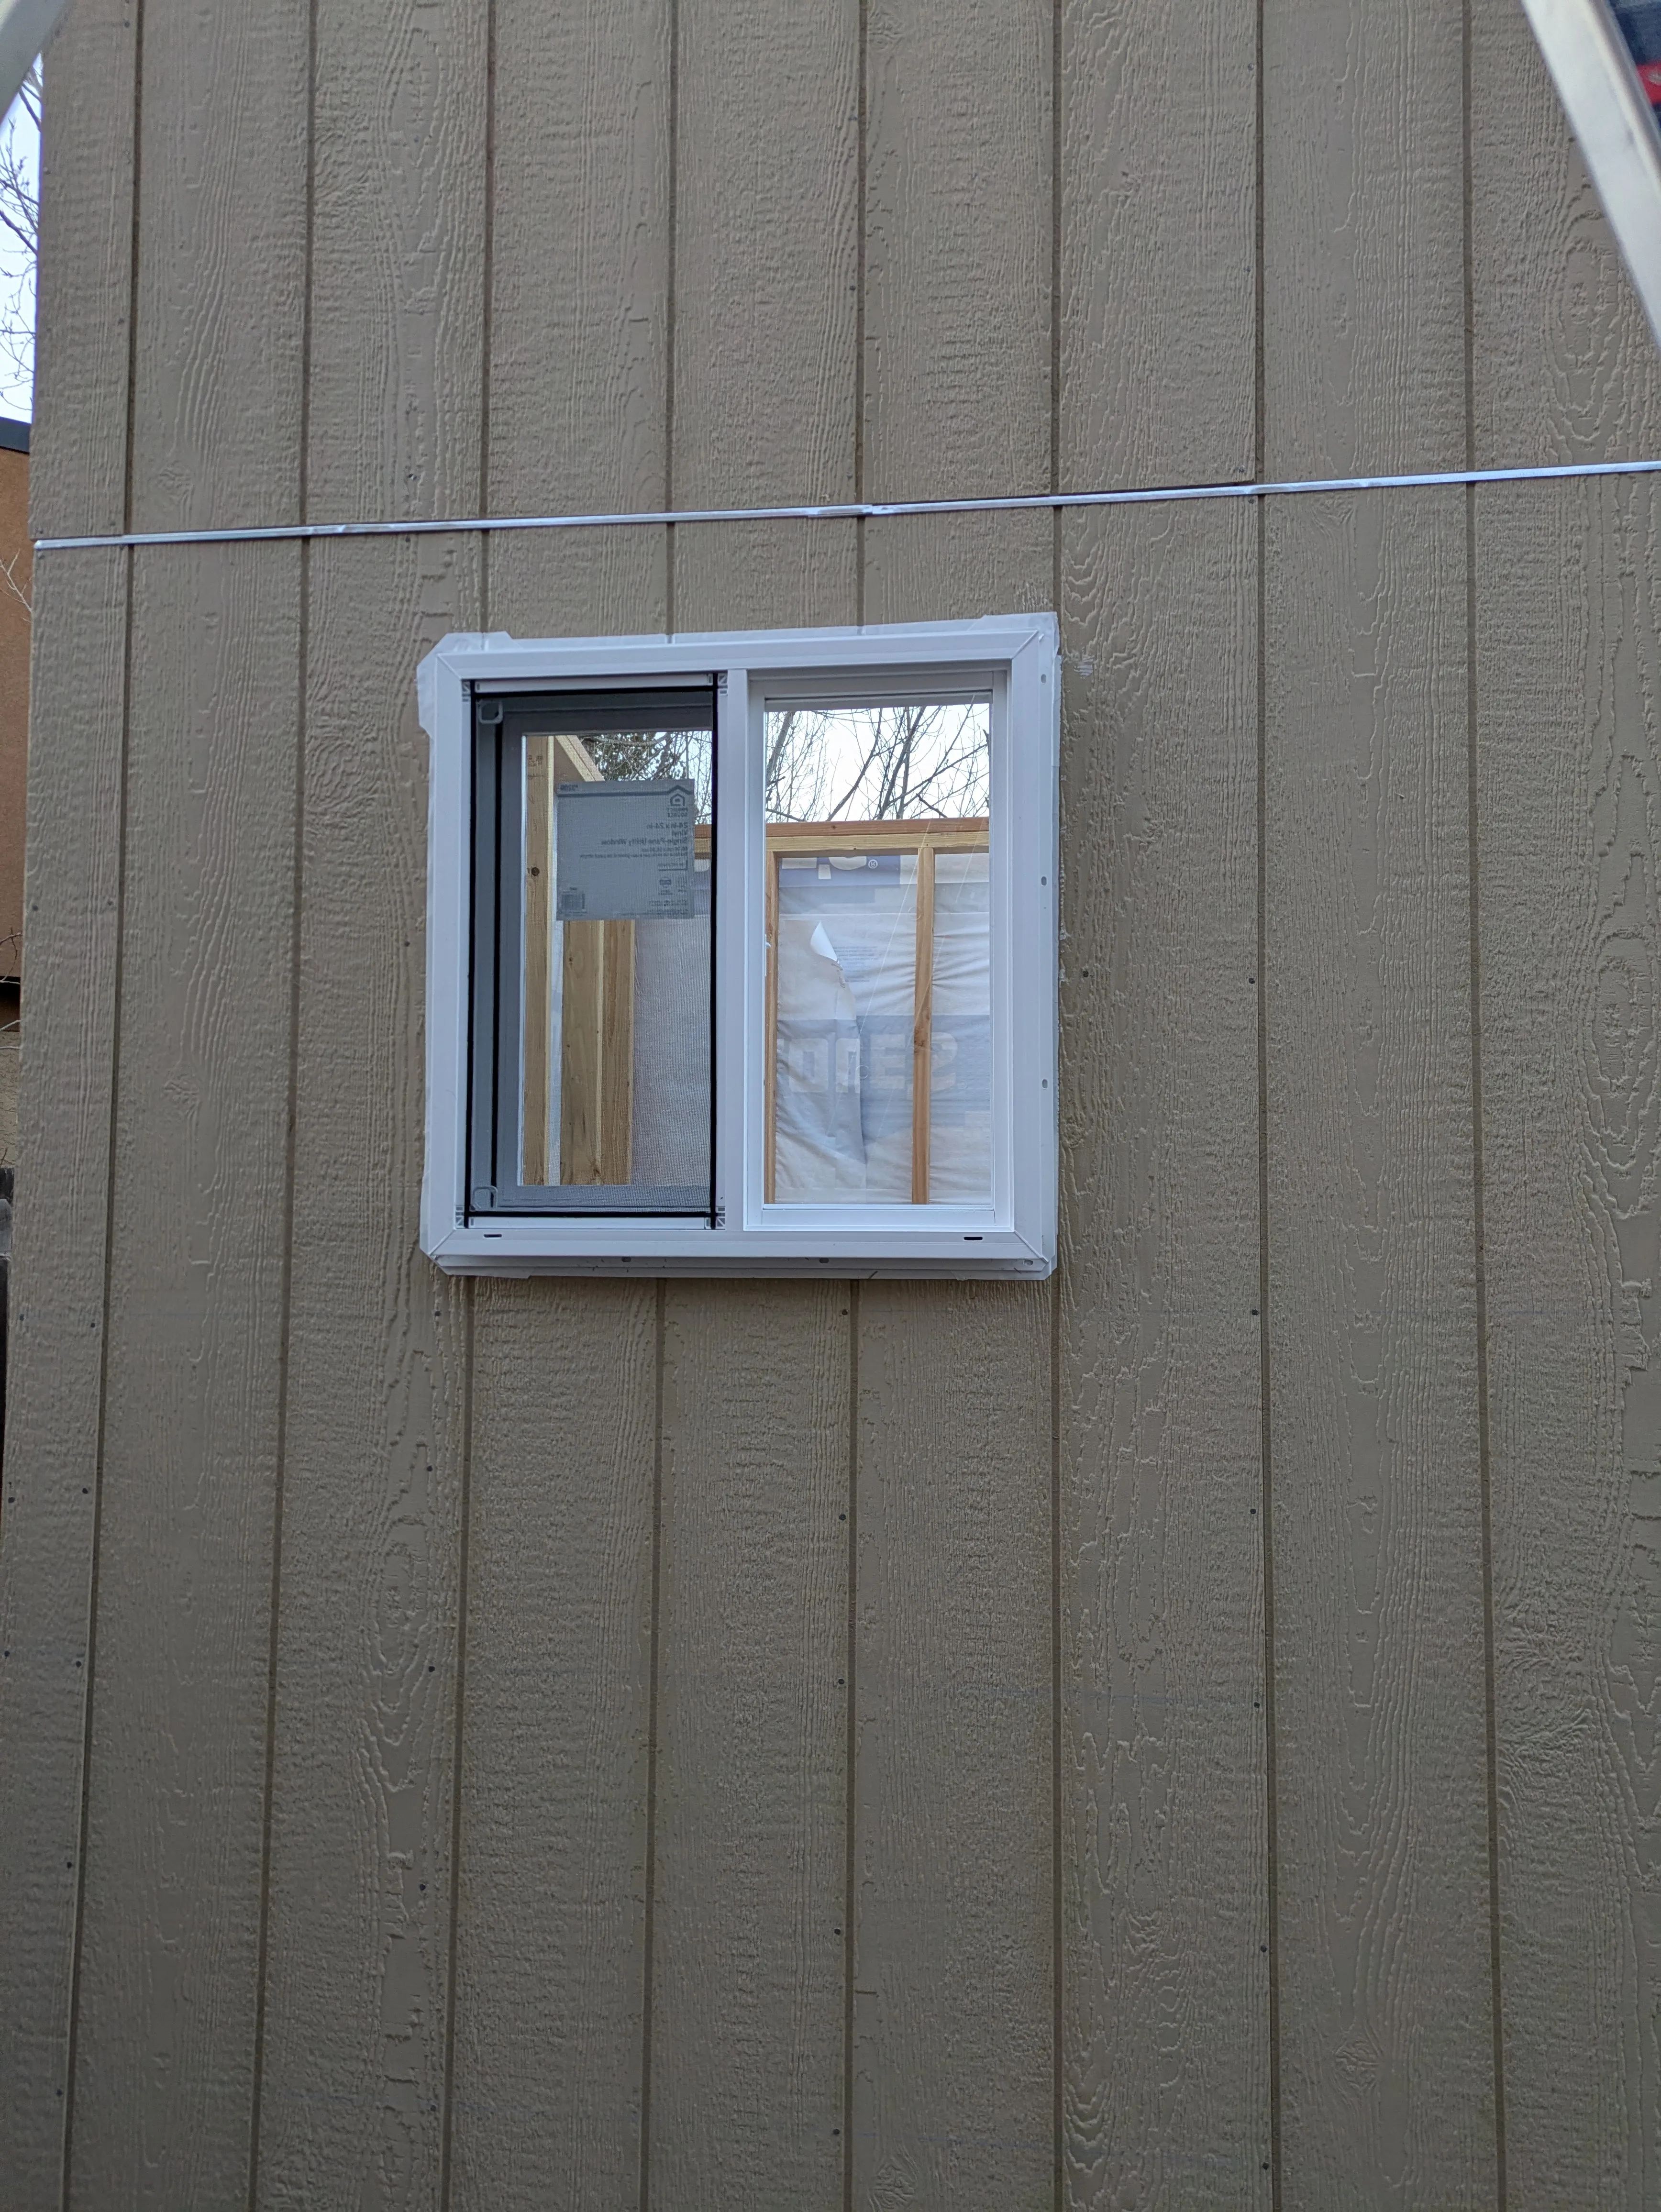
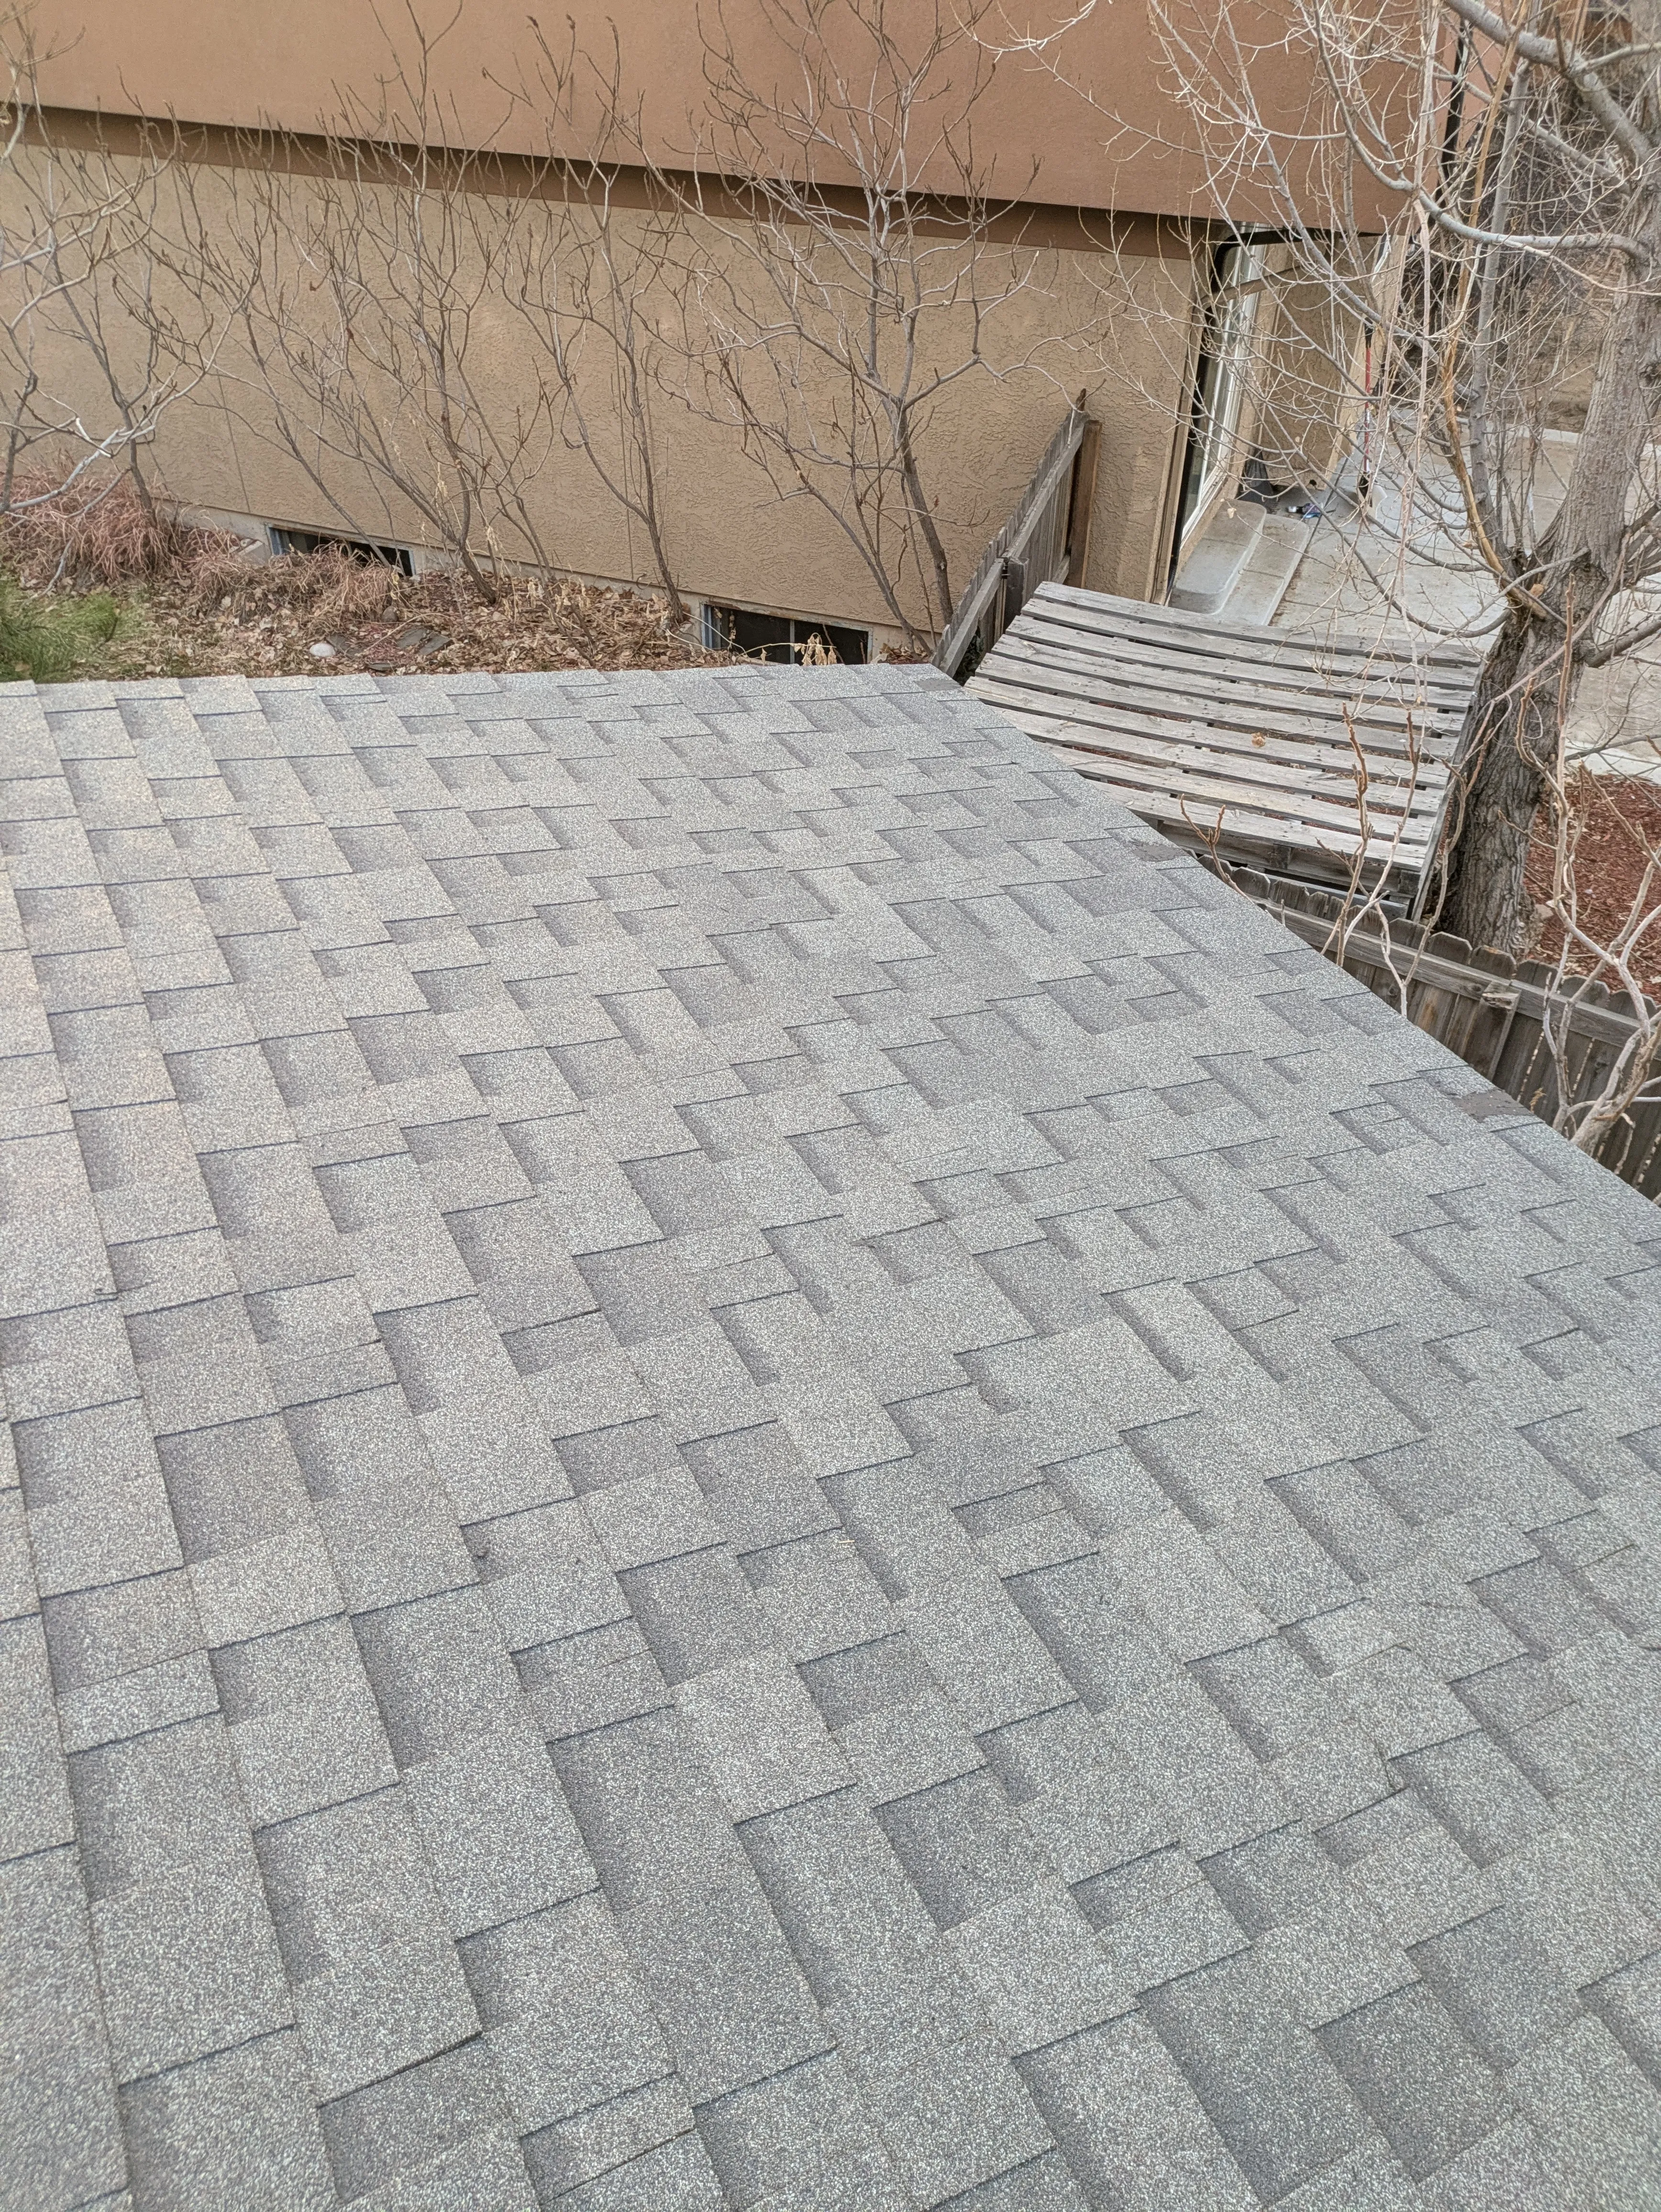
Another great example of how the more difficult the stage of the project, the less likely I am to take photos. The roof is done in this photo, which means I missed taking photos of
- Finishing the rafters (and their overhangs)
- Putting the decking down on the roof.
- Perimeter flashing and ice and water shield.
- Any in progress pics of putting shingles on
Bonus
Shout out to White Monsters; couldn’t have done this without you.

Found a worn Bored Ape Yacht Club sticker on a Lowe’s lumber cart, which is probably a metaphor for something.