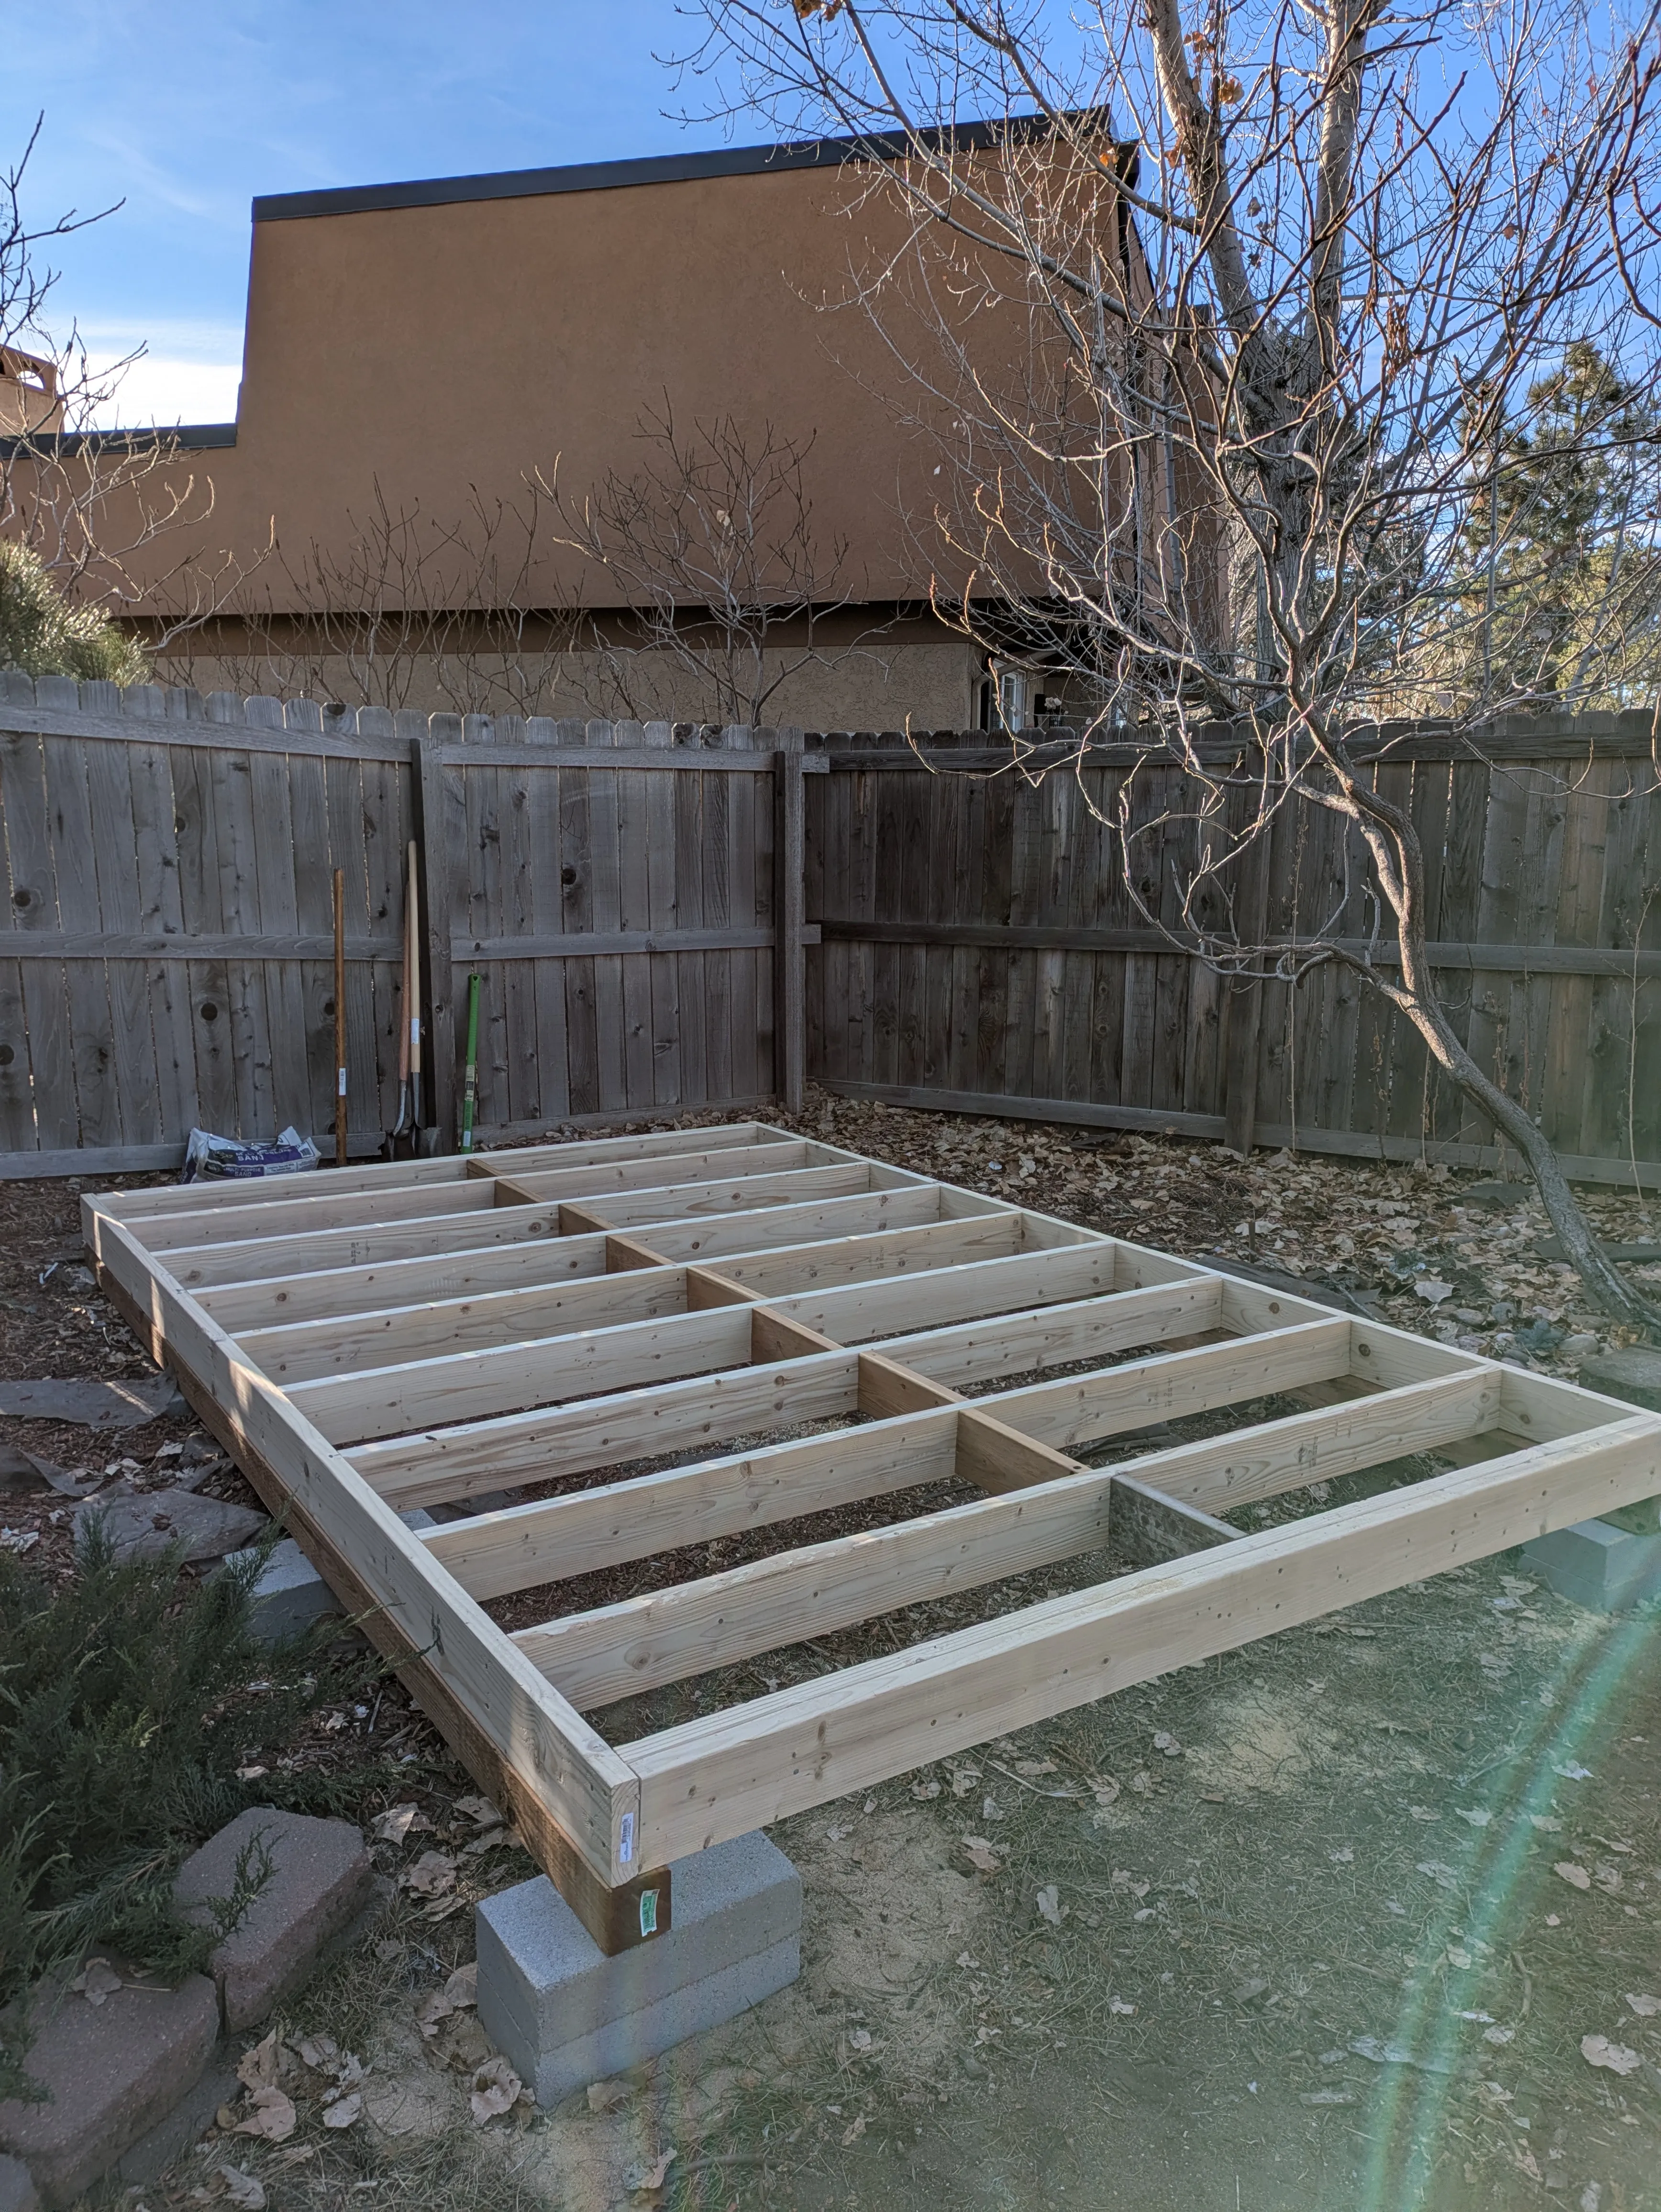
Sauna Foundation
Finally a post for the sauna build! At the time of writing this, I’m working on putting up the tongue and groove board for the interior of the hot room, but I’m going to make these posts in rough chronological order, so we’re going to start with the foundation.
First, a high-level overview of the sauna. It’s a detached structure from the house with 8’x12’ exterior dimensions. There will be an 8’x6’ hot room where the actual sauna is, and the other half is an 8’x6’ changing / cool down room, so you don’t have to go out into the snow in between rounds in the sauna. The important part here is the exterior dimensions for the foundation.
After doing some research on foundation styles, I decided to go with a block pier and skid style foundation. What this ends up looking like is two rows of four piers with two 4”x4” skids laid across them. Then the floor joists for the sauna are laid on the skids.
Reasoning for this.
- Fairly simple to do with hand tools I already had
- Pretty inexpensive
- Would allow us to theoretically move the sauna if for some reason we moved out of the house sooner than planned.
Site Prep
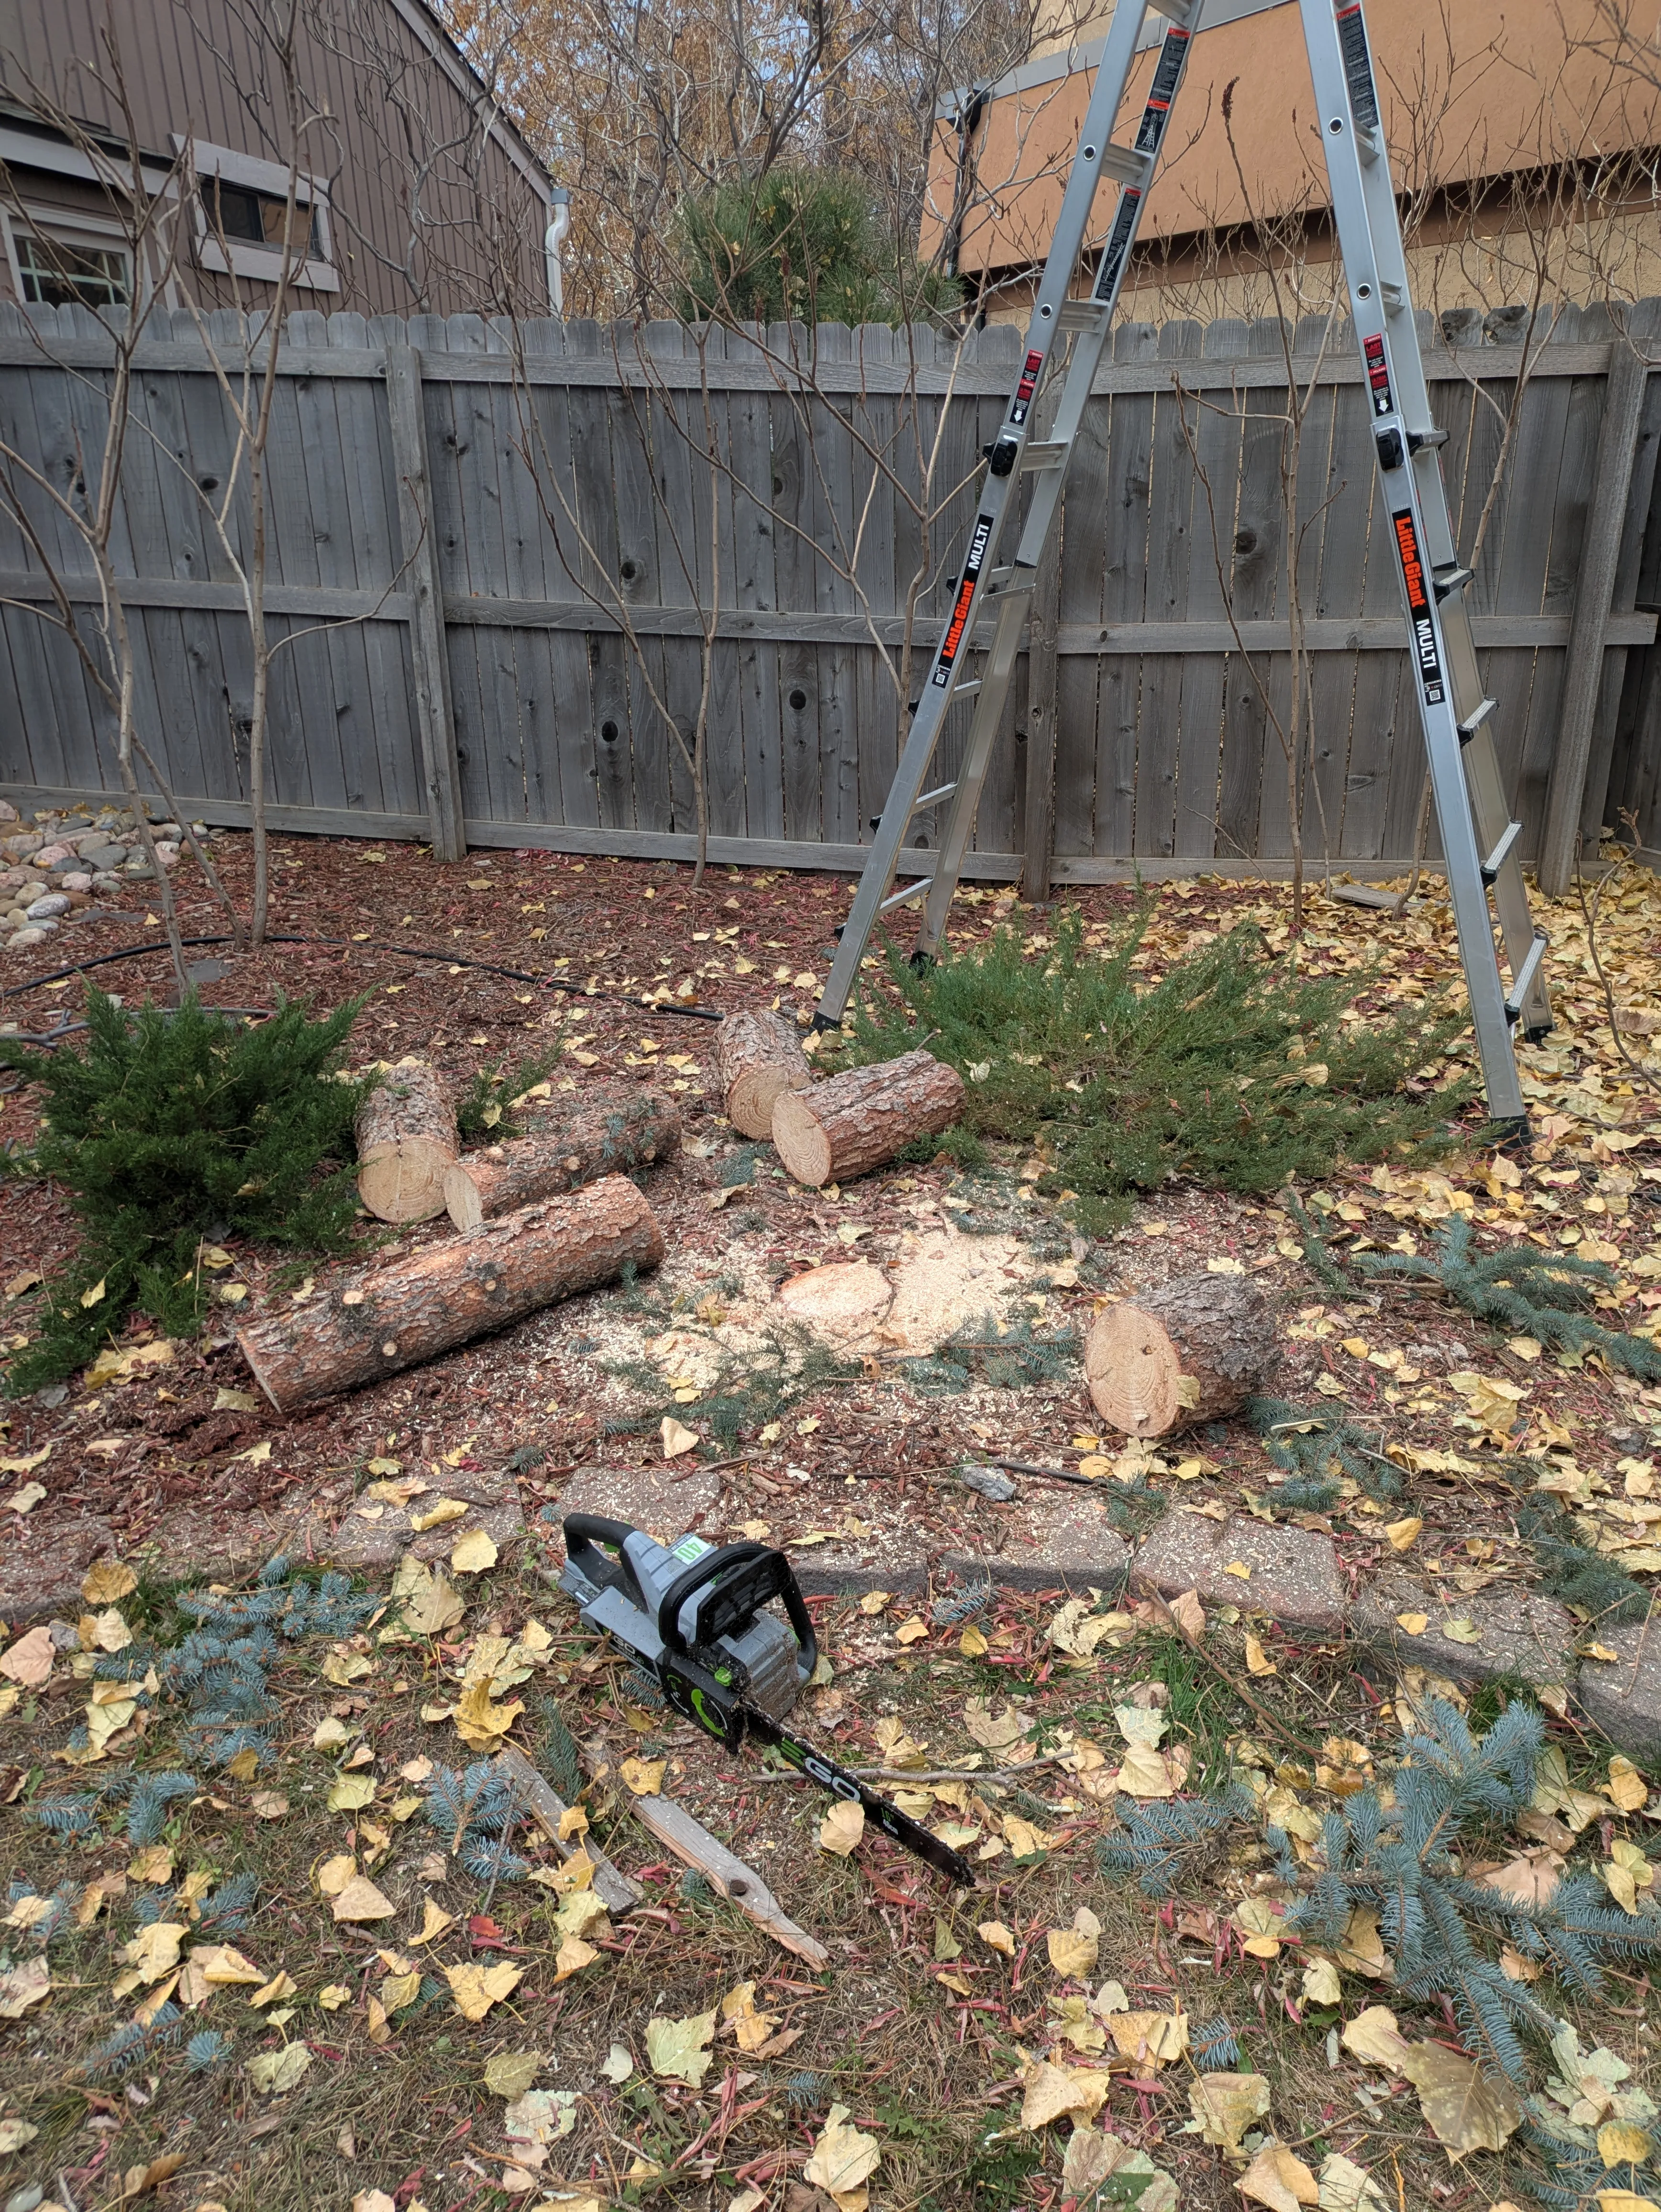
The first part of this project was cutting down this tree that was dead center where we wanted to place the sauna (I’ve already started limbing it in this photo).
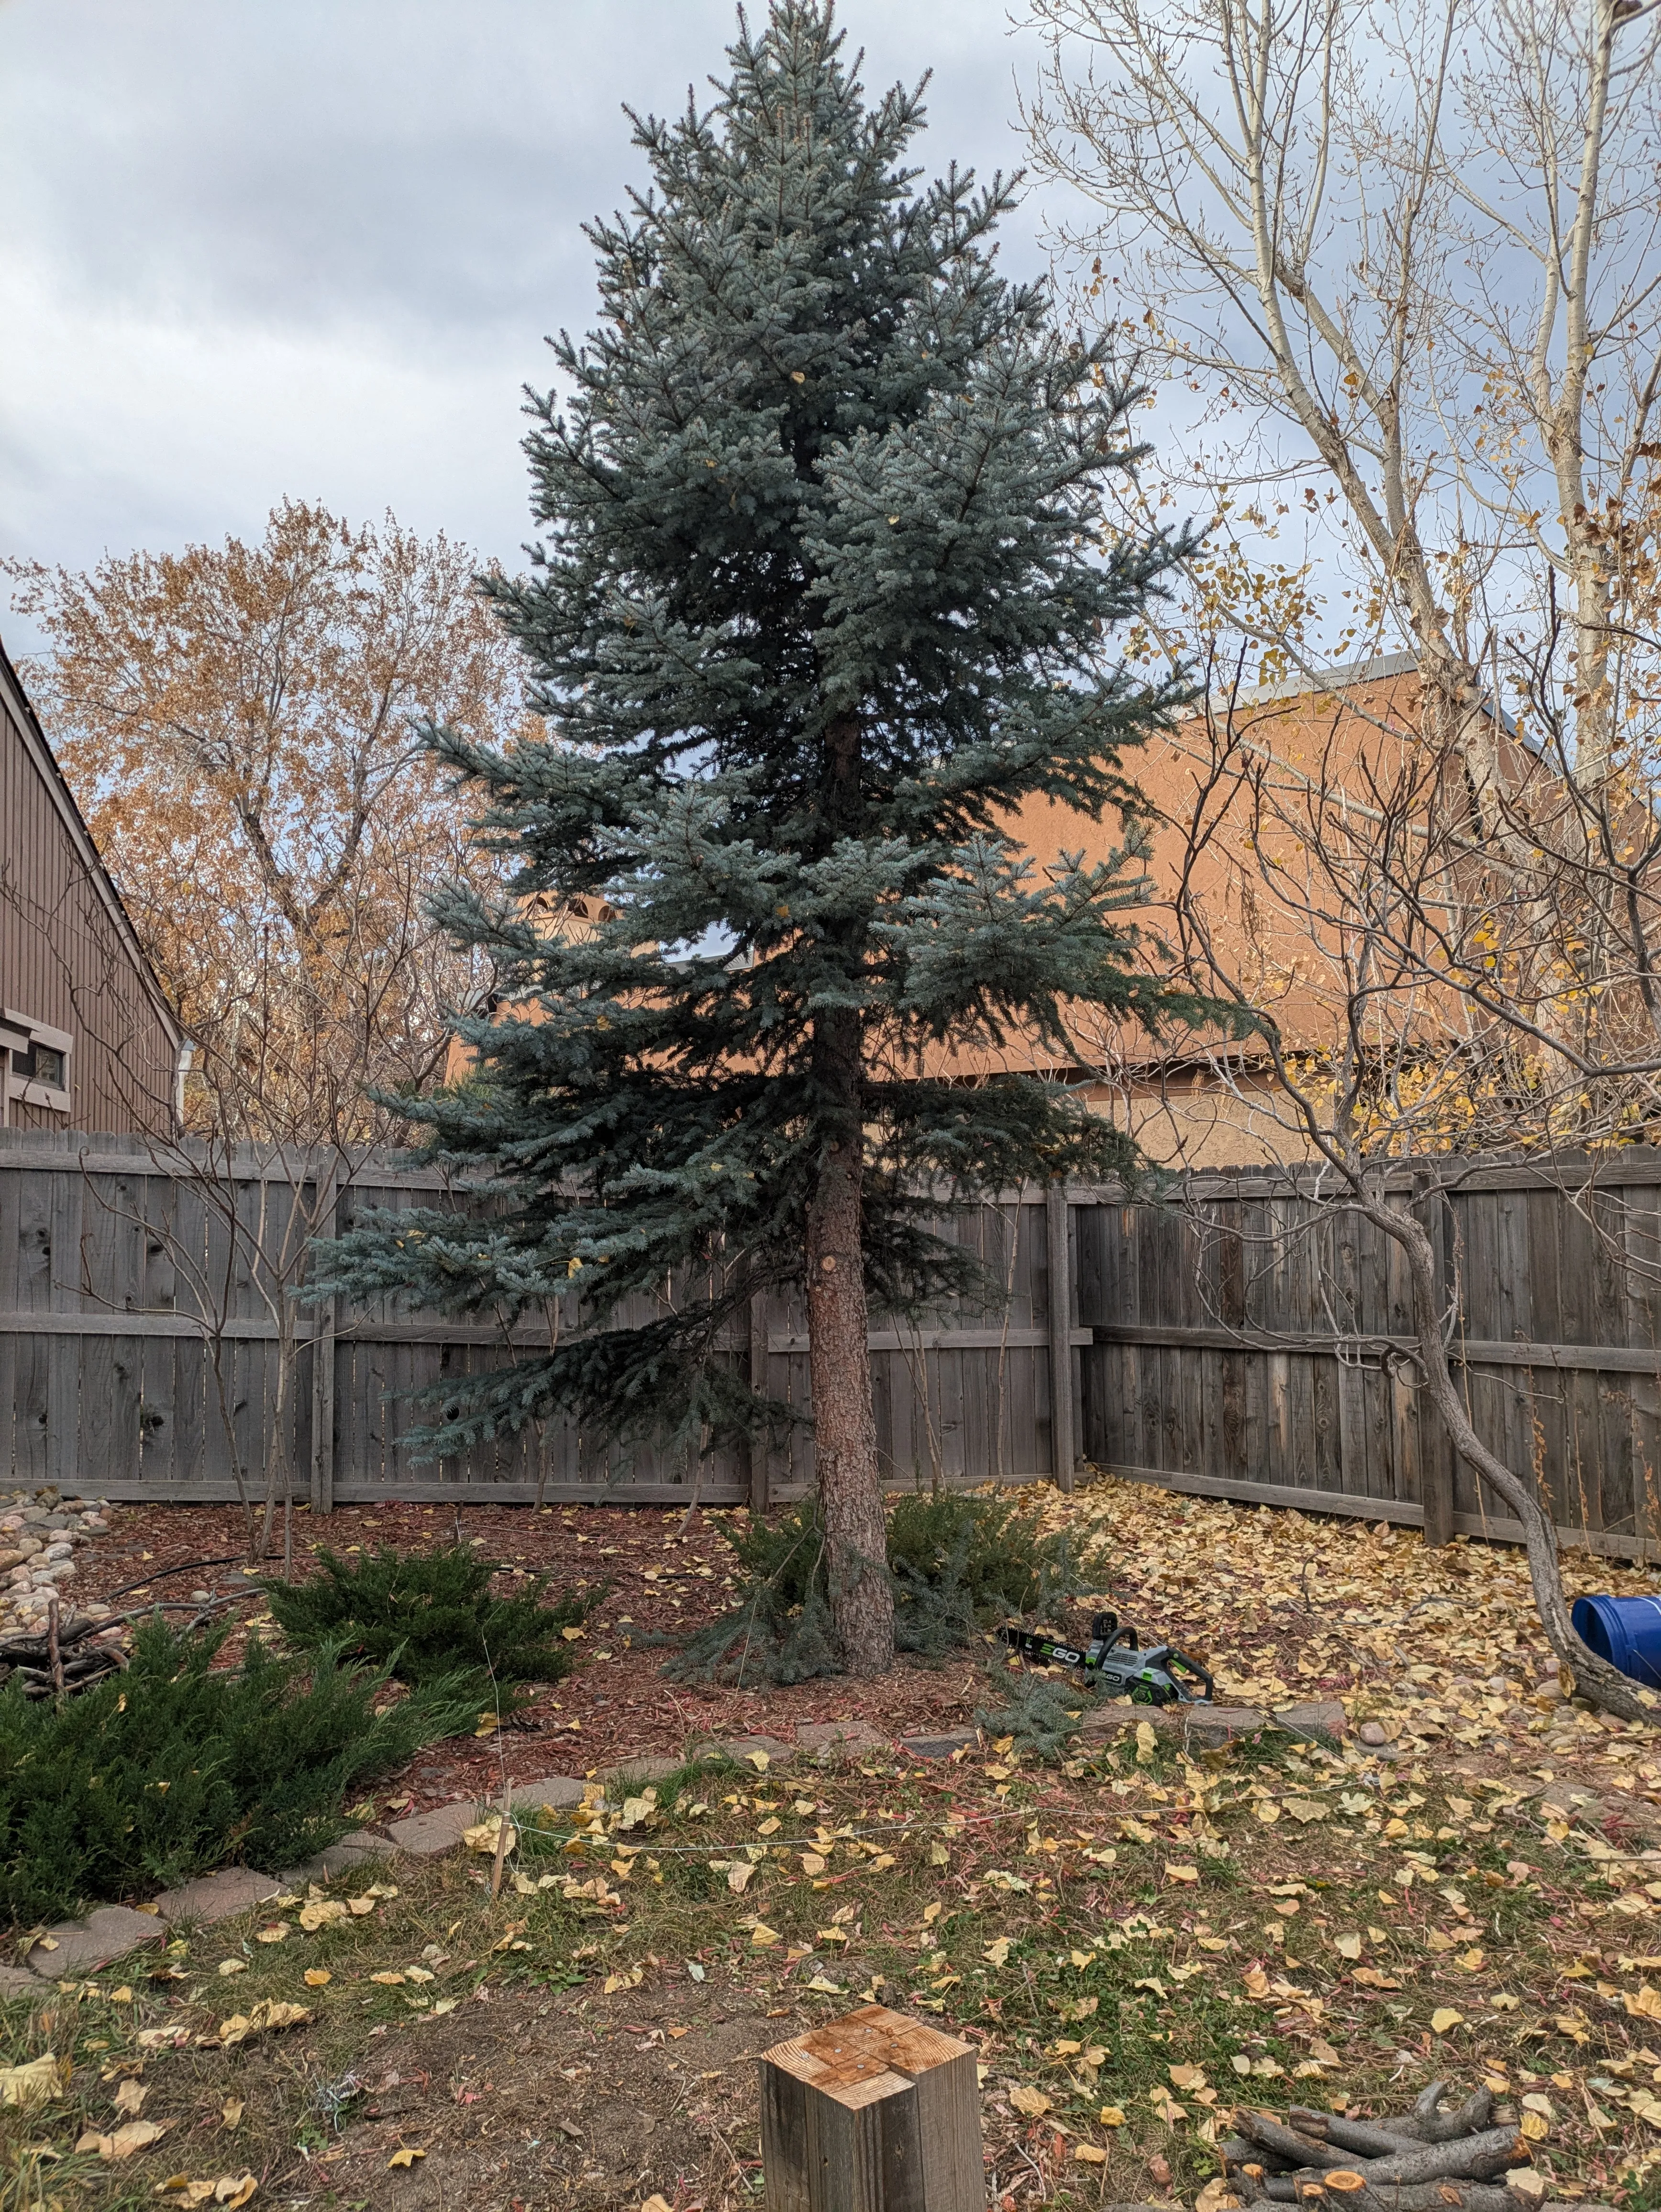
My strategy, based on not wanting to drop a tree on my house or the neighbor’s fence, was to limb as high as I could go with my ladder, drop the top, and then drop small sections the rest of the way down.
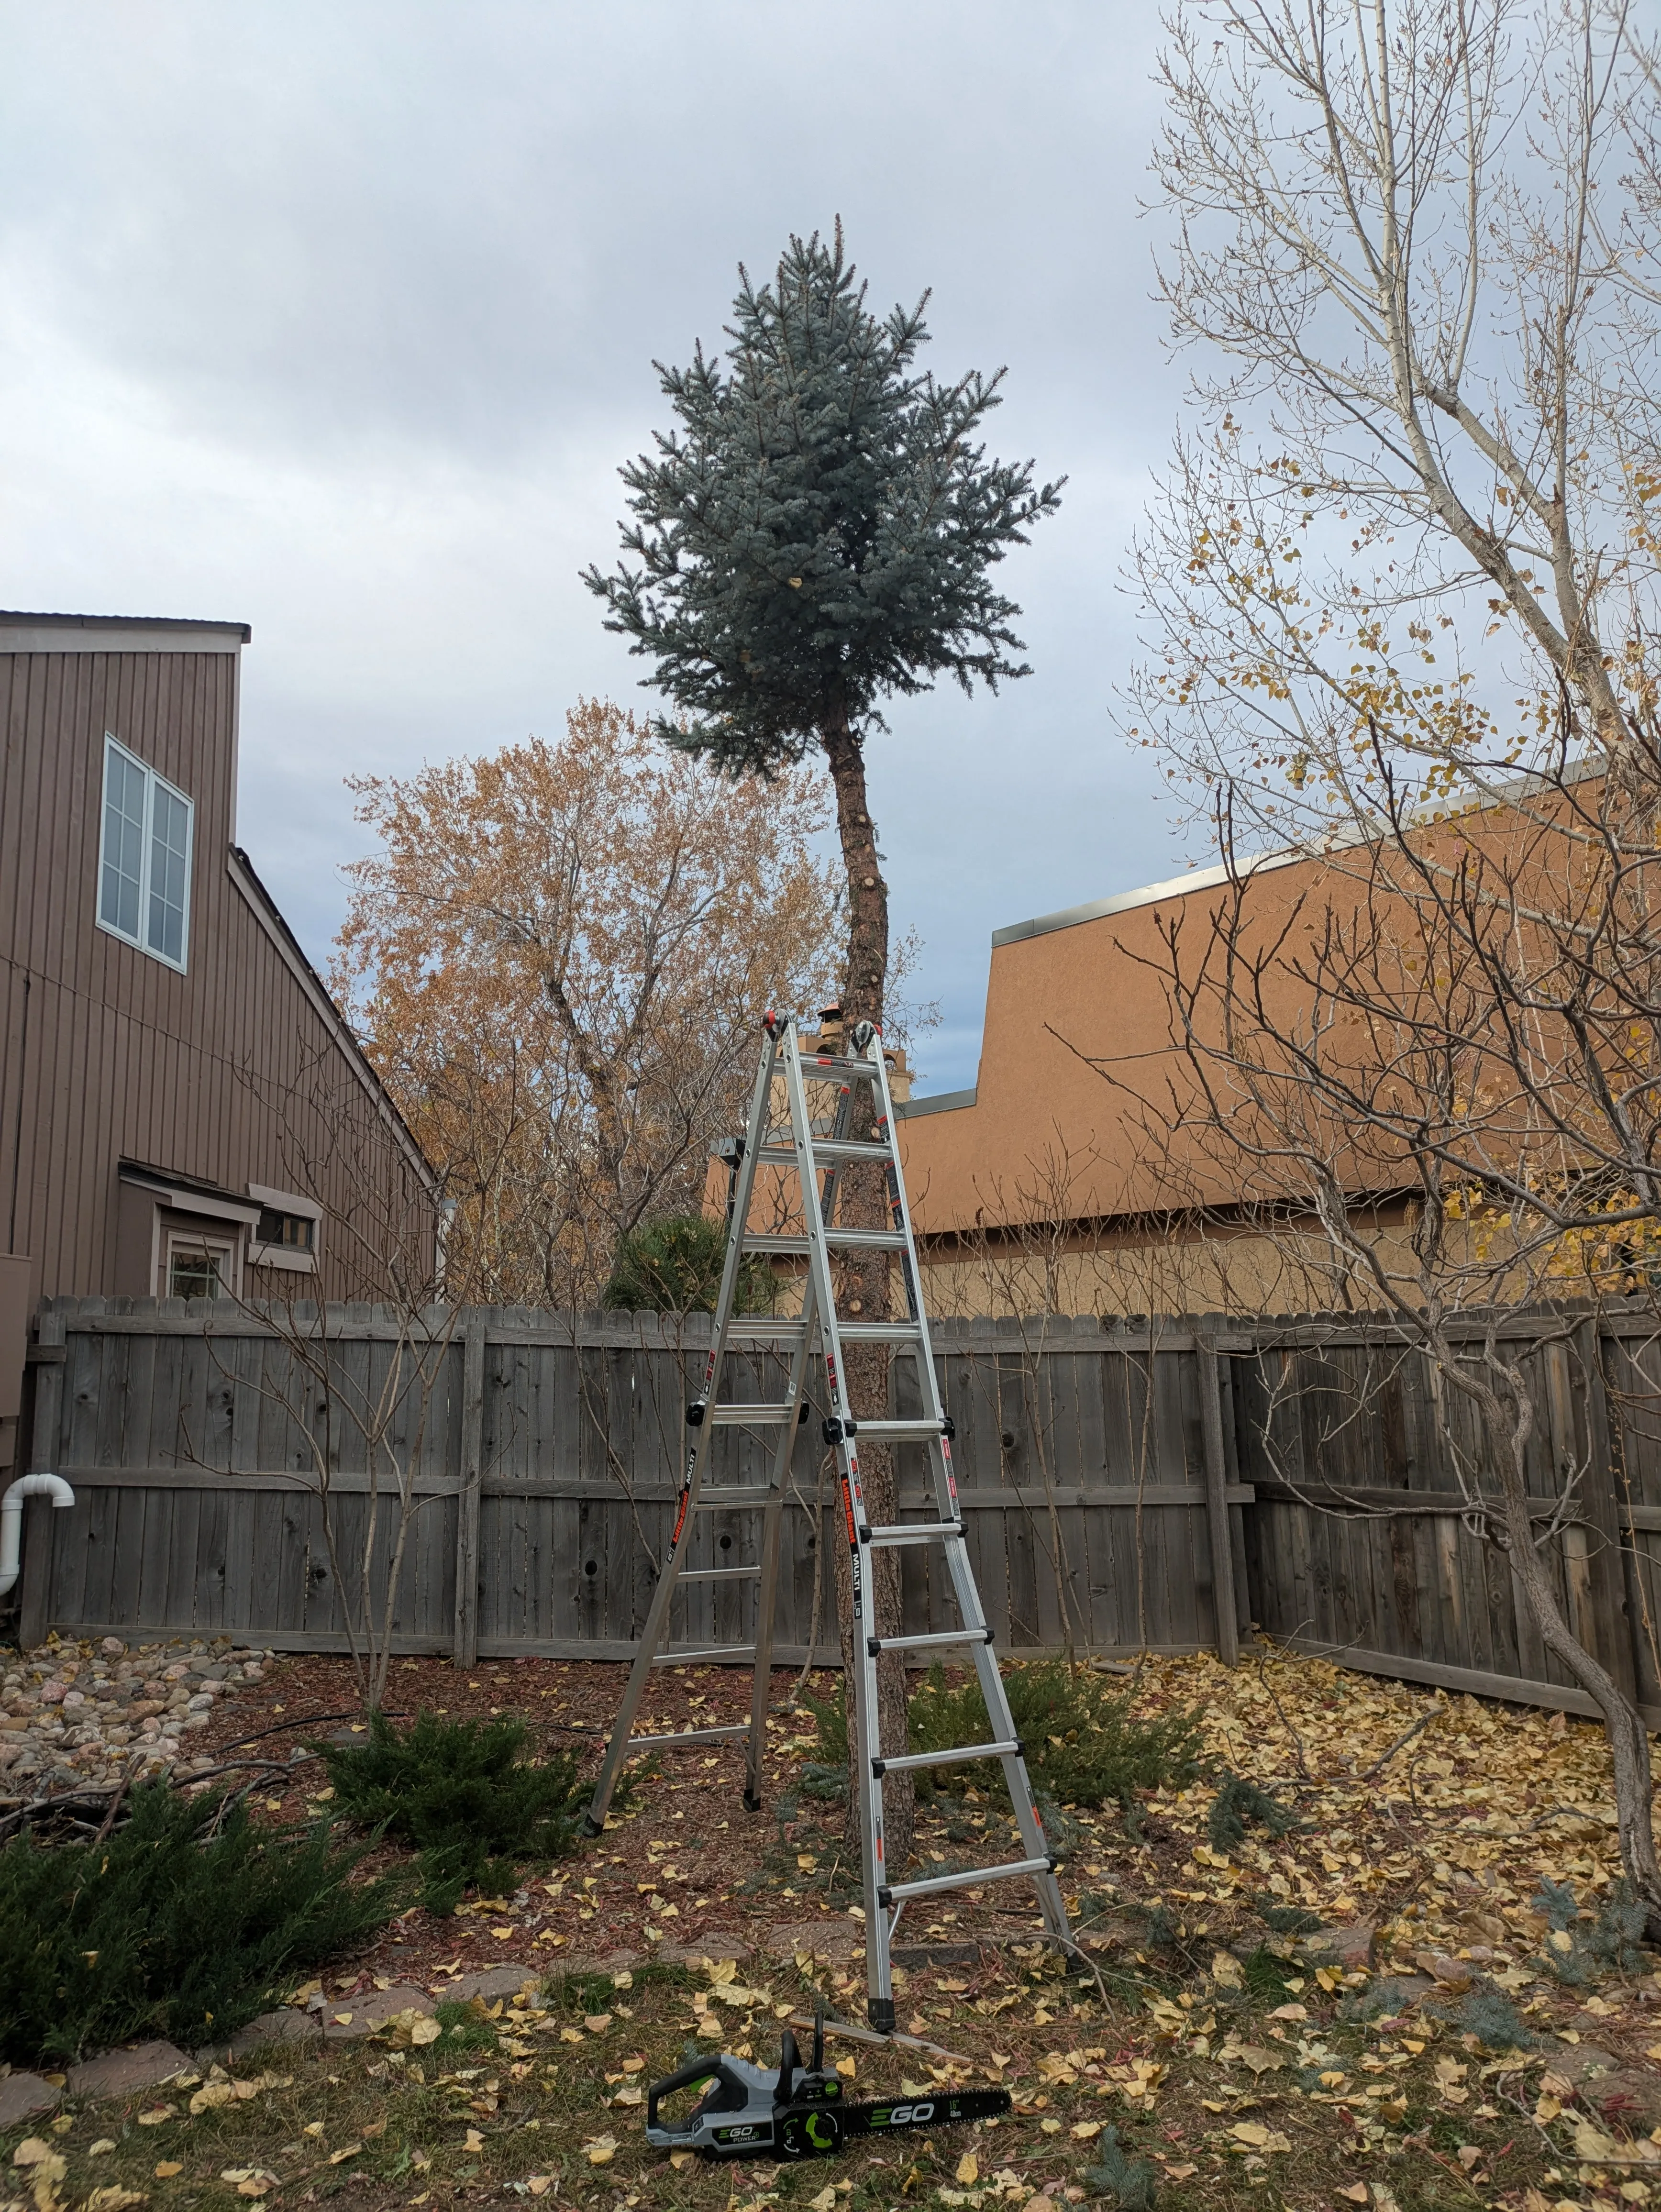
Dropping the top was honestly the most stressful part. It was still a good amount of tree, and I made my notch just a little higher than was comfortable to cut while holding a chainsaw on a ladder, but in the end it came down totally fine.
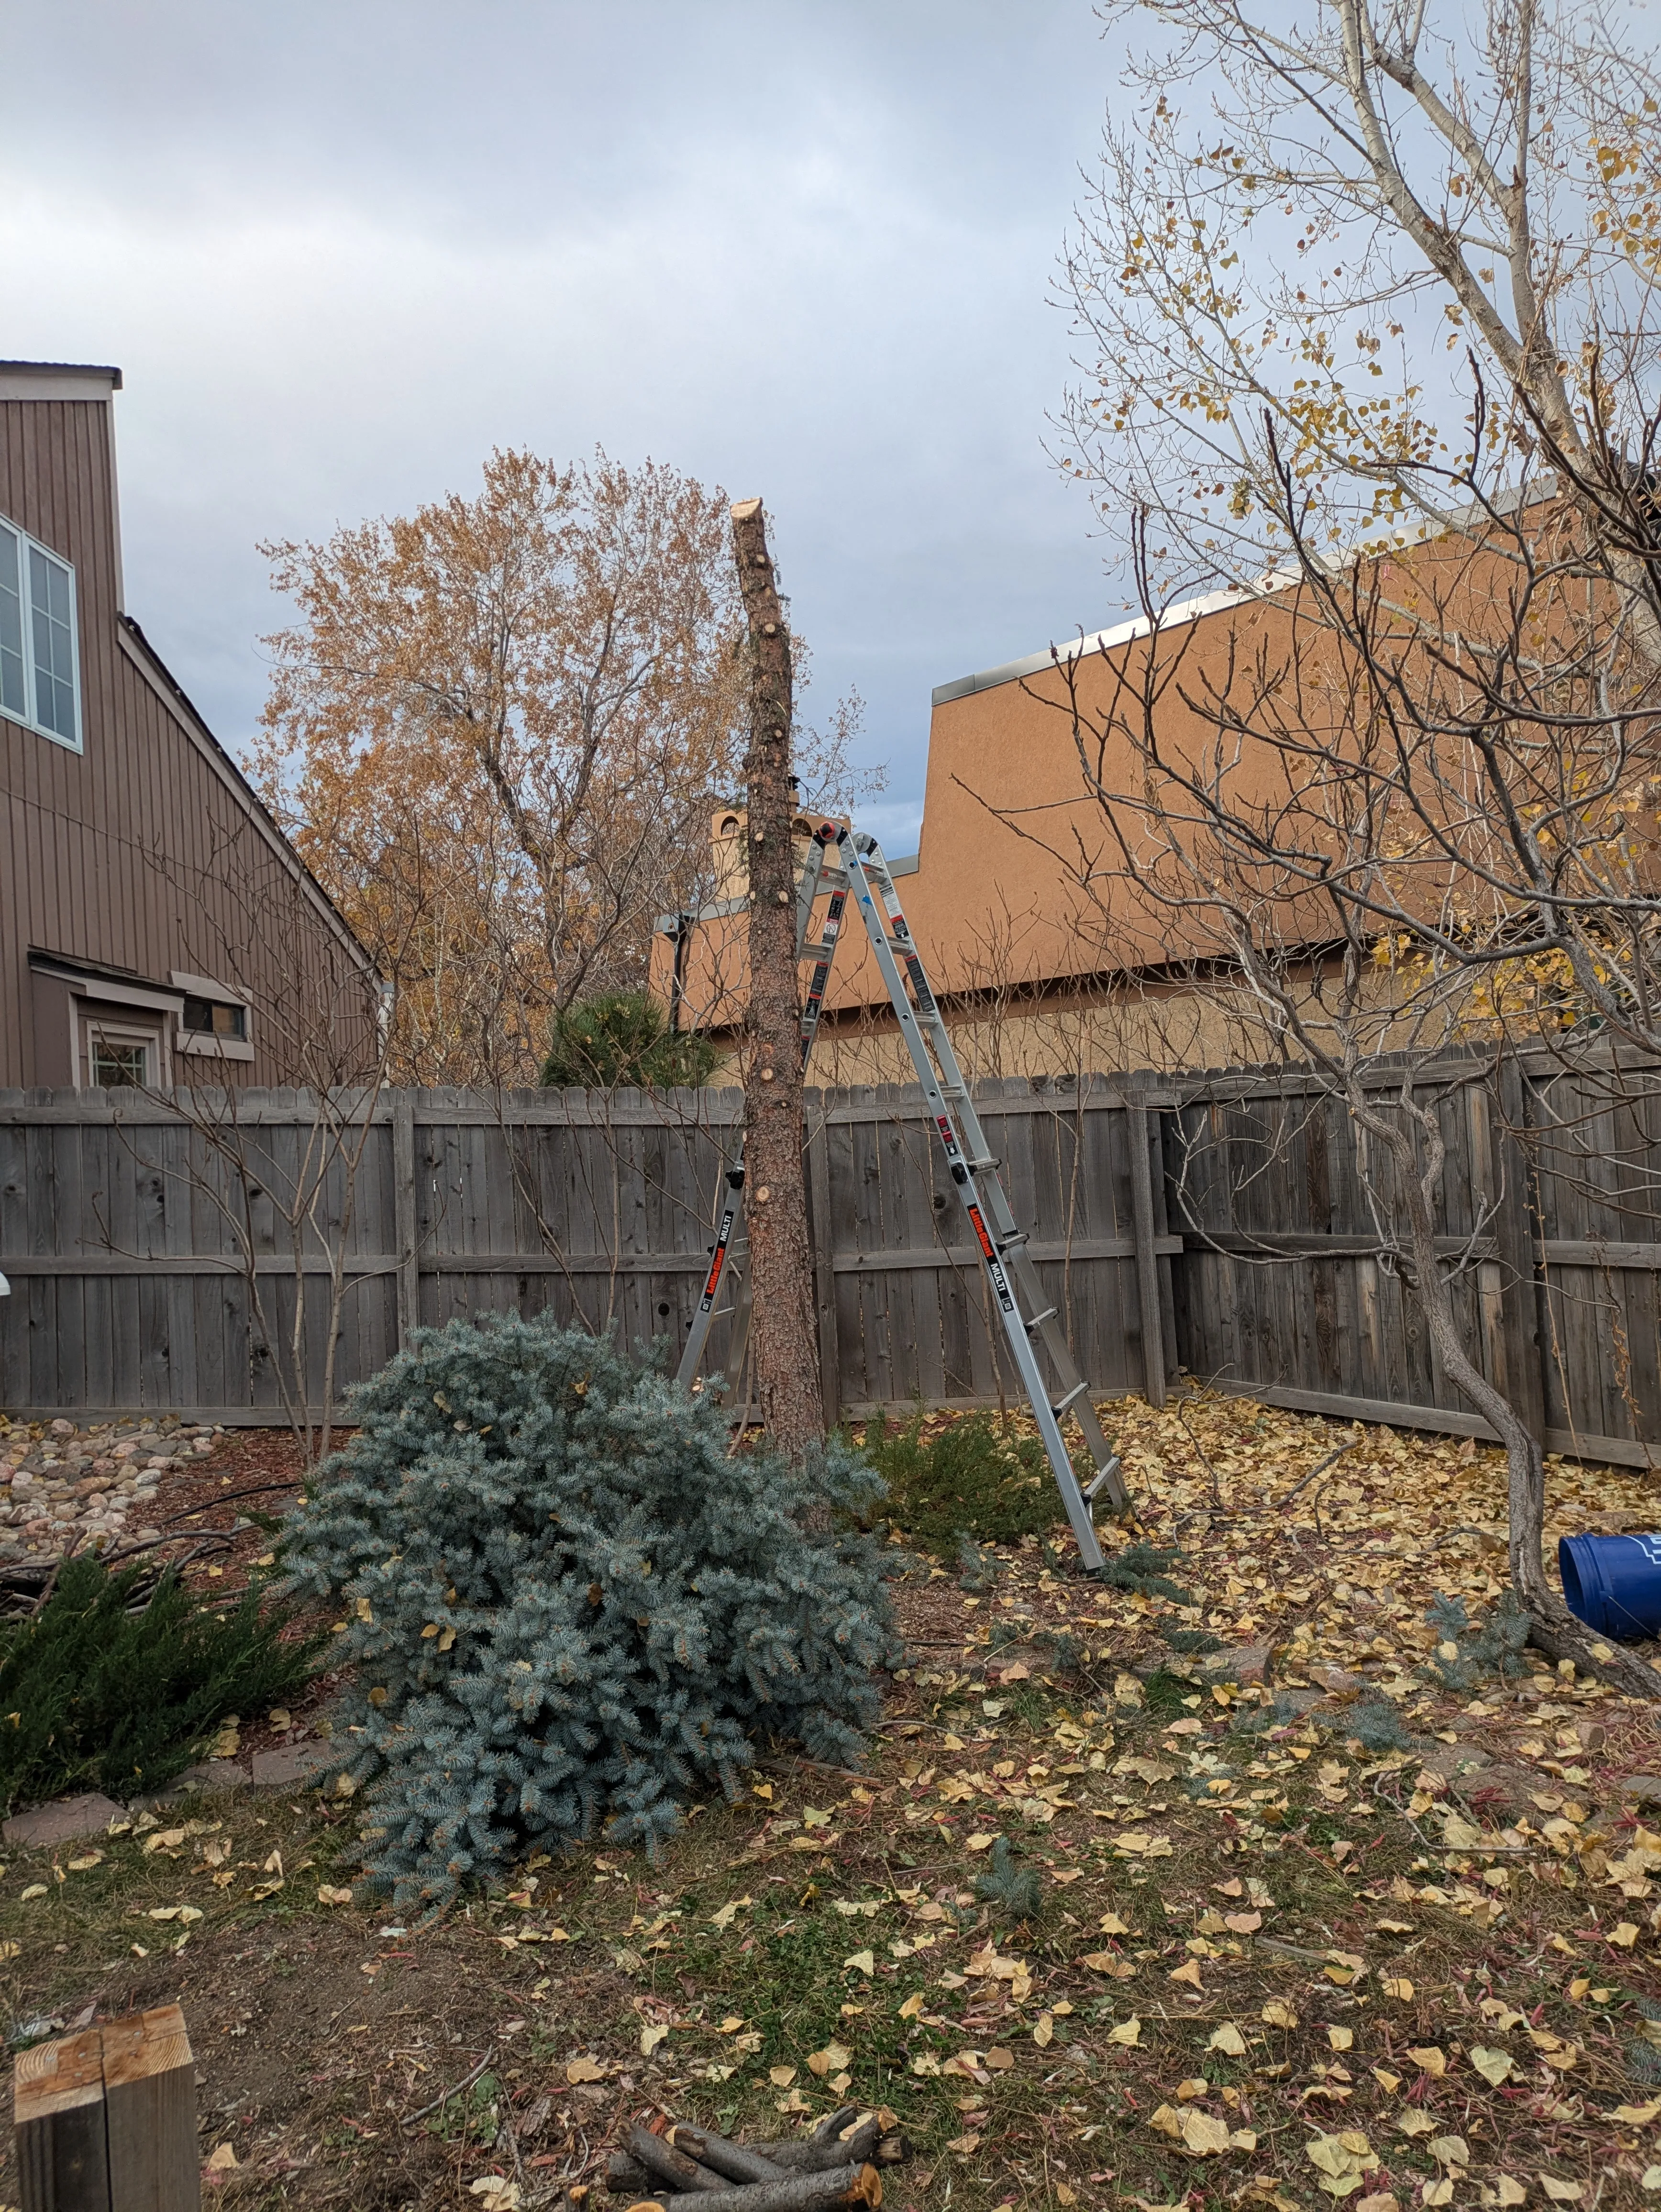
Once the top was gone, dropping reasonable-sized logs on the way down was a piece of cake.
Digging
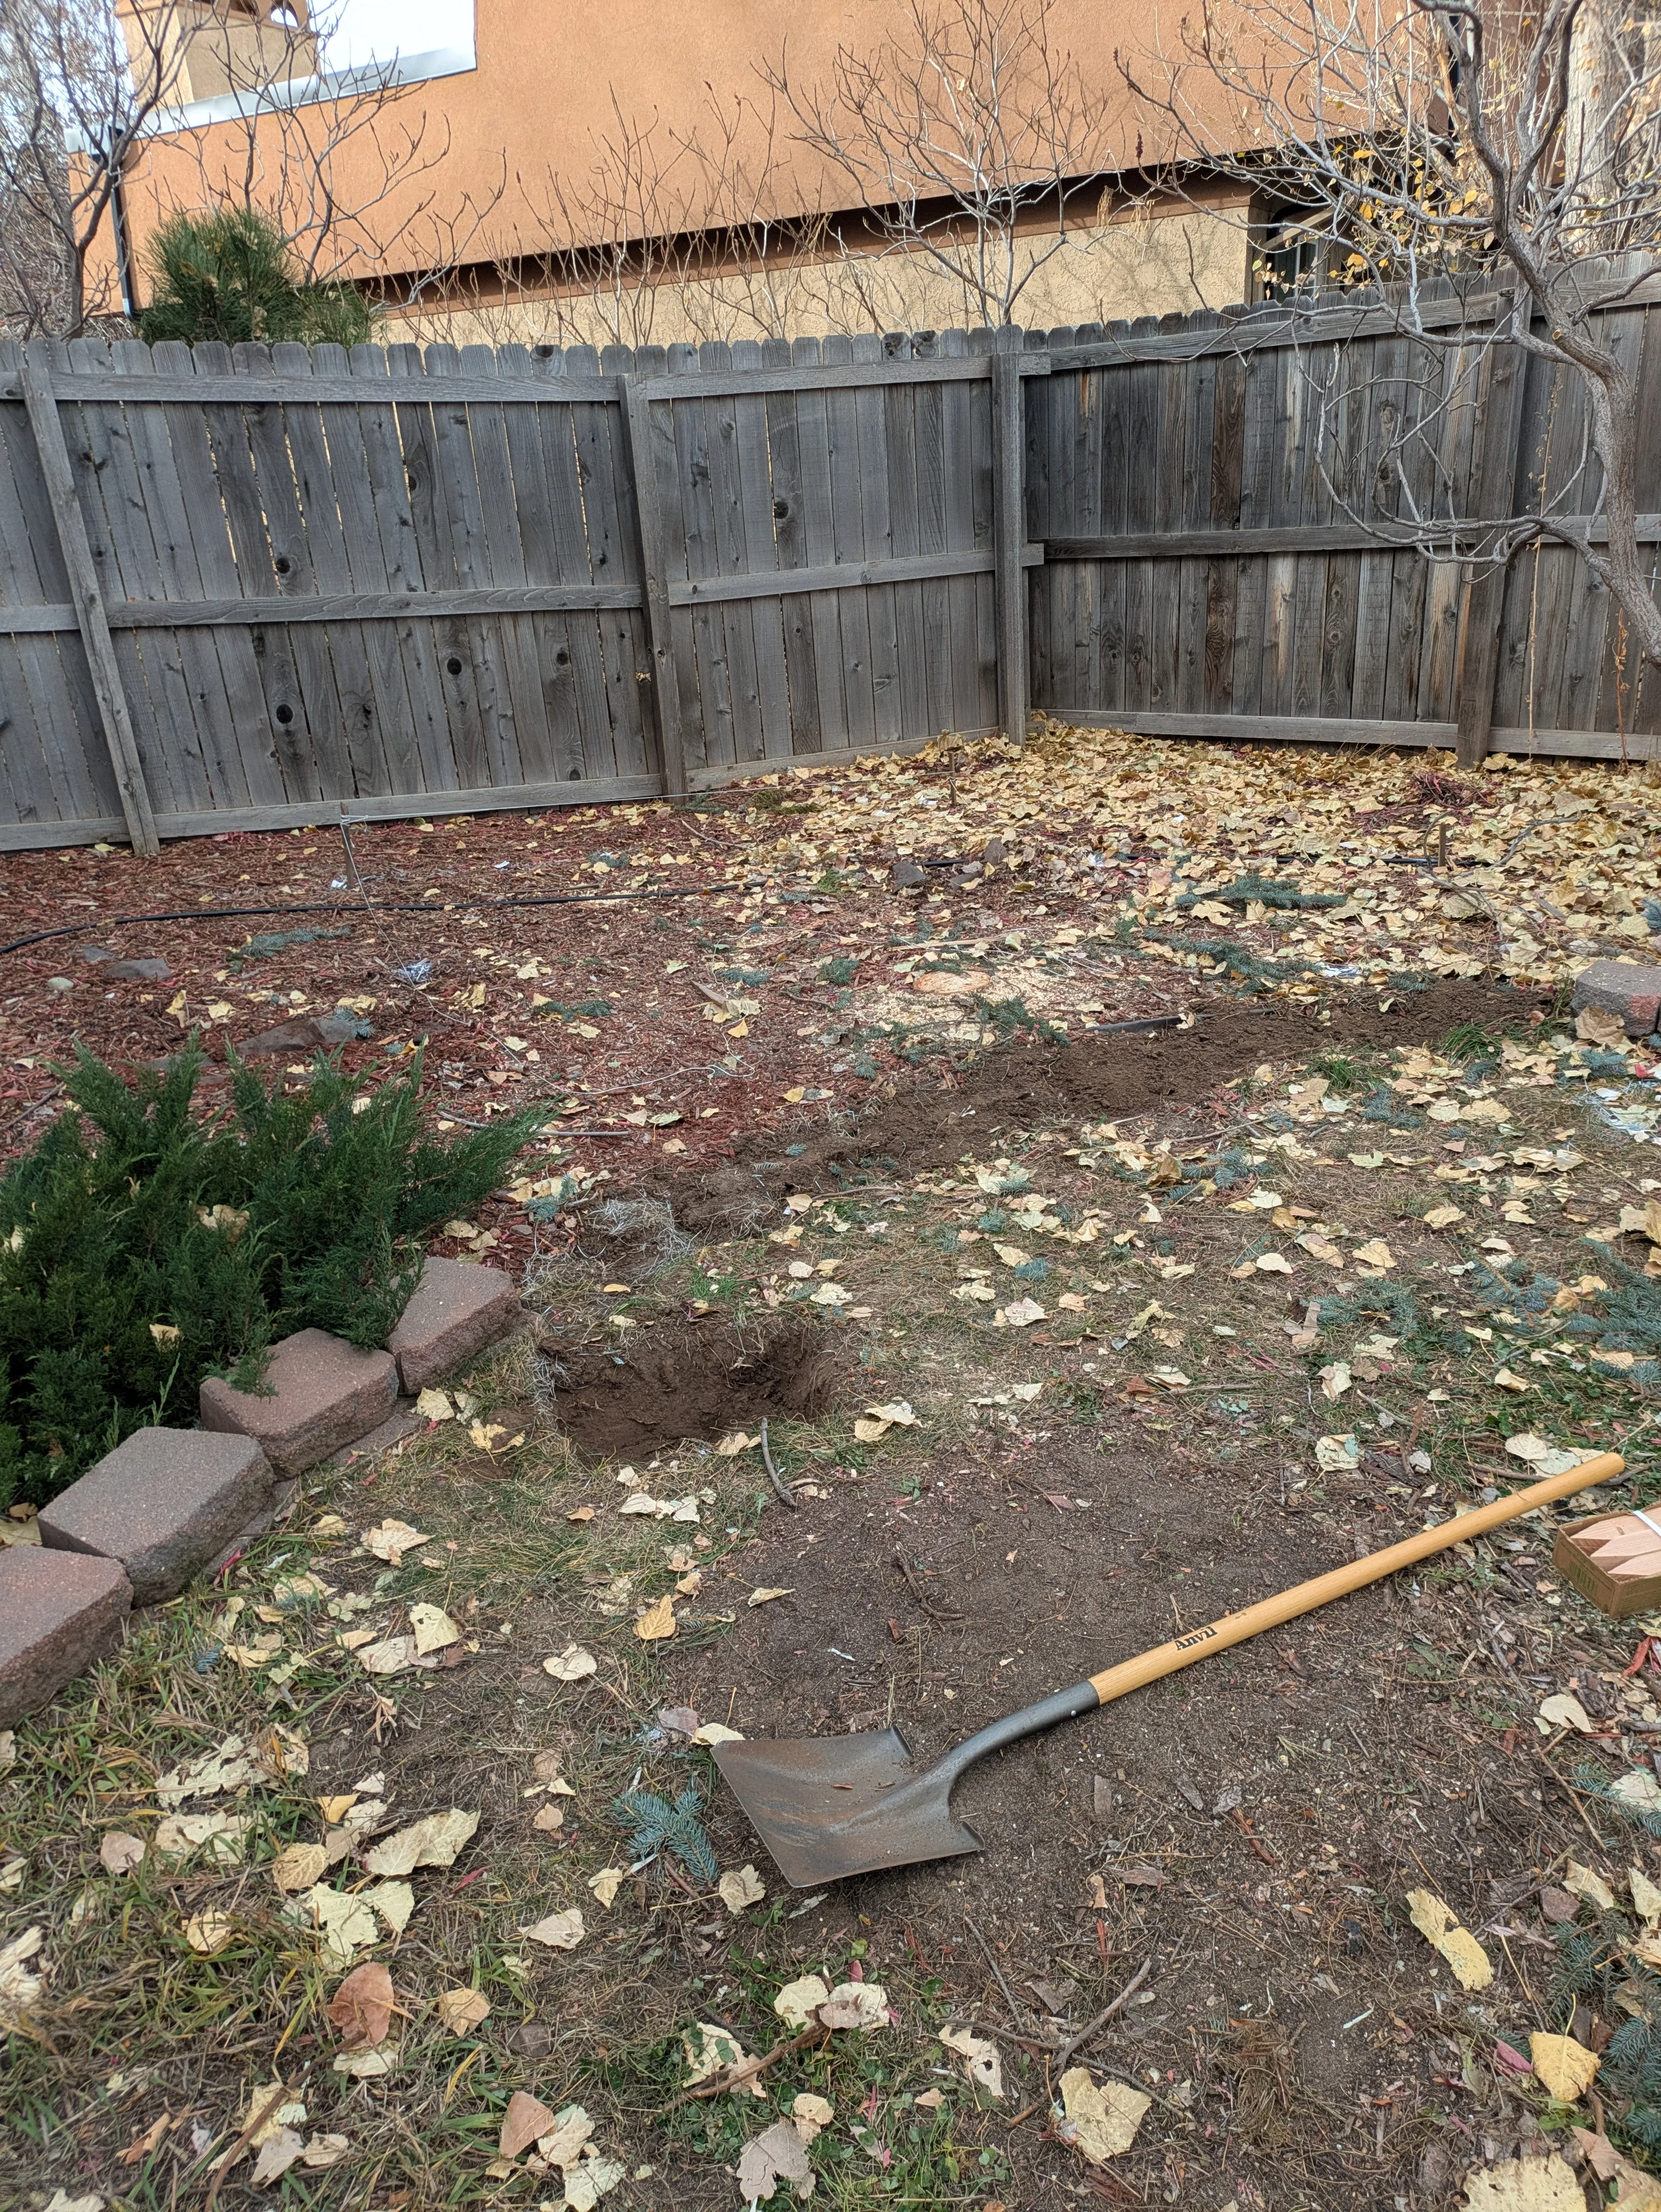
The next phase was digging the holes for my block piers. I got pretty lucky with the soil quality for the depth I needed to go and only ran into a few areas with large rocks I had to deal with.
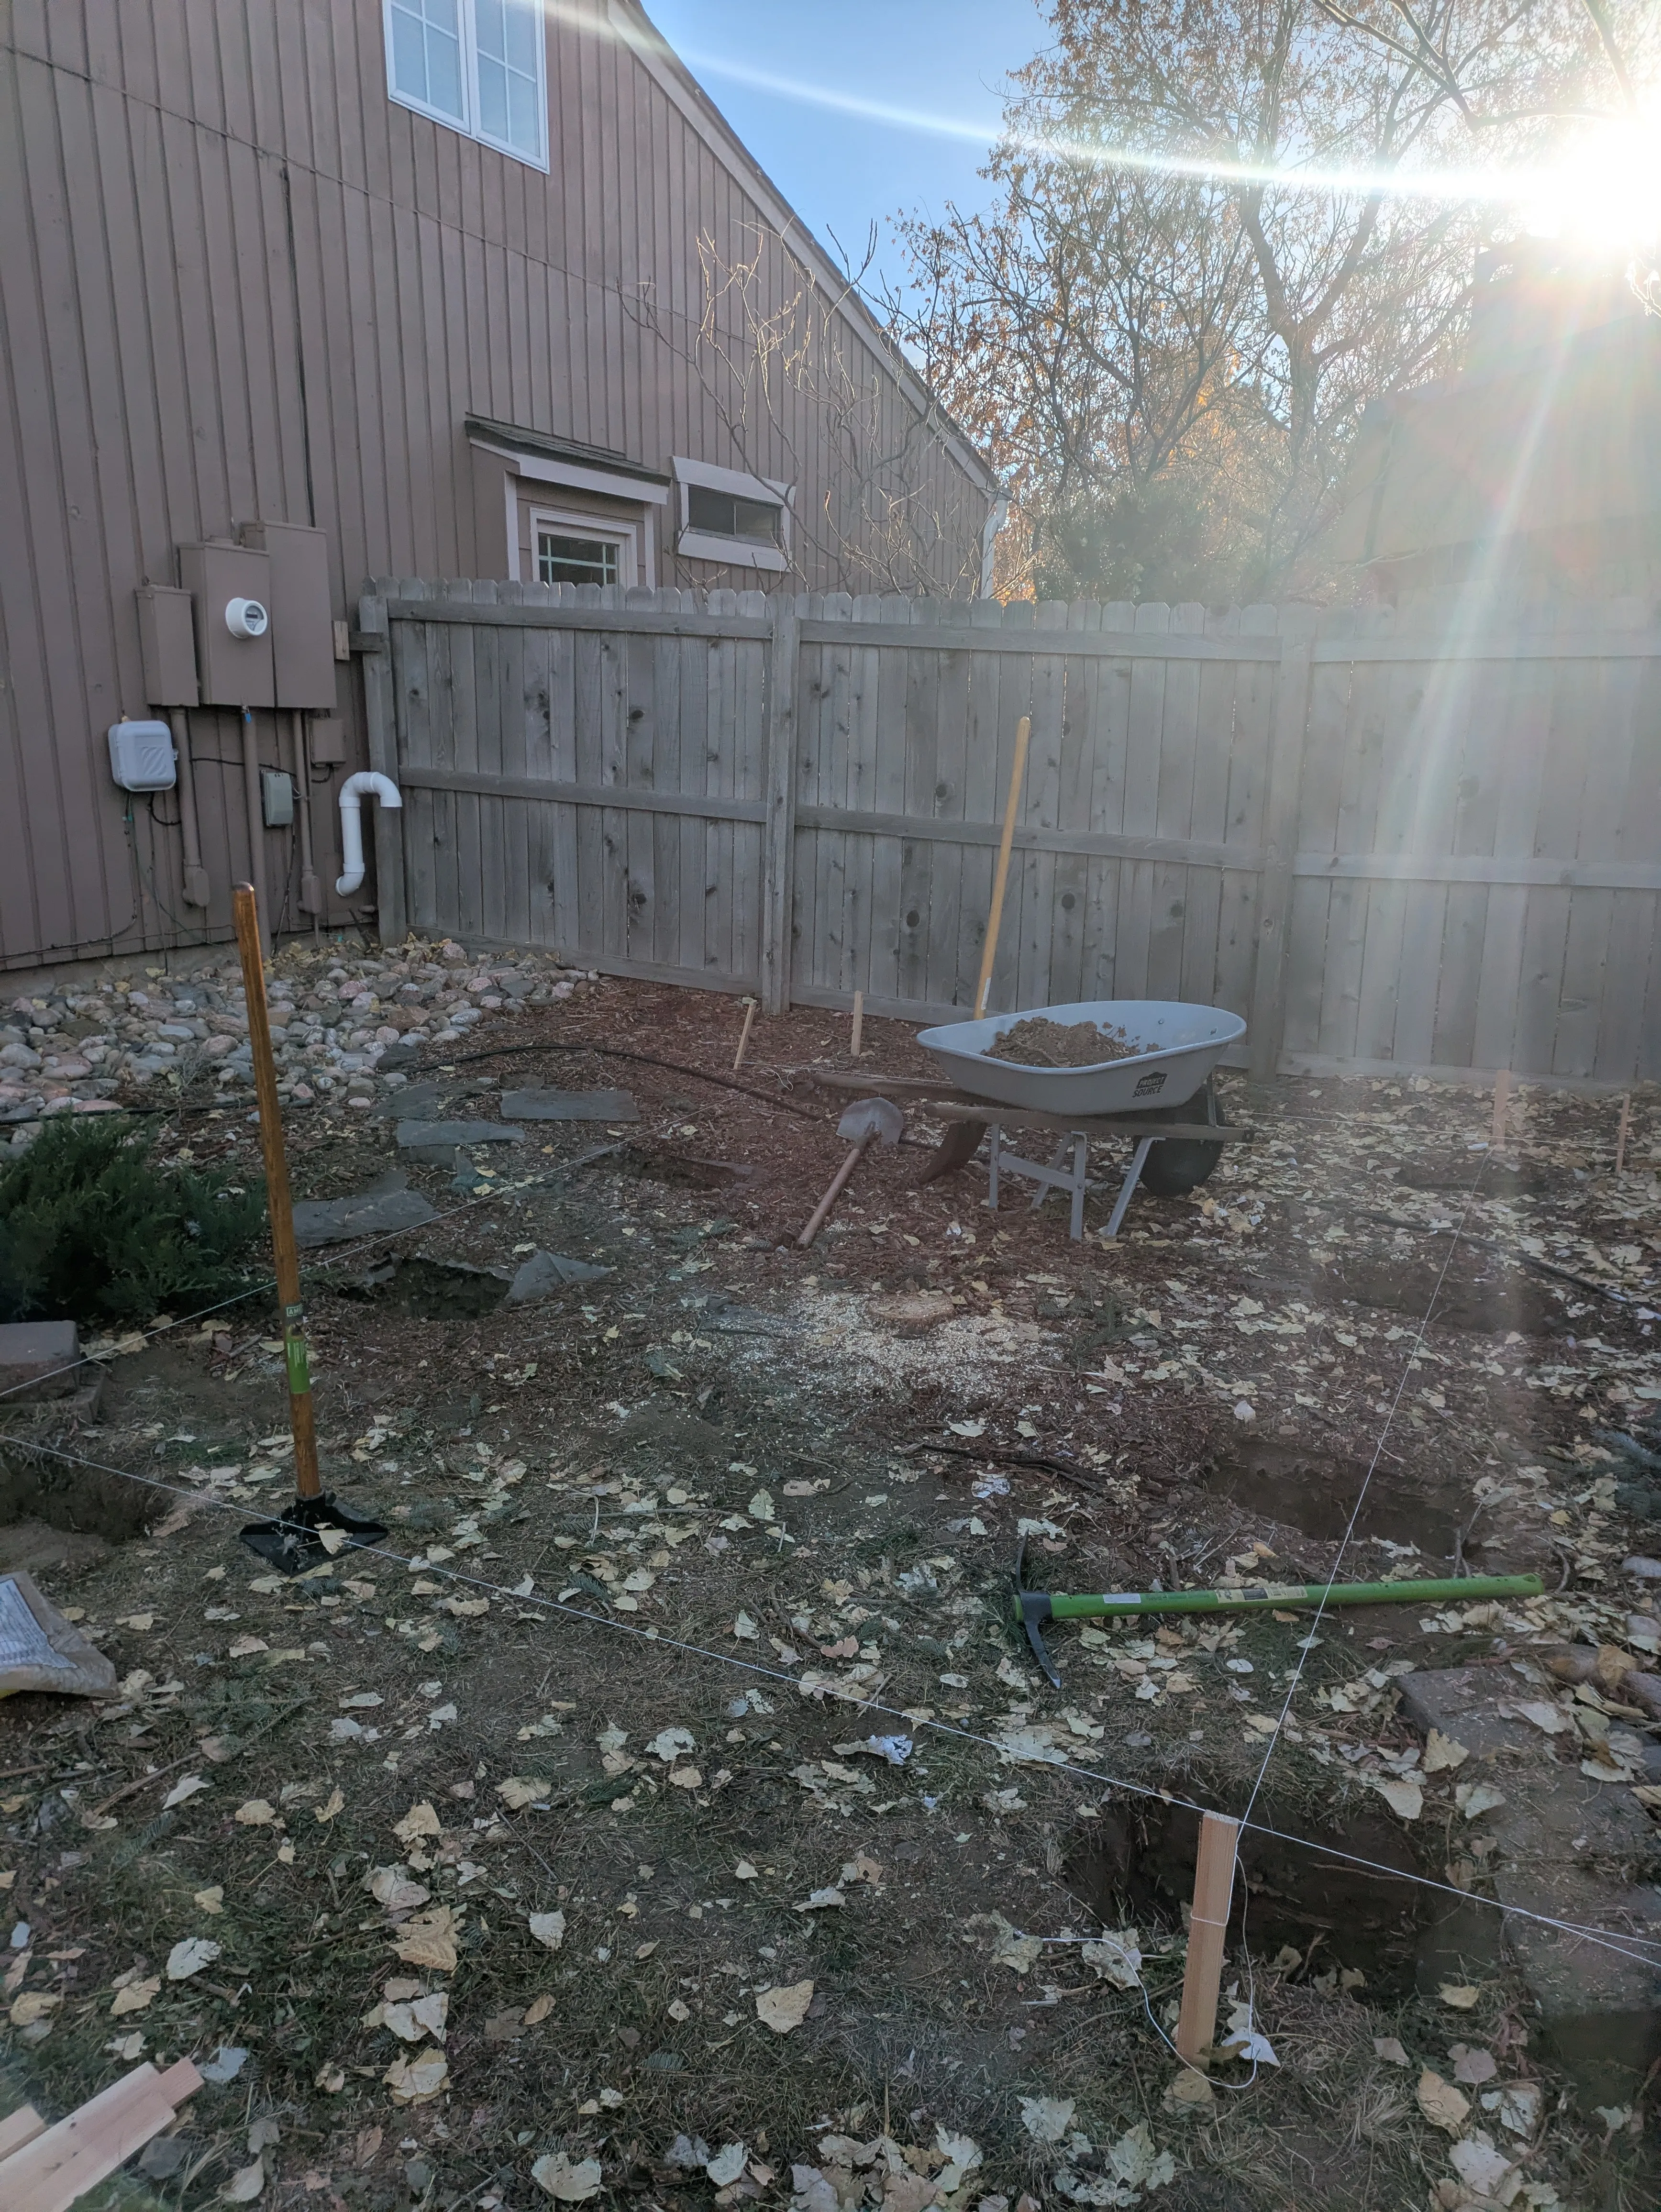
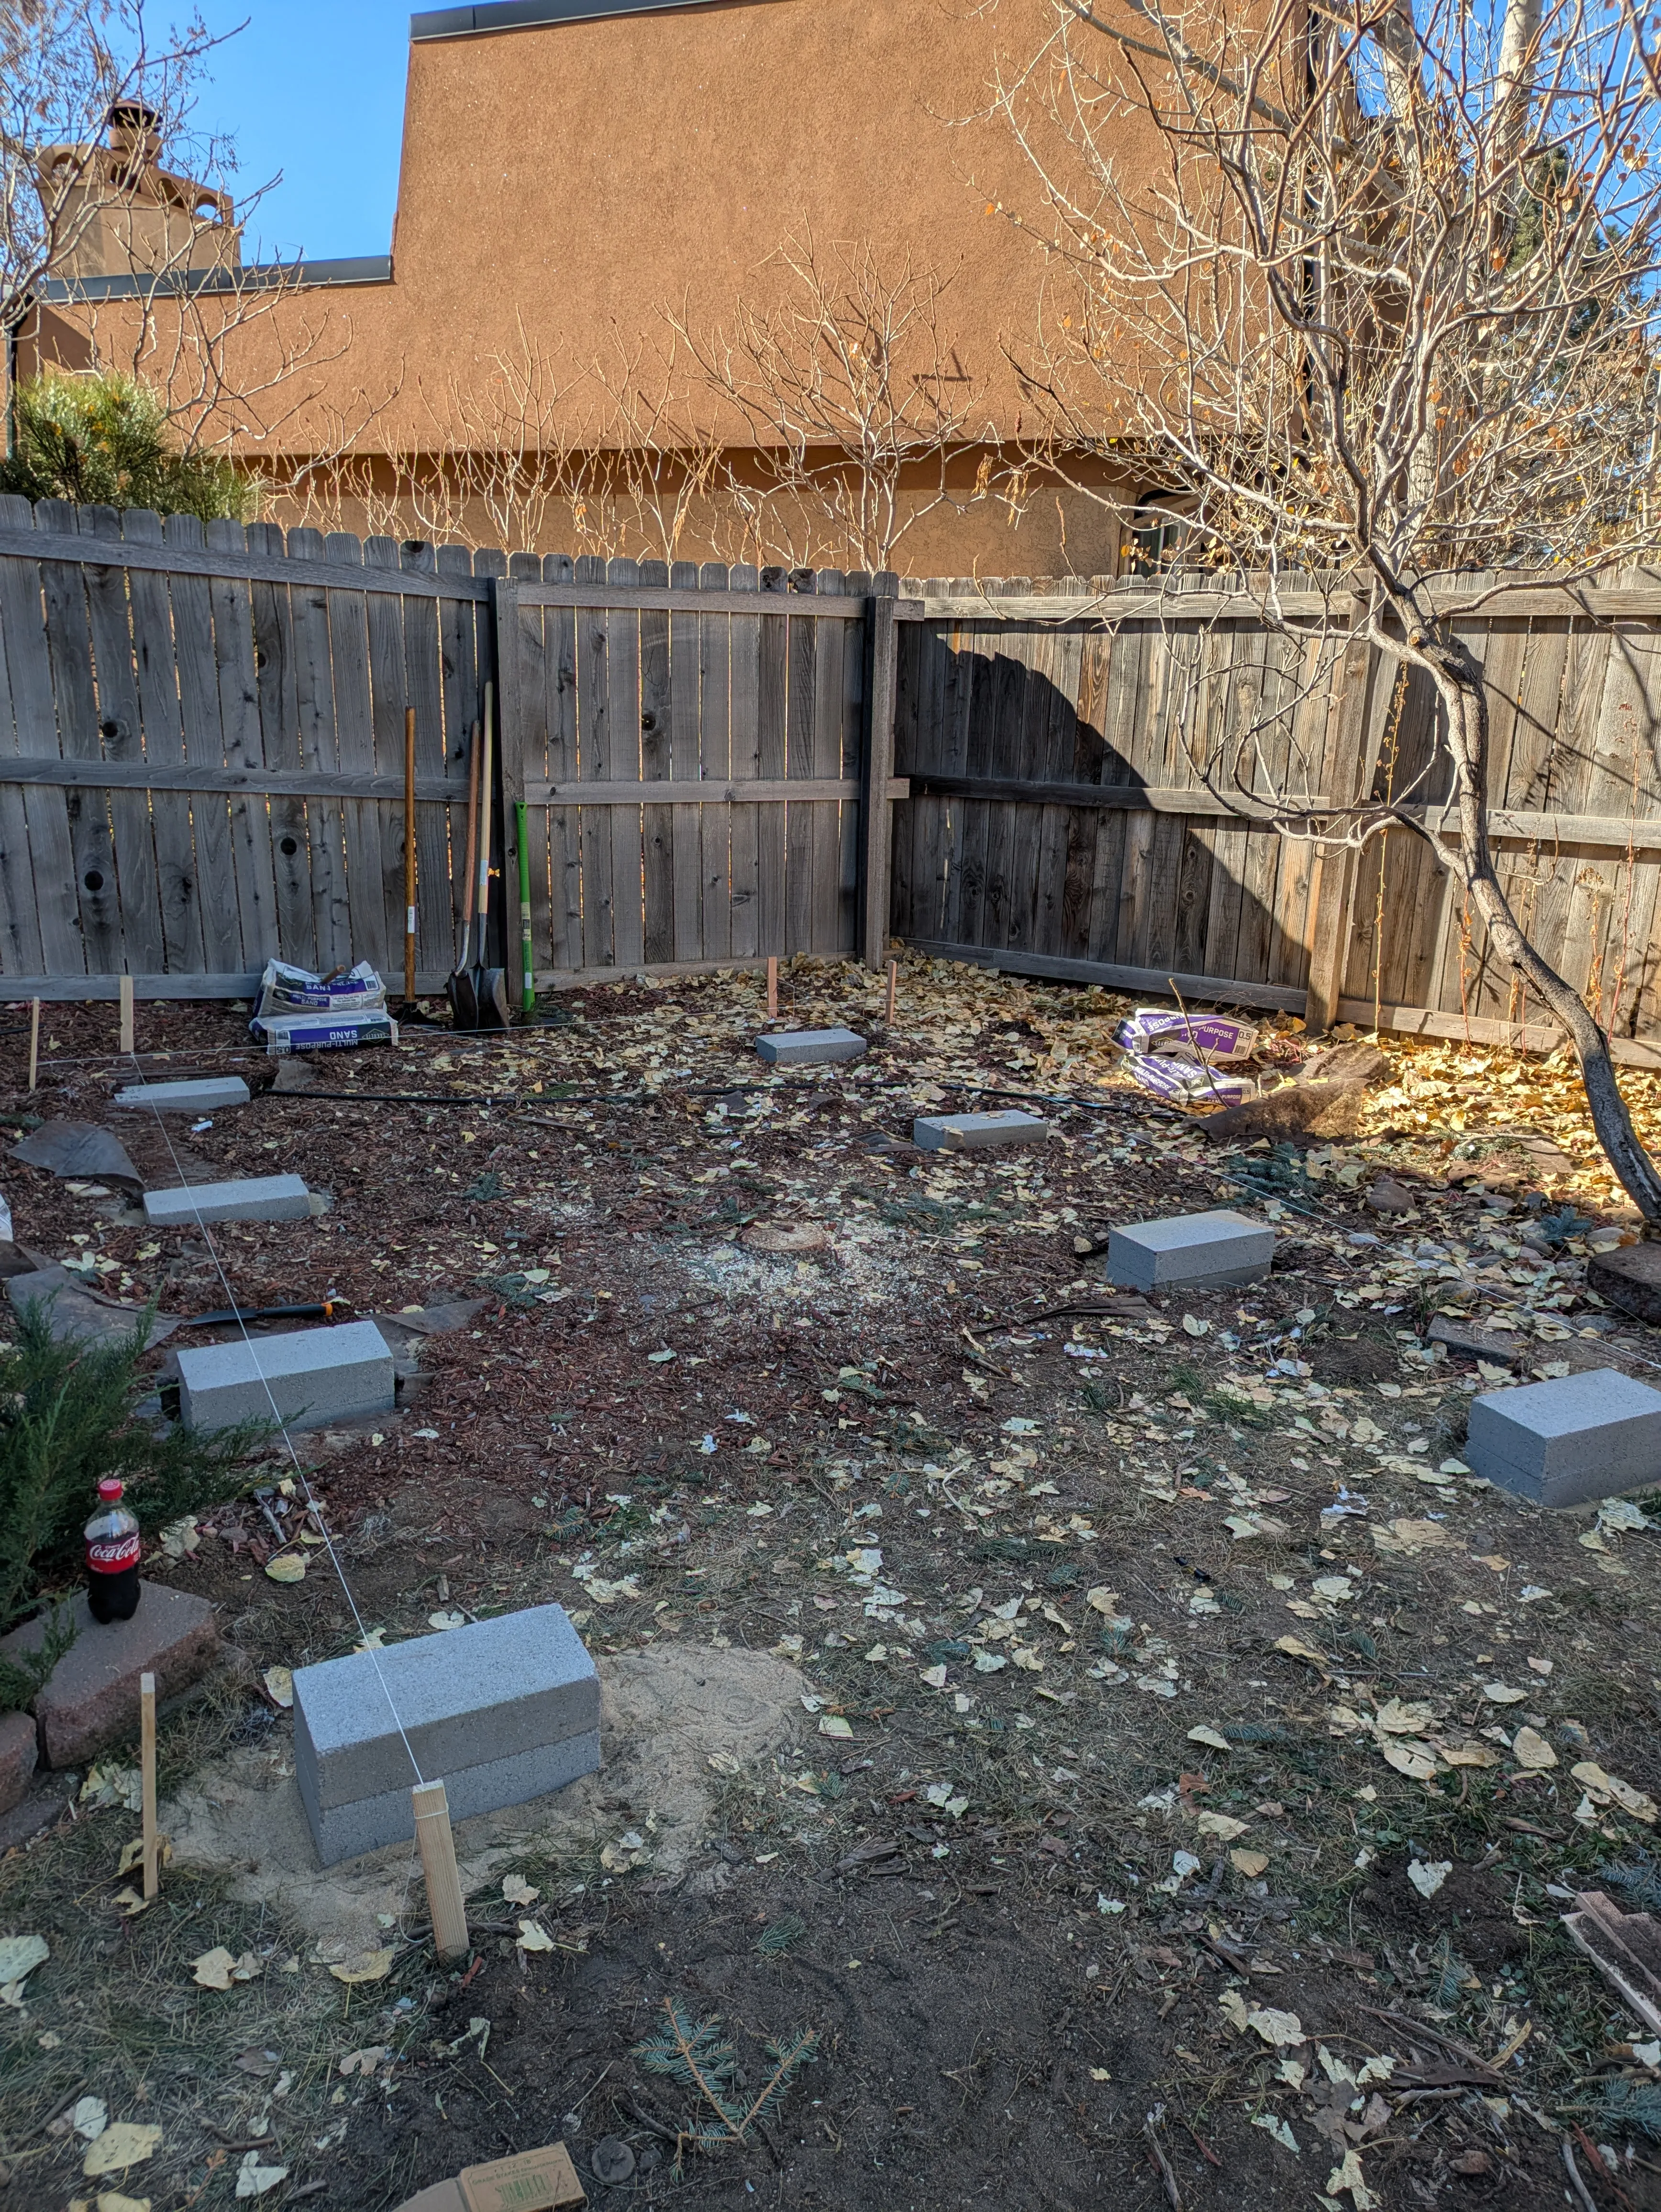
Once all the holes were dug, I strung and leveled mason line to begin filling my holes back in.
Leveling
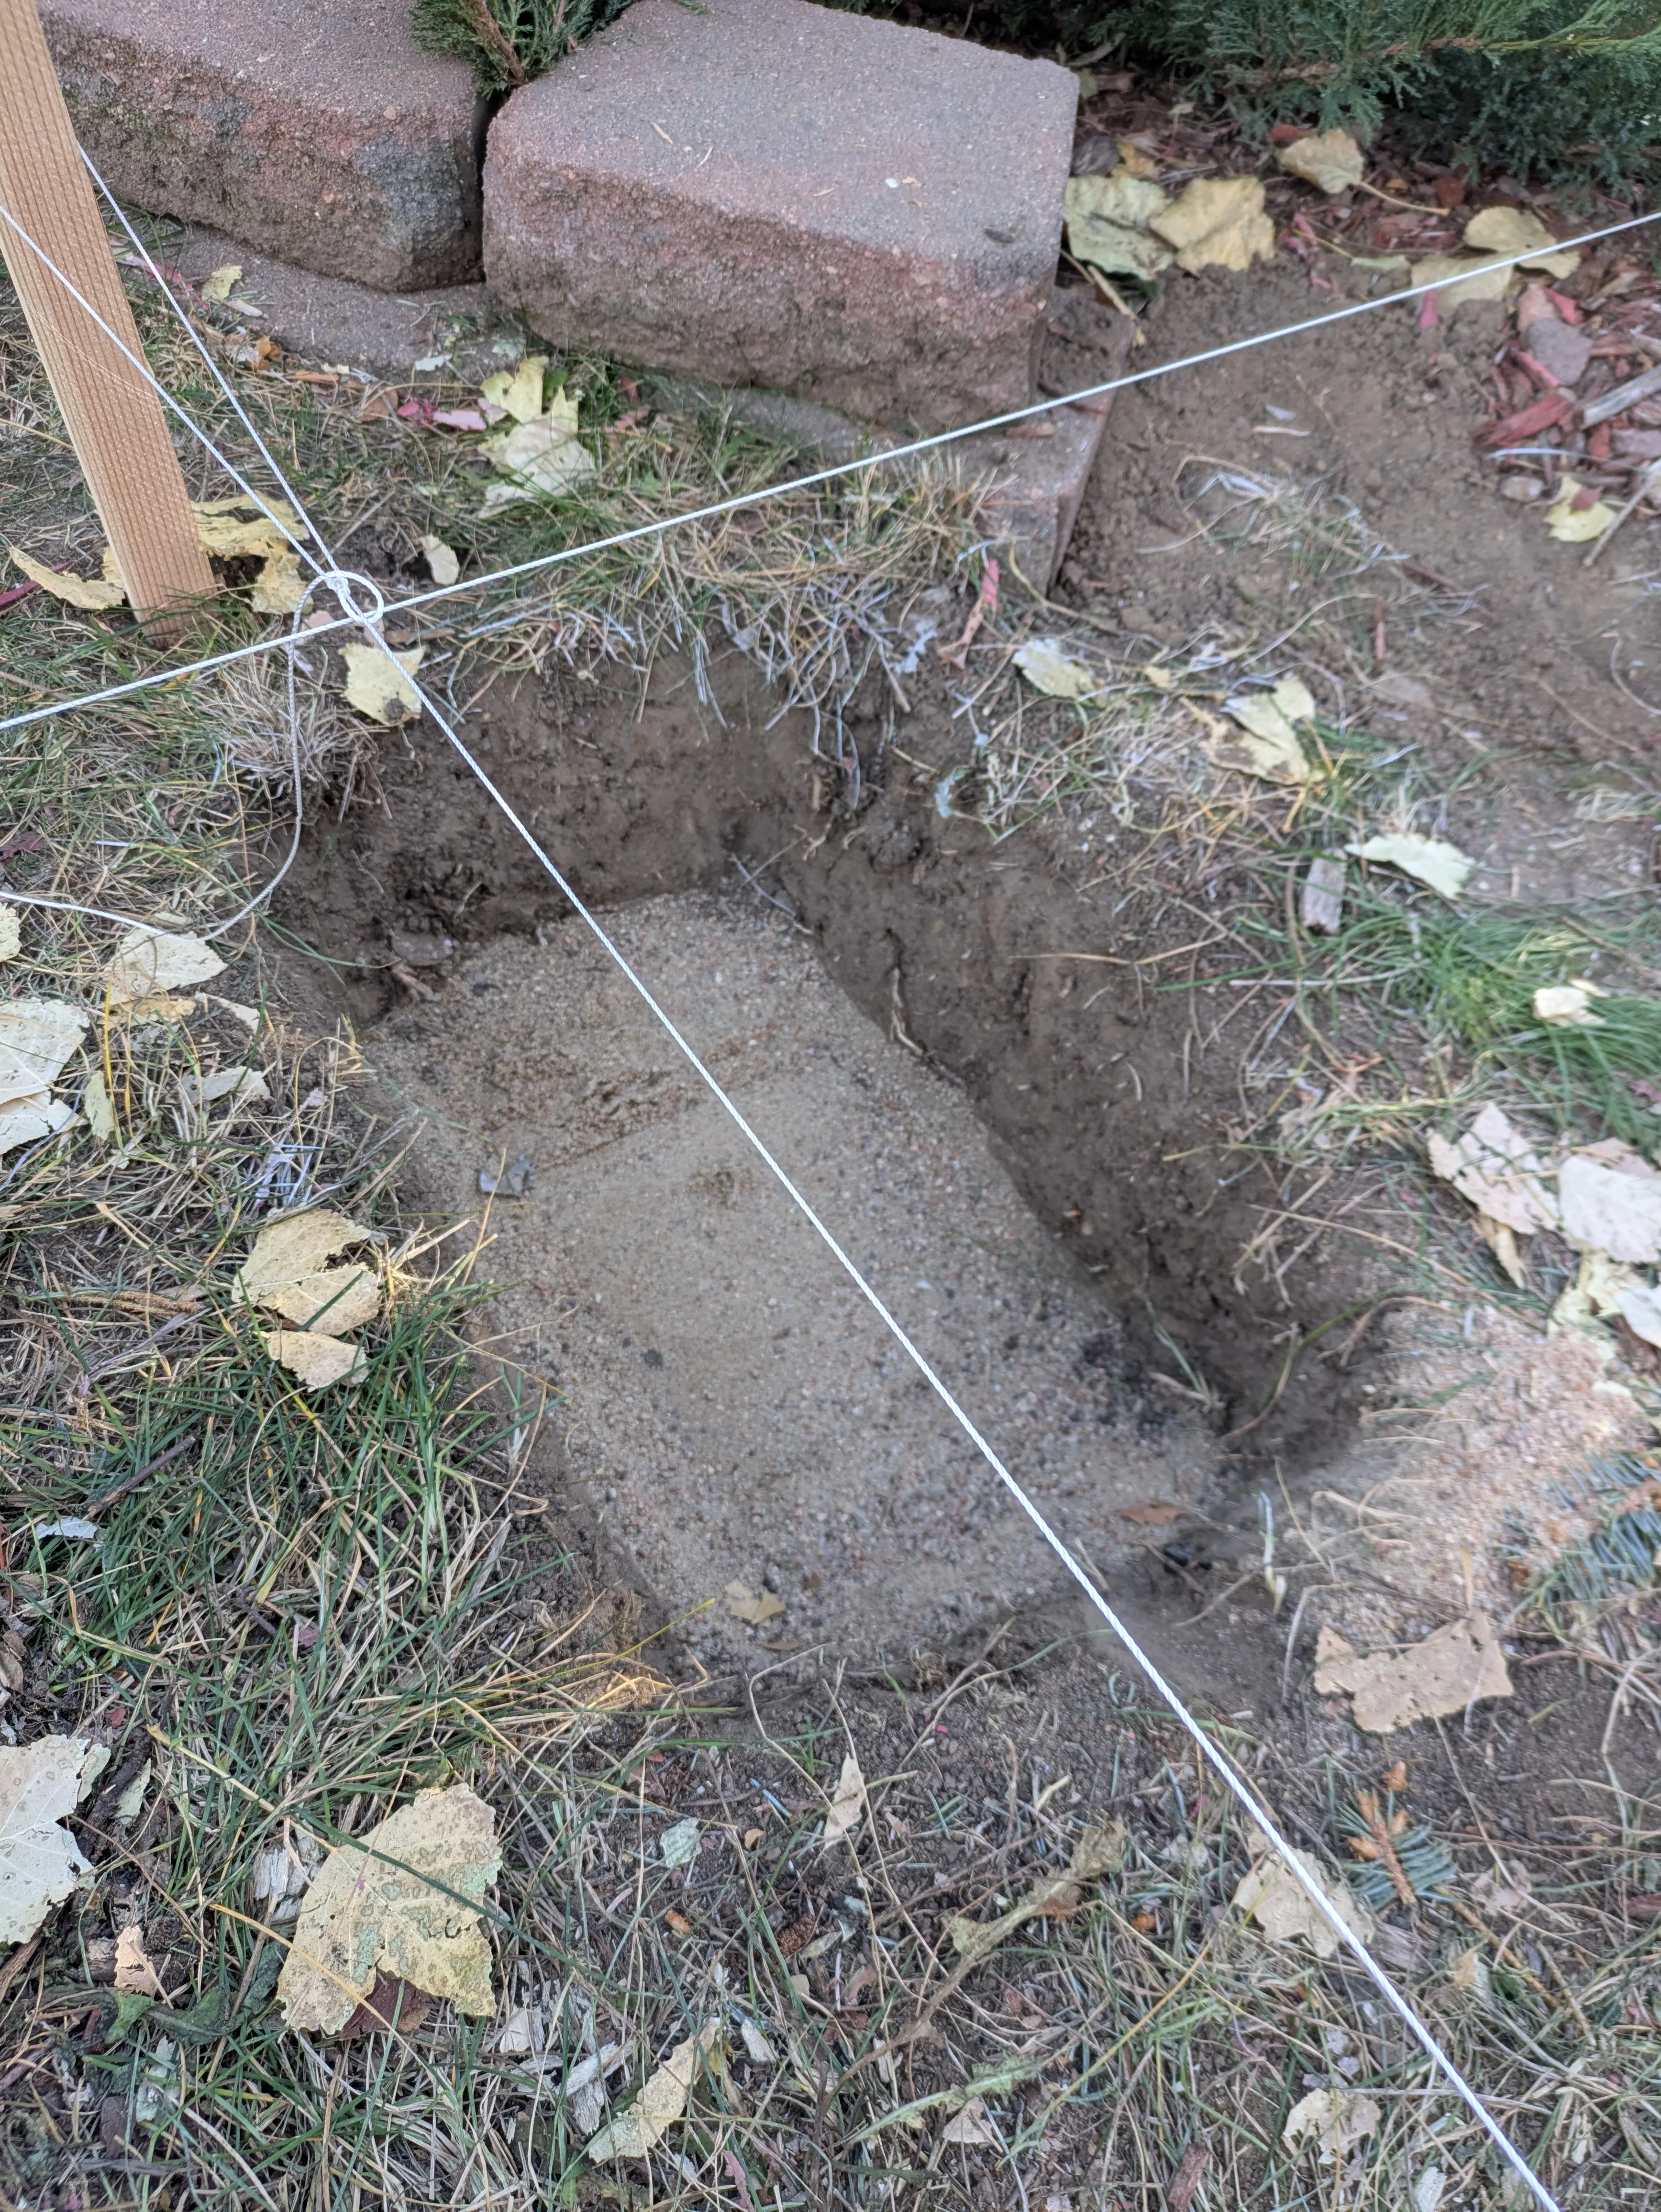
Using the leveled mason line, I was able to make sure that my tamped leveling substrate (sand in this instance) was n blocks away from my line. Some of the piers were one block high and some were three, but all that mattered was that the final stacks were all level with each other.
Complete
And finally, the result of digging a bunch of holes: eight nice block piers to place my skids on.
In this final photo, you can see the 4”x4” skids and the floor joists placed on top of them to support the structure.